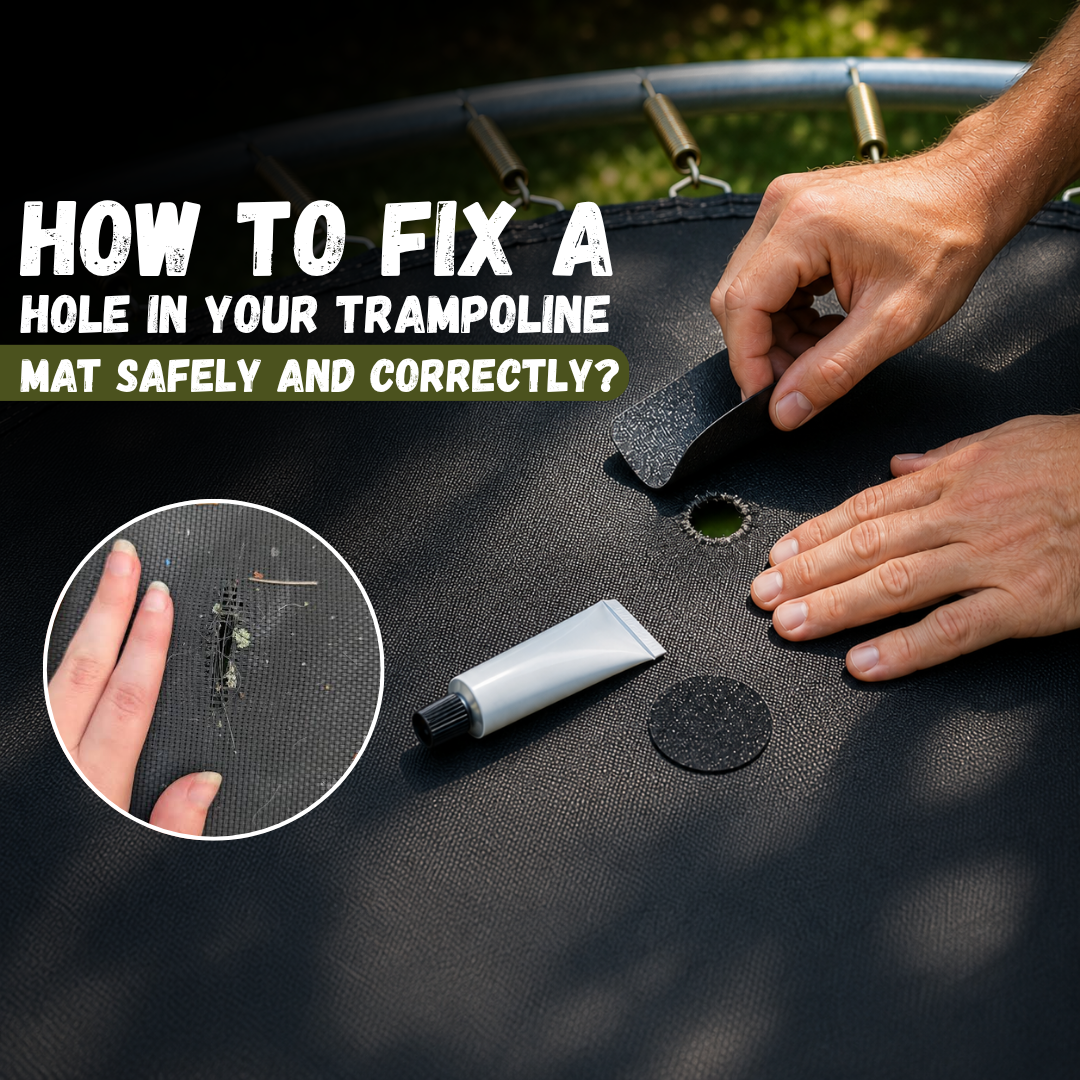
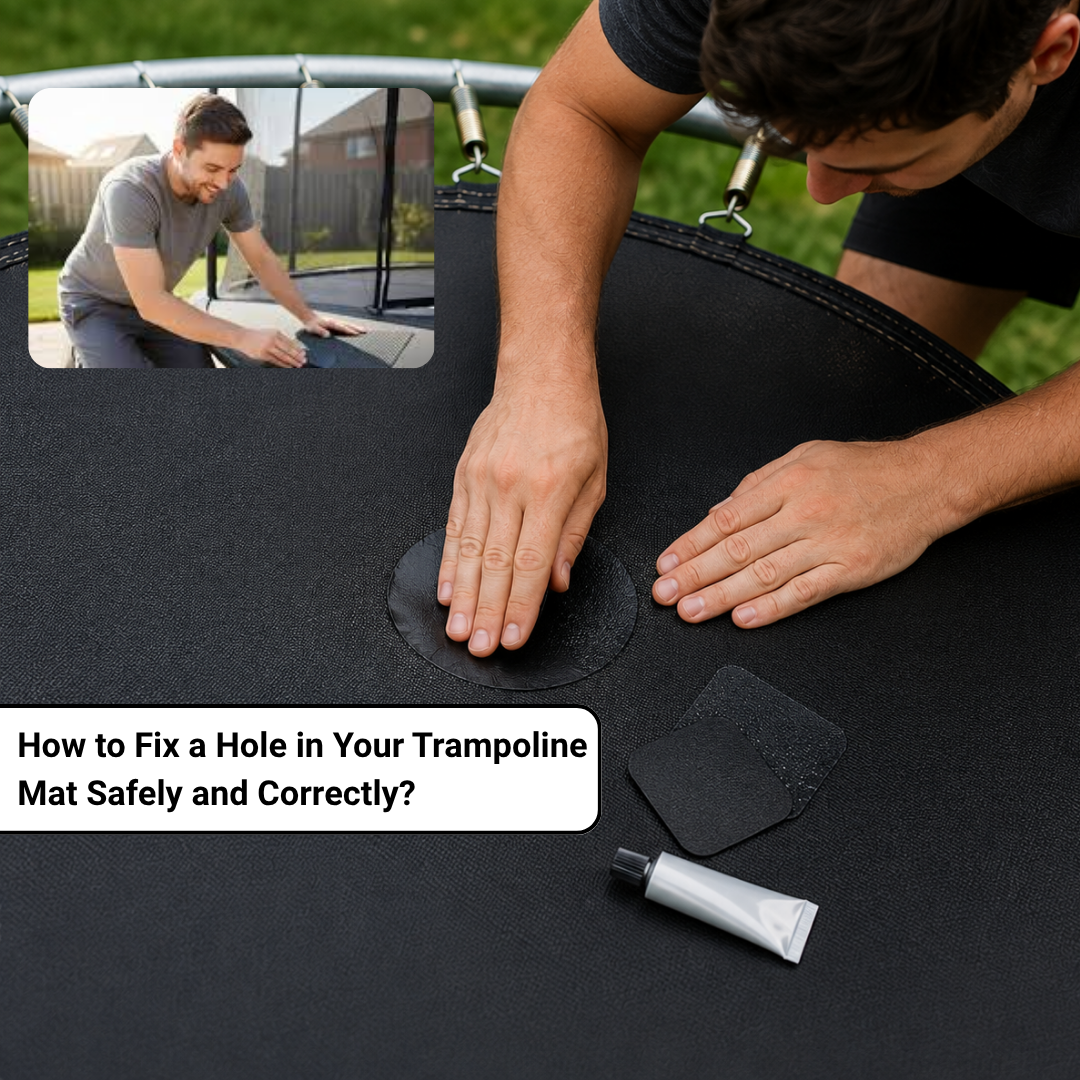
A small, isolated hole in a trampoline mat can often be repaired safely, but a tear that’s spreading, close to the springs, or accompanied by weakened stitching usually means it’s time for a new mat. Repairing a trampoline bed properly matters for two reasons: it keeps everyone bouncing safely, and it protects the springs, frame and stitching from taking on damage they were never designed to handle.
This guide walks through how to assess the damage, how to carry out a trampoline bed repair step by step, and how to tell when buying a replacement mat is genuinely the better call.

Can You Fix a Hole in a Mat?
Yes, but only in certain circumstances. A trampoline bed patch works well on small, contained damage that hasn’t reached the edges, springs or frame. Once a tear starts spreading, or the surrounding fabric feels thin and brittle rather than firm, patching stops being a reliable fix.
When a Small Mat Hole May Be Repairable
Think of the repairable category as damage that’s stayed put. That typically means:
- A small hole, roughly under 2 to 3 centimetres across
- A minor tear that hasn’t grown since you first noticed it
- Damage that’s localised to one spot rather than several
- A tear that hasn’t reached the stitched edges, spring holes or frame
If the hole ticks those boxes, a proper repair kit will usually see you through another season or two of jumping.
When a Mat Should Not Be Repaired
Some damage simply isn’t worth patching. We’d steer clear of DIY repairs if you’re looking at the following:
- A large or visibly spreading tear longer than 2 to 3 inches
- Multiple holes across the mat
- Fabric that feels frayed, thin or weak to the touch
- Stitching that’s come loose or unravelled
- Damage sitting close to the spring attachment points
- A mat that’s noticeably faded or brittle from years of sun exposure
- Multiple metal rings are missing, rusted through, or tearing away from the fabric
Why Should You Never Ignore a Growing Tear?
A tiny hole today can become a genuine safety concern within weeks. Every bounce puts tension through the mat, and a weak point concentrates that stress rather than spreading it evenly. We’ve seen small punctures, the kind you’d barely notice, turn into a ten-centimetre split after a few more weeks of regular use. Once that happens, the mat’s ability to support a jumper’s weight properly is compromised. It’s not something to leave until the school holidays.
What Do You Need to Repair a Mat?
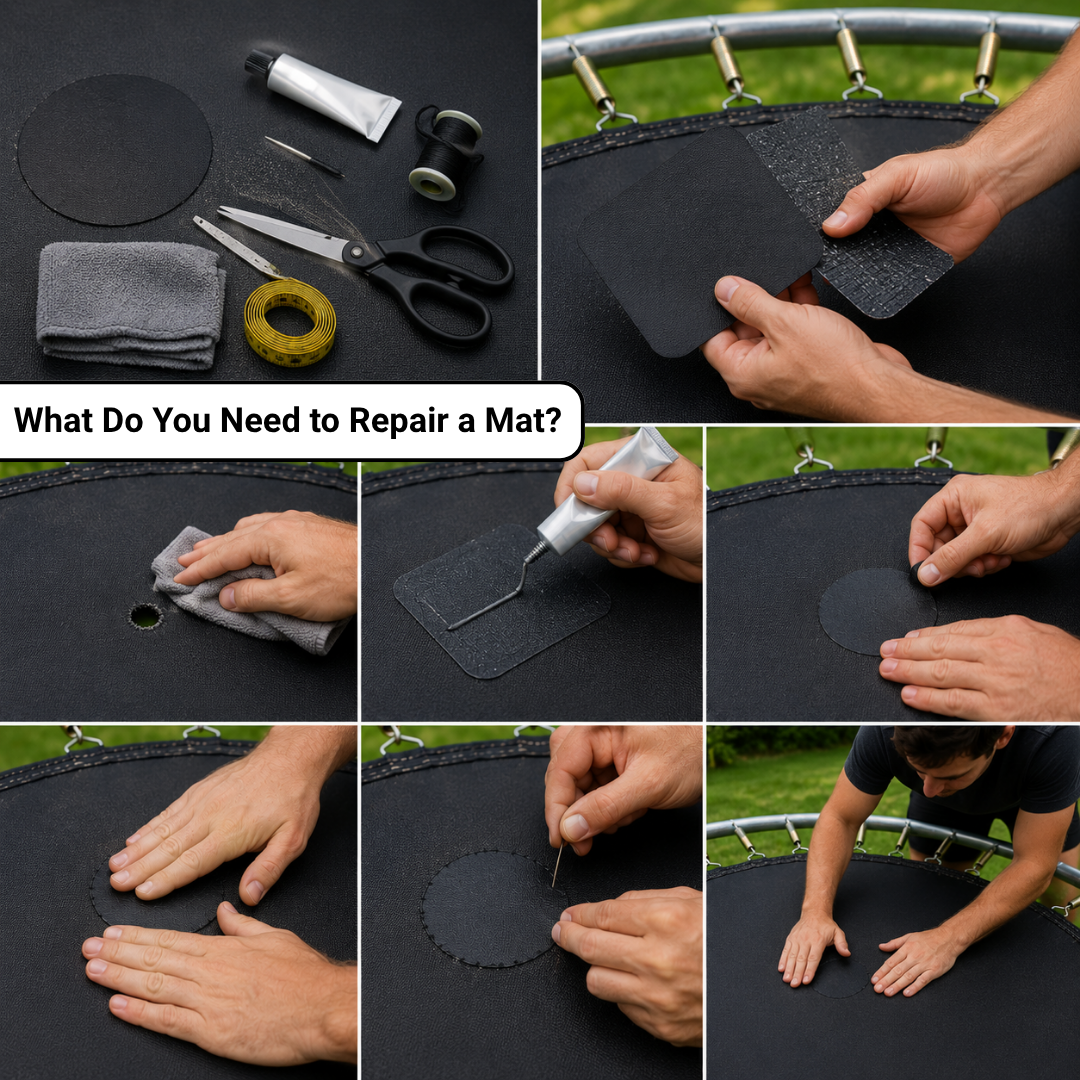
Before starting, gather everything so you’re not halfway through the job with wet glue and no scissors to hand.
Essential Repair Materials
- A trampoline-specific repair patch (not general fabric patches)
- Heavy-duty repair material sized to comfortably cover the damaged area
- Adhesive or sewing kit suited to your chosen repair method
- Scissors
- A clean cloth
- A measuring tape
Choose a Repair Material That Matches Your Mat
Not every patch is built for outdoor use. Look for material that matches your mat’s weight and flexibility, holds up to UK weather, and can flex repeatedly without cracking or peeling at the edges. Cheap fabric tape or a generic craft adhesive won’t survive constant bouncing and won’t cope with rain, frost or UV exposure the way a purpose-made in-ground trampoline patch will. Ordinary household tape might hold for an afternoon. It won’t hold for a season.
How to Fix a Hole in a Mat Step by Step?
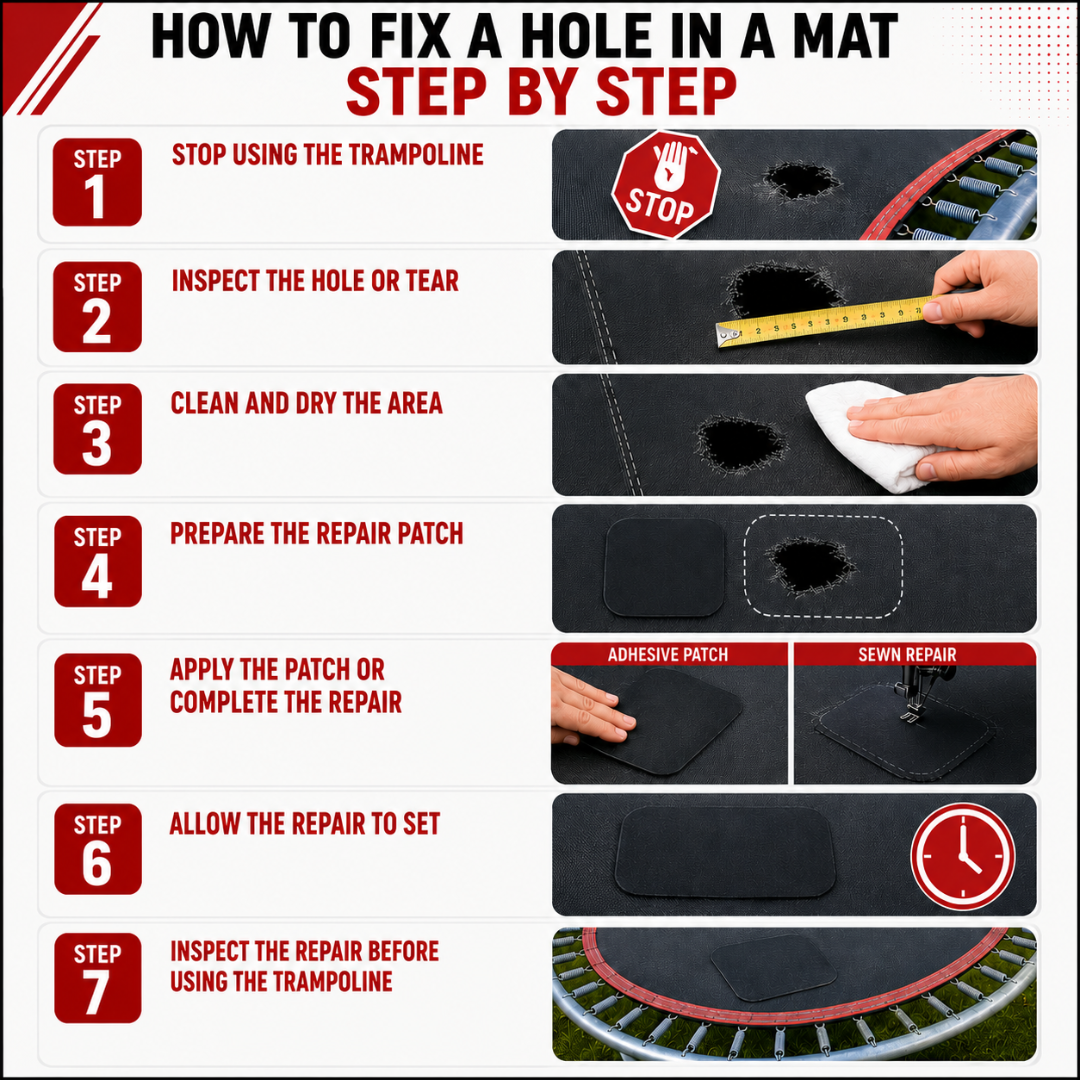
This is the practical part of the process most people are searching for when they land here.
Step 1 – Stop Using the Trampoline
Take it out of use straight away. Even a small hole under tension from jumping can widen quickly, and nobody wants that discovery mid-bounce.
Step 2 – Inspect the Hole or Tear
Measure the damage and note whether it’s grown since you first spotted it. Check the stitching and surrounding fabric closely for any weak spots you might have missed on first glance. It’s easy to focus on the obvious hole and overlook a thinning patch nearby.
Step 3 – Clean and Dry the Area
Wipe the area around the damage with a clean, dry cloth. Any dirt, moisture or residue left underneath will stop the patch from bonding properly, and a poorly bonded patch is really just a delay tactic rather than a fix.
Step 4 – Prepare the Repair Patch
Cut your patch with a decent margin, enough material to overlap the damaged area generously on every side. Round off sharp corners. Square edges are far more likely to catch, lift and peel during use.
Step 5 – Apply the Patch or Complete the Repair
Follow the method suited to your chosen product, whether that’s an adhesive patch or a sewn repair. Press or stitch firmly and evenly, working from the centre outward so you don’t trap air pockets or leave loose sections around the perimeter.
Step 6 – Allow the Repair to Set
Give it time. Follow the manufacturer’s guidance on curing or bonding time, and resist the temptation to test it early. A repair that hasn’t fully set is weaker than it looks.
Step 7 – Inspect the Repair Before Using the Trampoline
Once it’s set, check the patch edges, the surrounding fabric, the stitching, the springs and the frame. Look for anything that suggests the repair hasn’t taken properly or that a new weak point has appeared nearby.
If your mat is beyond repair, you might also be facing bent or broken poles. Learn how to replace a single trampoline pole safely—without buying an entire new trampoline.
How to Tell if a Mat Repair is Safe?
A repair that looks fine from a distance doesn’t always hold up under real jumping pressure. Worth checking properly before anyone climbs on.
What to Check After Repairing the Mat?
- Is the hole fully covered, with no gaps at the edges?
- Is the patch firmly and evenly attached all the way round?
- Does the fabric around the repair still feel strong rather than papery?
- Has the tear stopped, with no sign of continuing to spread?
- Are the springs nearby free from exposure or damage?
Signs Your Repair Has Failed
Watch for the patch lifting at a corner, new tears forming near the original repair, stitching working loose, or the mat stretching oddly around that spot. If the repaired area doesn’t look and feel genuinely solid, don’t use your rectangle trampoline until you’ve addressed it by patching it again or accepting that replacement is the safer route.
Can You Use a Trampoline With a Small Hole in the Mat?
Honestly, we wouldn’t recommend it. Even a hole that looks harmless right now takes on repeated stress every time someone lands, and that stress concentrates exactly where the fabric is already weakest. Bodyweight, combined with the springs pulling in every direction during a bounce, is precisely the kind of load a damaged mat struggles with.
A bit of tape or a quick fix might buy you a day, but it isn’t a permanent safety solution, treat it as exactly what it is: a stopgap. If there’s any doubt about the mat’s condition, keep your performance trampoline out of use until it’s properly replaced.
When Should You Replace a Mat Instead of Repairing It?
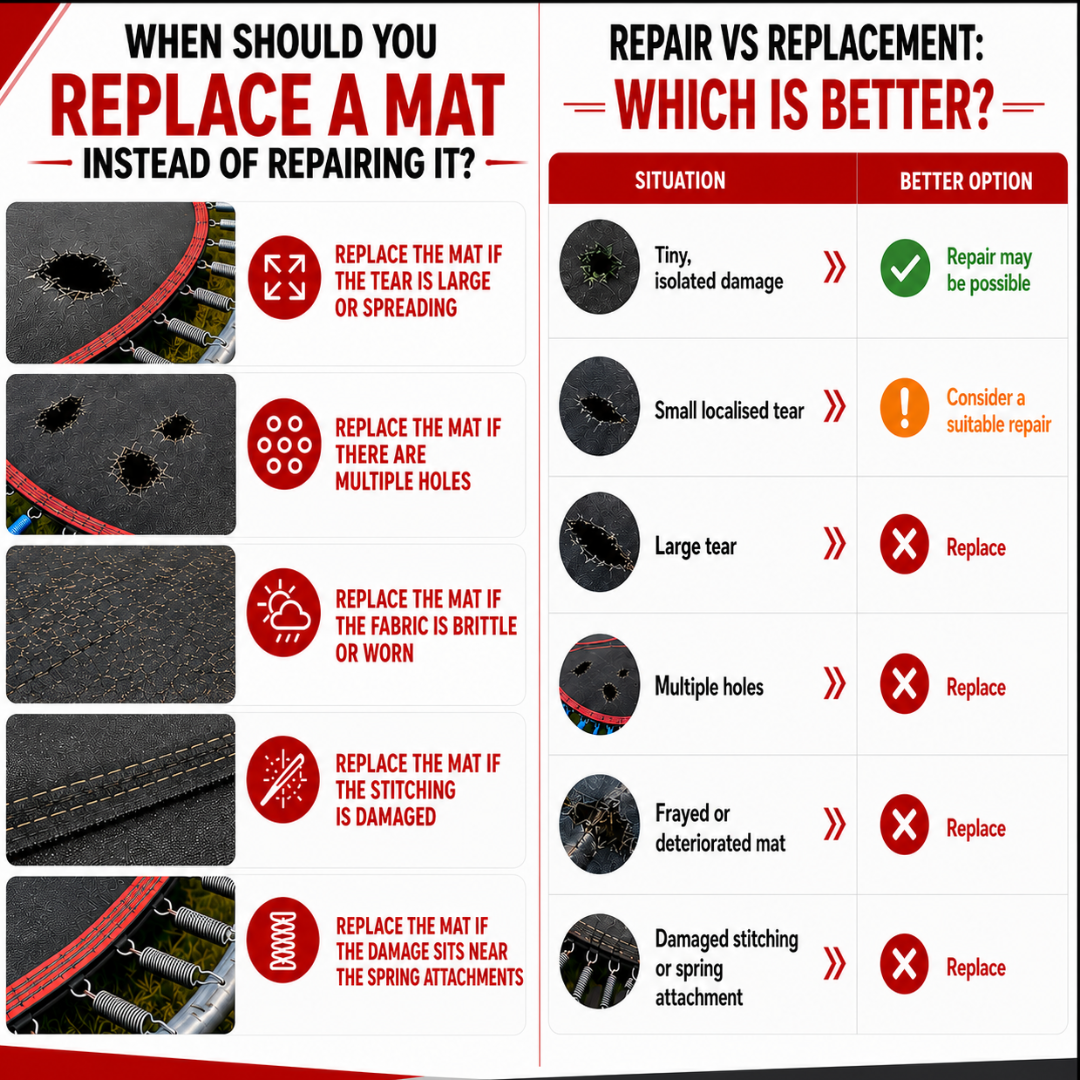
This is where the decision often gets made, and it’s worth being honest with yourself about which category your mat falls into.
Replace the Mat if the Tear is Large or Spreading
Once damage exceeds a few centimetres or keeps growing despite a repair, patching becomes a losing battle.
Replace the Mat if There Are Multiple Holes
One patch is manageable. Several scattered across the surface usually point to a mat that’s reached the end of its useful life.
Replace the Mat if the Fabric is Brittle or Worn
UK weather is hard on outdoor equipment: sun, rain and frost all take their toll over the years. Once the material loses its flexibility, patches won’t bond reliably.
Replace the Mat if the Stitching is Damaged
Stitching holds the whole structure together. Loose or broken threads near the seams are a stronger warning sign than a hole itself.
Replace the Mat if the Damage Sits Near the Spring Attachments
These points carry enormous tension. Any weakness here is a genuine structural concern, not just a cosmetic one.
Repair vs Replacement: Which Is Better?
Situation | Better Option |
Tiny, isolated damage | Repair may be possible |
Small localised tear | Consider a suitable repair |
Large tear | Replace |
Multiple holes | Replace |
Frayed or deteriorated mat | Replace |
Damaged stitching or spring attachment | Replace |
If you’re unsure how to choose the right replacement padding, this guide will help. When the cushioning starts to fail, safety quickly follows, so picking the correct pad restores full spring coverage and gives you confident, worry-free bounces again.
Can’t Repair Your Mat? Buy a Replacement Mat
Sometimes a repair simply isn’t the right call, and that’s fine, a new mat gets you back to full, confident bouncing without wondering whether that old patch will hold.
Why a Replacement Mat May Be the Safer Choice
A fresh above-ground trampoline mat restores an even jumping surface, removes the guesswork of relying on a repair that might eventually fail, and often improves bounce consistency compared with a mat that’s been sagging or thinning for years. It gives the whole trampoline a genuinely usable surface again, rather than one held together in stages.
How to Choose the Right Replacement Trampoline Bed
Getting the right mat isn’t just about picking the correct diameter. You’ll also need to check the frame dimensions, the number of springs, the spring length, and where those springs attach. Mat shape matters too round mats, oval and rectangular mats aren’t interchangeable, and it’s worth confirming compatibility with your trampoline’s manufacturer or model where possible.