Table of Contents
ToggleEver wondered how to properly secure your trampoline and make it safer for the little ones? As a parent, keeping the children safe while they bounce around is probably high on your list of priorities. Good news: with a few essential tools like a trampoline spring tool and tie down ground anchors, you can ensure your trampoline is secure and minimise the risks.
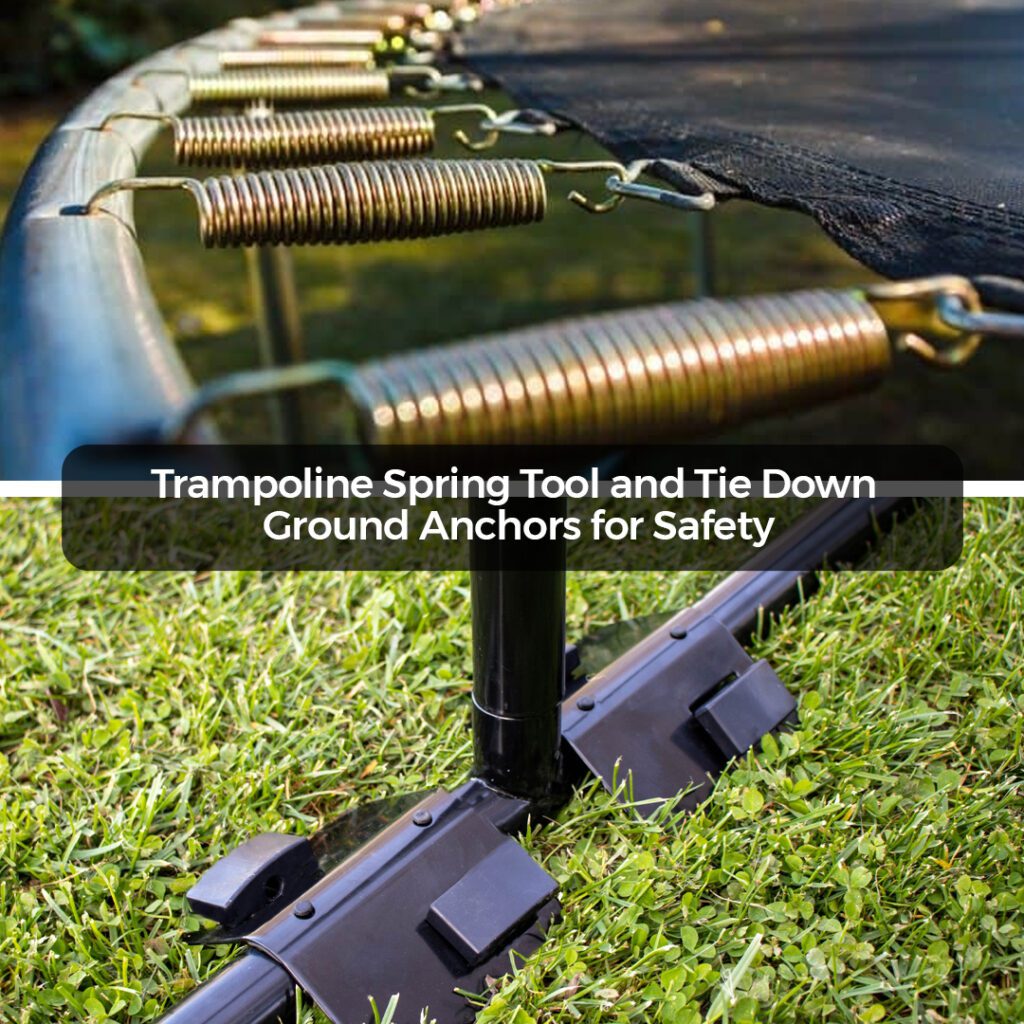
These handy tools allow you to tighten the springs connecting the bed to the frame and securely anchor the trampoline legs to the ground. By tightening the springs, you remove any slack or instability in the mat that could lead to falls or injuries. The ground anchors, as the name suggests, anchor the trampoline firmly in place so it does not move around or tip over, even with the most enthusiastic jumpers.
Using a trampoline spring tool and ground anchors is a straightforward process and gives you peace of mind that your little ones can enjoy hours of bouncing fun. The tools are easy to install and use, so there’s no need to call in a professional. With a few basic steps, you can have a safer trampoline up and ready for the children to enjoy.
So, are you ready to learn how to properly secure your trampoline and keep the children safe while they play? Let’s jump right in!
Why Trampoline Safety Is Important
Garden trampolines can be great fun for all ages, but safety should always come first. Without proper precautions, trampolines can cause serious injuries.
An anchor kit secures your trampoline to the ground so it does not blow away or flip over in high winds. Spring pulling tools are used to securely install the anchor straps under the trampoline frame. You’ll want to anchor a trampoline regardless of whether it has an enclosure net. Unsecured trampolines can become airborne in winds over 25 mph.
- Proper adult supervision is also key. Only one jumper at a time with spotters watching helps avoid collisions.
- Enforce rules like no flips, somersaults, or jumpers over 100 lbs difference. Pads should cover all springs, hooks, and the frame.
- Safety nets provide extra protection but are not a substitute for supervision.
By taking important safety precautions like using ground anchors, spring tools, safety pads, and strict supervision, you’ll ensure fun and safe bouncing for the whole family. Your trampoline time will be enjoyable rather than an emergency room visit. Safety first, fun second is the rule to bounce by.
What is a Spring Pulling Tool and How to Use It?
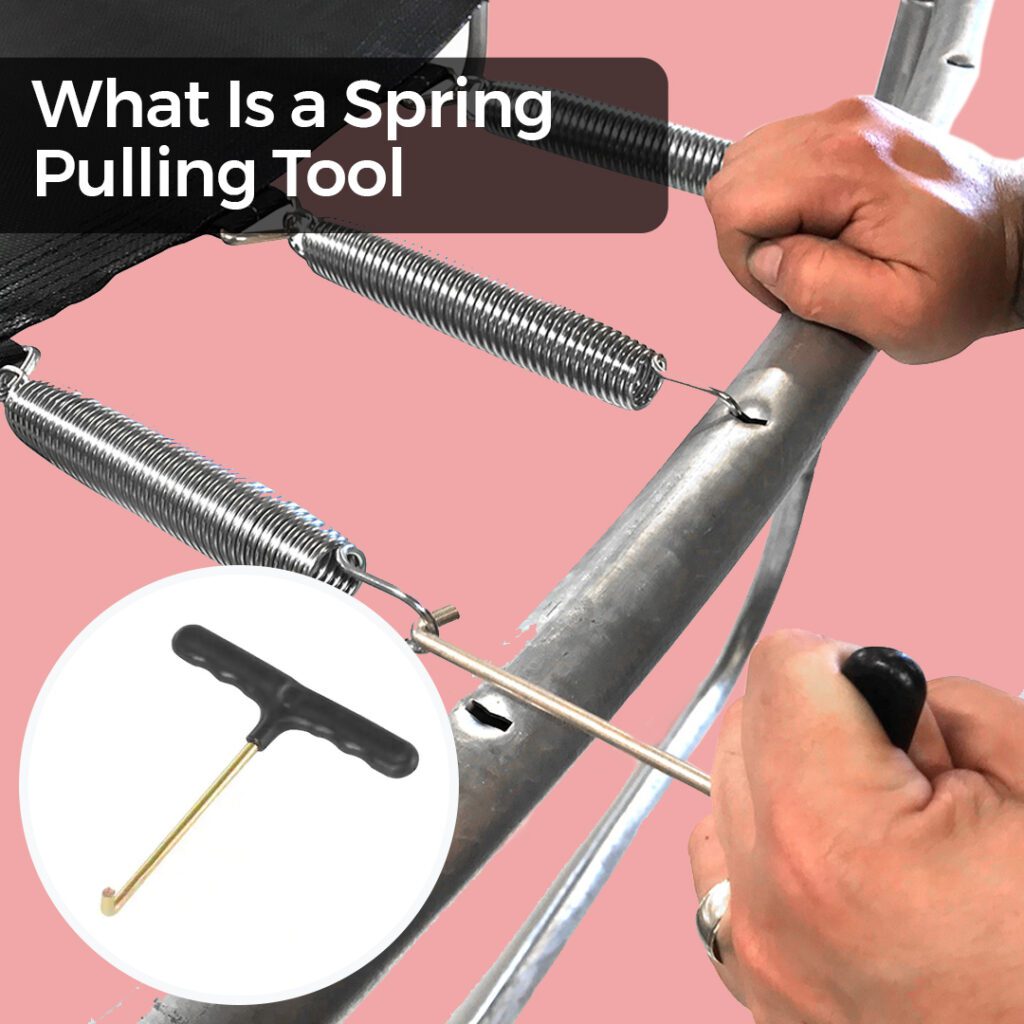
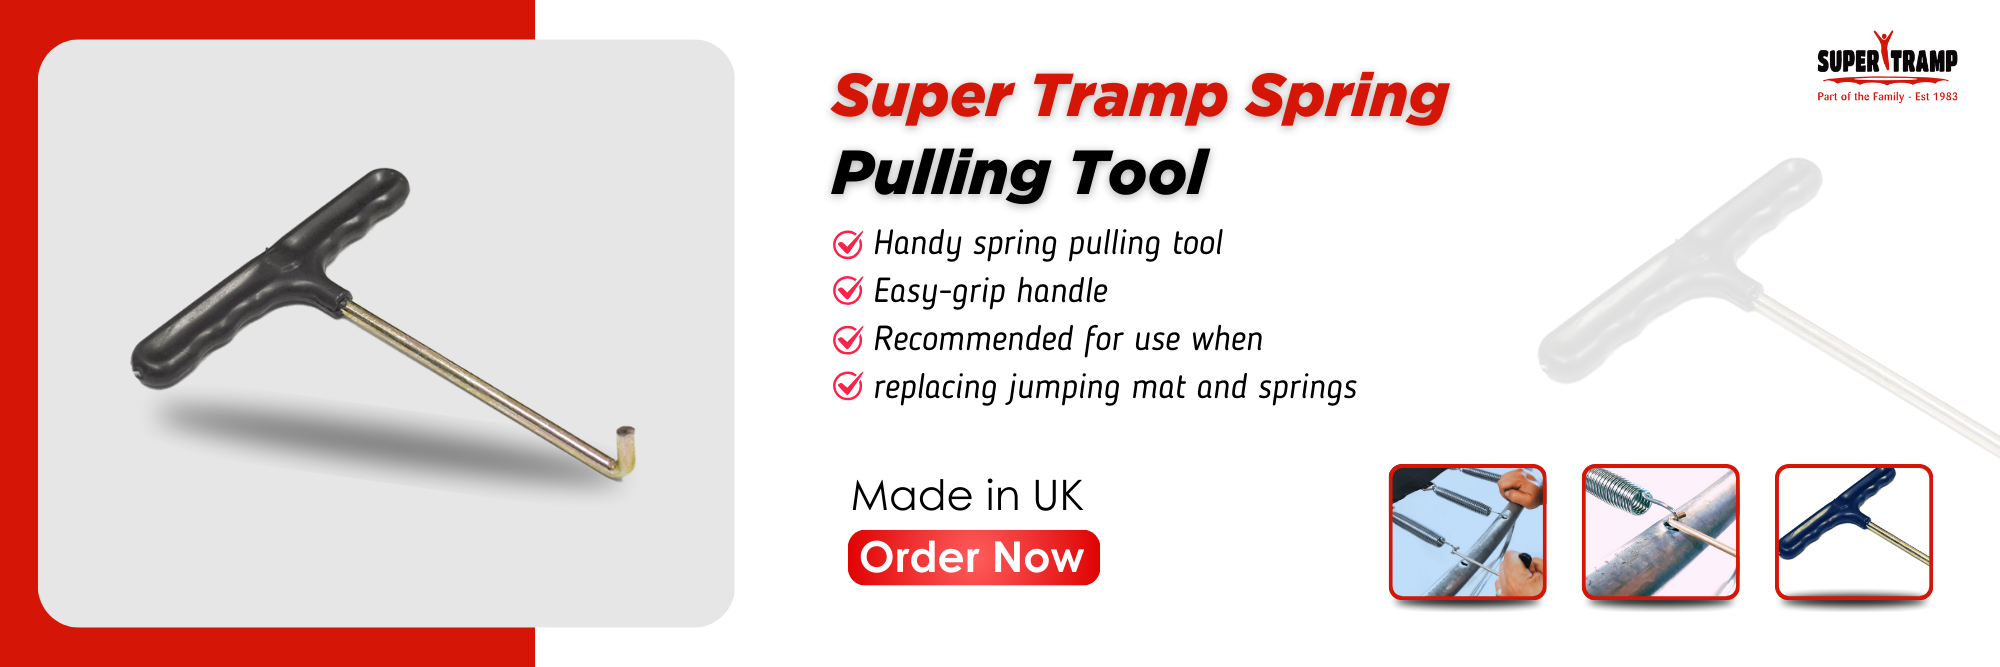
A trampoline spring tool is a T-shaped metal tool used for tightening or loosening the springs on your trampoline. It allows you to adjust the tension of individual springs to get the perfect bounce and ensure an even, balanced mat.
To use the spring pulling tool, you’ll first need to locate the spring you want to adjust, either because it’s sagging or pulling too tight.
Loose Springs
If the spring is loose, meaning the bed is sagging in that area, here’s what to do:
- Attach the spring pulling tool to the spring you want to tighten. The tool has two hooks that clip onto the spring.
- Pull the tool away from the trampoline frame to increase the spring’s tension. You may need to pull hard, so use both hands.
- Test the bounce in that area to ensure the mat feels evenly taut before moving on to the next loose spring. Repeat until all loose springs have been tightened.
Tight springs
For springs that are too tight, causing the bed to pull up in the centre:
- Attach the spring pulling tool to the spring you want to loosen.
- Push the tool towards the trampoline frame to decrease the spring’s tension. You should feel the spring loosen.
- Bounce in that area to check that the bed feels evenly balanced before moving on. Loosen other tight springs as needed.
With the right tension on all springs, your trampoline bed will be taut, bounce even, and most importantly, safe for jumping. Be sure to check your springs regularly and make adjustments as needed using your spring pulling tool. Safety first!
Installing Tie-down Ground Anchors for Your Trampoline
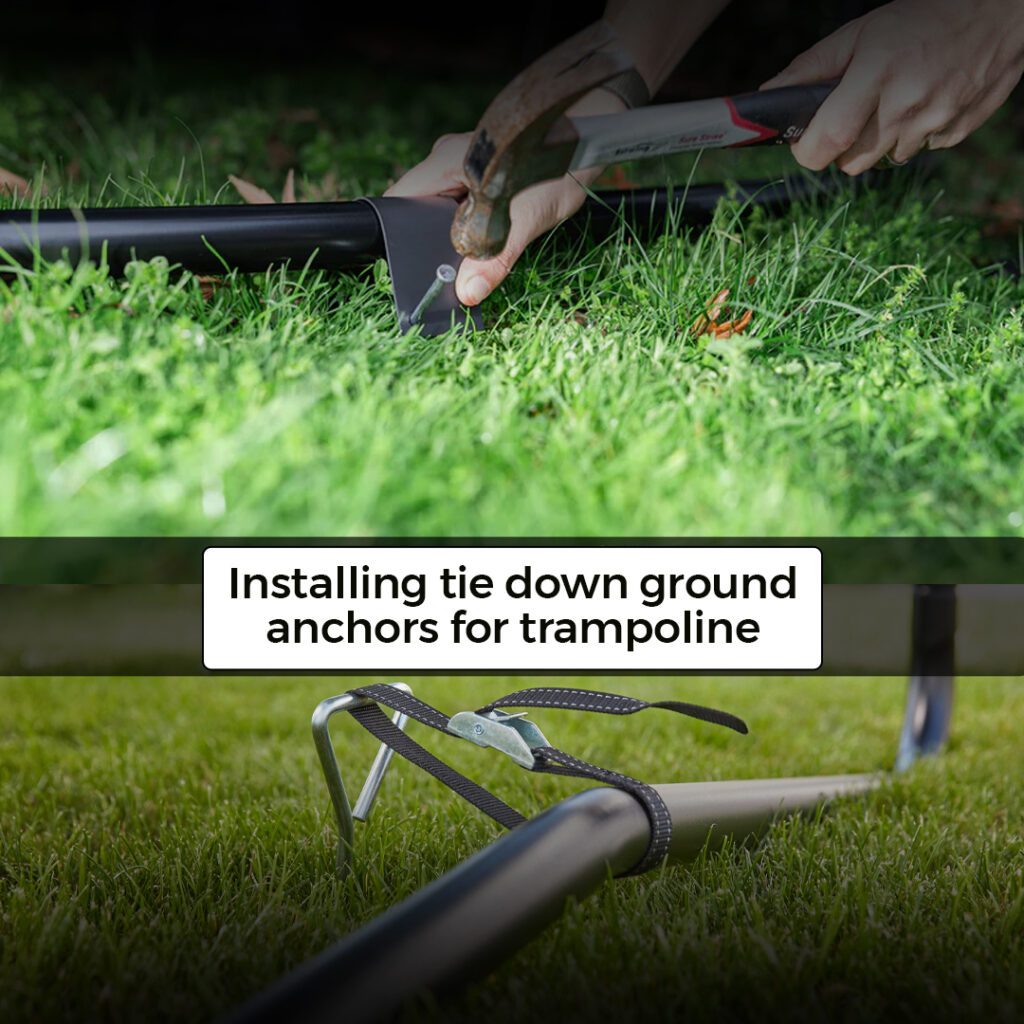
Installing the tie-down ground anchors for your trampoline helps ensure it stays securely in place, even during rough weather. The anchors prevent the trampoline from shifting or tipping over by securing the legs to the ground. For the best results, install the anchors when you first set up your trampoline.
Choosing the Anchor Location
Walk around the outer edge of your trampoline frame to determine the best spots for the anchors. Place one trampoline anchor kit near each leg, about 6 to 8 inches from the leg. Make sure the area is level and clear of underground utilities before installing.
Installing the Anchors
Follow the instructions in your anchor kit to install the anchors. Usually, you will:
- Pound the anchor spikes into the ground, leaving 4 to 6 inches exposed.
- Attach an anchor strap or cord to the eyelet at the top of each anchor spike.
- Attach the other end of each anchor strap to your trampoline frame, near each leg. Pull the straps tight to secure the trampoline in place.
- Bury the remaining exposed part of the anchor spikes in concrete for permanent installation. This helps prevent the spikes from loosening over time.
- Double-check that all anchor straps are tight and secure before allowing children on the trampoline.
Tips for Checking and Replacing Springs
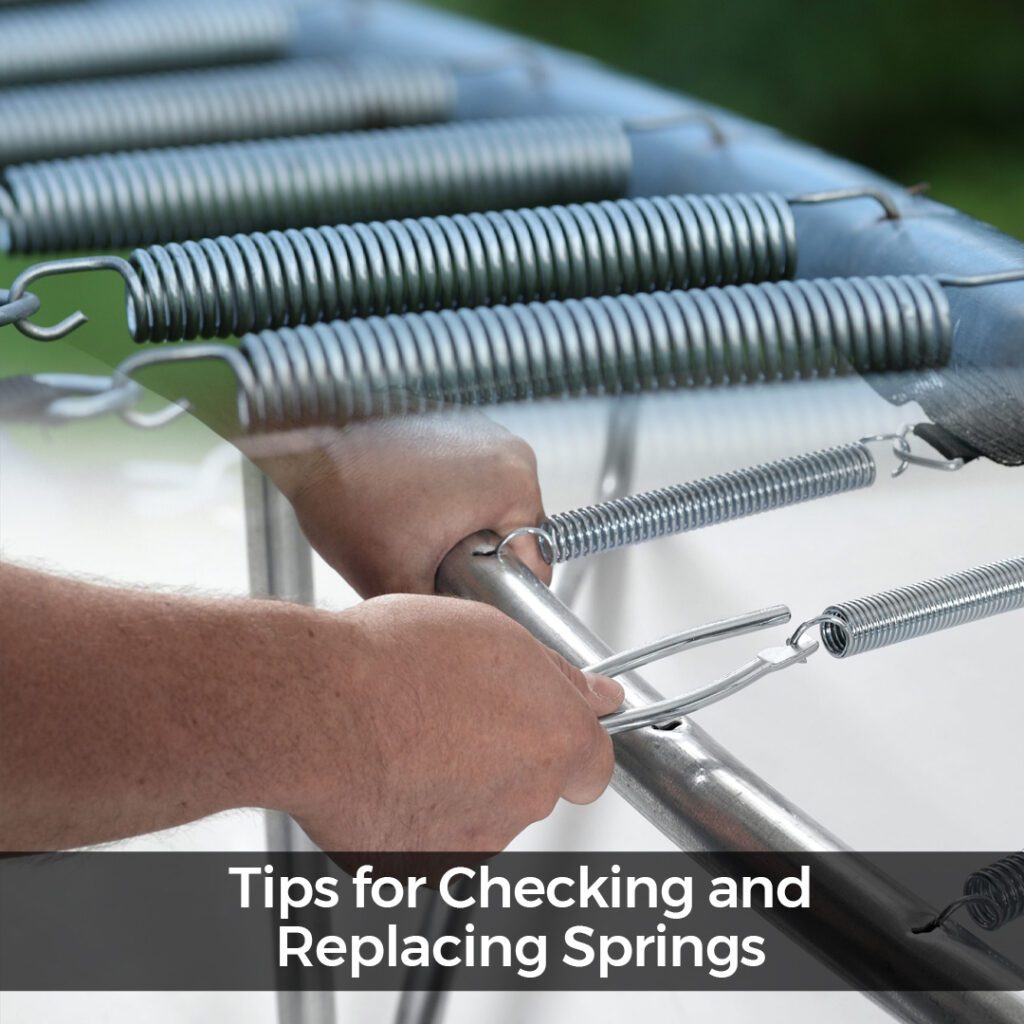
Checking and replacing springs on your trampoline is important for safety and ensuring maximum bounce. Follow these tips to properly inspect and replace any faulty springs.
Inspect Springs Regularly
- Check your trampoline springs at least once a month during peak use seasons like summer. Look for any springs that appear bent, broken, or overstretched. Replace them immediately.
- Search for springs that don’t seem tightly coiled or secured to the trampoline frame. Lost or detached springs can be a hazard.
- Ensure all springs are evenly spaced around the circumference of the trampoline for the best balance and performance.
Replace Springs One at a Time
- Only remove one spring at a time to avoid shifting the balance and structure of your 12ft trampoline. Replace each spring before moving on to the next one.
- Attach one end of the new spring to the trampoline frame. Pull the spring outward and under the edge of the jumping mat, then attach the other end to the opposite side of the frame.
- Ensure the new spring is securely coiled and anchored before bouncing. Test the spring to make sure it has proper tension and bounce.
Conclusion
You’ve now learned how to properly install a trampoline spring tool and tie down ground anchors to ensure maximum safety when using your trampoline. By securing the trampoline to the ground, you eliminate the risk of it toppling over or shifting around. The spring pulling tool allows you to easily remove and reattach the springs when taking the safety pad on and off. With these essential tools and a bit of time setting them up, you’ll have peace of mind knowing your trampoline is stable and secure for years of fun and exercise to come. Go ahead—jump right in! Your trampoline is ready for action.
FAQ's
What is the best way to anchor a trampoline to the ground?
The best method is using sturdy anchor kits. Secure the trampoline legs to the ground with heavy-duty stakes or anchors to prevent tipping or movement during strong winds.
Why is it important to tie down a trampoline?
Tying down a trampoline is crucial to prevent it from overturning during windy conditions. Anchoring ensures stability, reducing the risk of accidents and damage to the trampoline.
How do you tie down a trampoline during a storm?
Use anchor kits or tie-down straps to secure the trampoline. Fasten them tightly to the legs and secure the other end to the ground. This minimises the risk of wind-related incidents.
Are trampolines safer on the ground?
Trampolines at ground level are generally considered safer. Lower height reduces the risk of falling injuries. Ensure proper safety measures, like padding and enclosures, regardless of height.
What is the recommended height for a trampoline above the ground?
For safety, a trampoline should be about 20 to 30 inches off the ground. This height facilitates entry and exit while minimising the risk of injury from falls.


