
You know that feeling when you jump on your trampoline and it just doesn’t have the bounce it used to? If your springs are damaged or worn out, they won’t provide enough lift and your bounce will suffer.
Those trampoline springs might need replacing. While it can seem like a big job to replace trampoline springs, it’s actually pretty straightforward if you follow a few simple steps. With the right tools and techniques, you’ll have your trampoline springs changed in under an hour.
In this blog, you will learn about the trampoline springs and how to replace them easily.
Understanding Trampoline Springs

The springs on your trampoline are responsible for providing the bounce and it is important to choose the right springs. As you jump, the springs compress and store energy. When they recoil, they release that energy back up, propelling you up and giving you that weightless feeling.
Inspecting Your Springs
It’s a good idea to inspect your trampoline springs once a month or so during peak jumping season. Look for any springs that appear bent, twisted or misshapen. Check that all springs are attached securely to the frame and trampoline bed. If any springs are damaged or detached, replace them as soon as possible. It’s not worth risking injury by jumping on a trampoline with faulty springs.
When to Replace Trampoline Springs
Most trampoline springs will last 3 to 5 years before needing replacement. As they age, they lose some of their elasticity and won’t provide as much lift. If your bounce feels lackluster, it’s probably time for some new springs. It’s best to replace all the springs at once to ensure even, consistent performance.
Preparing for Replacement
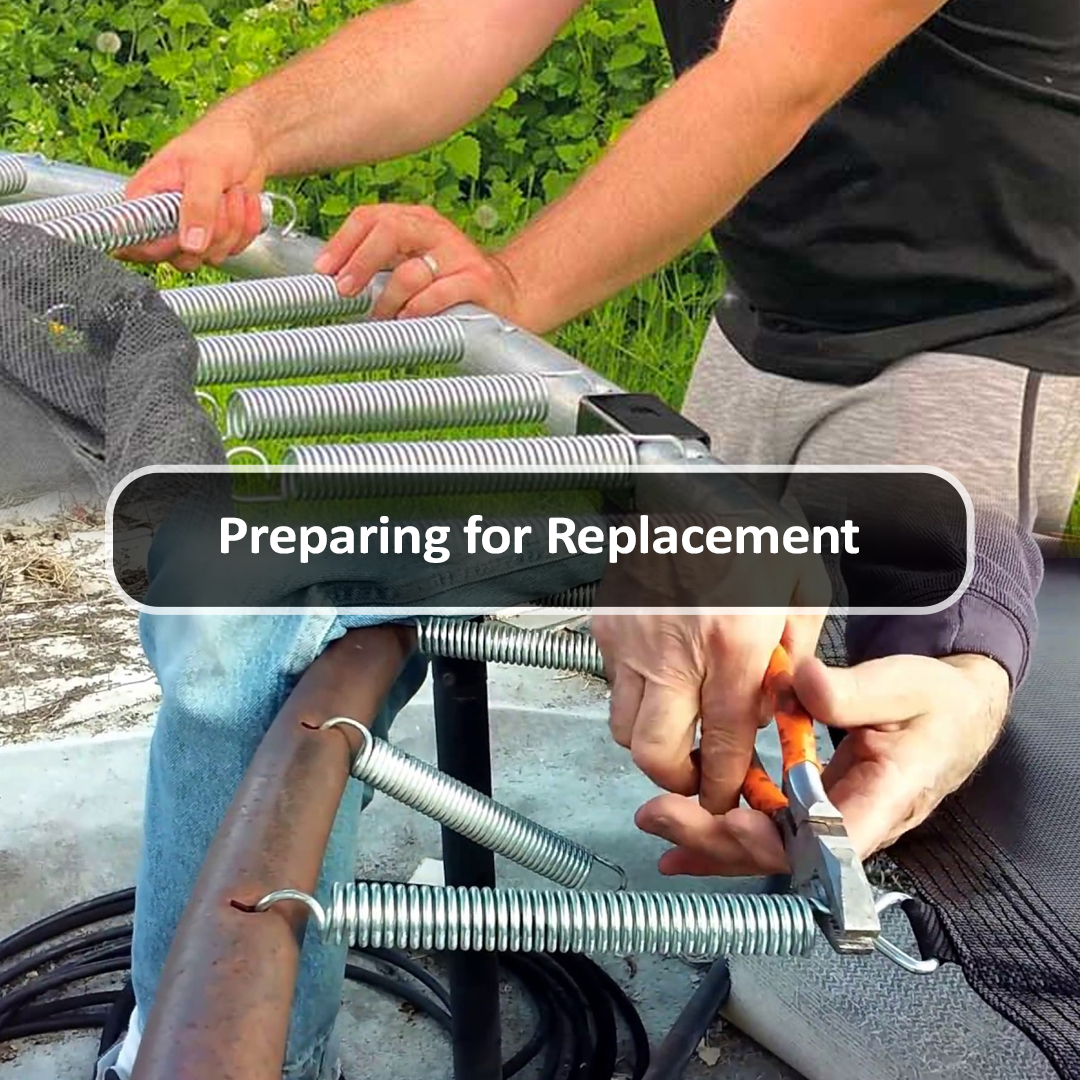
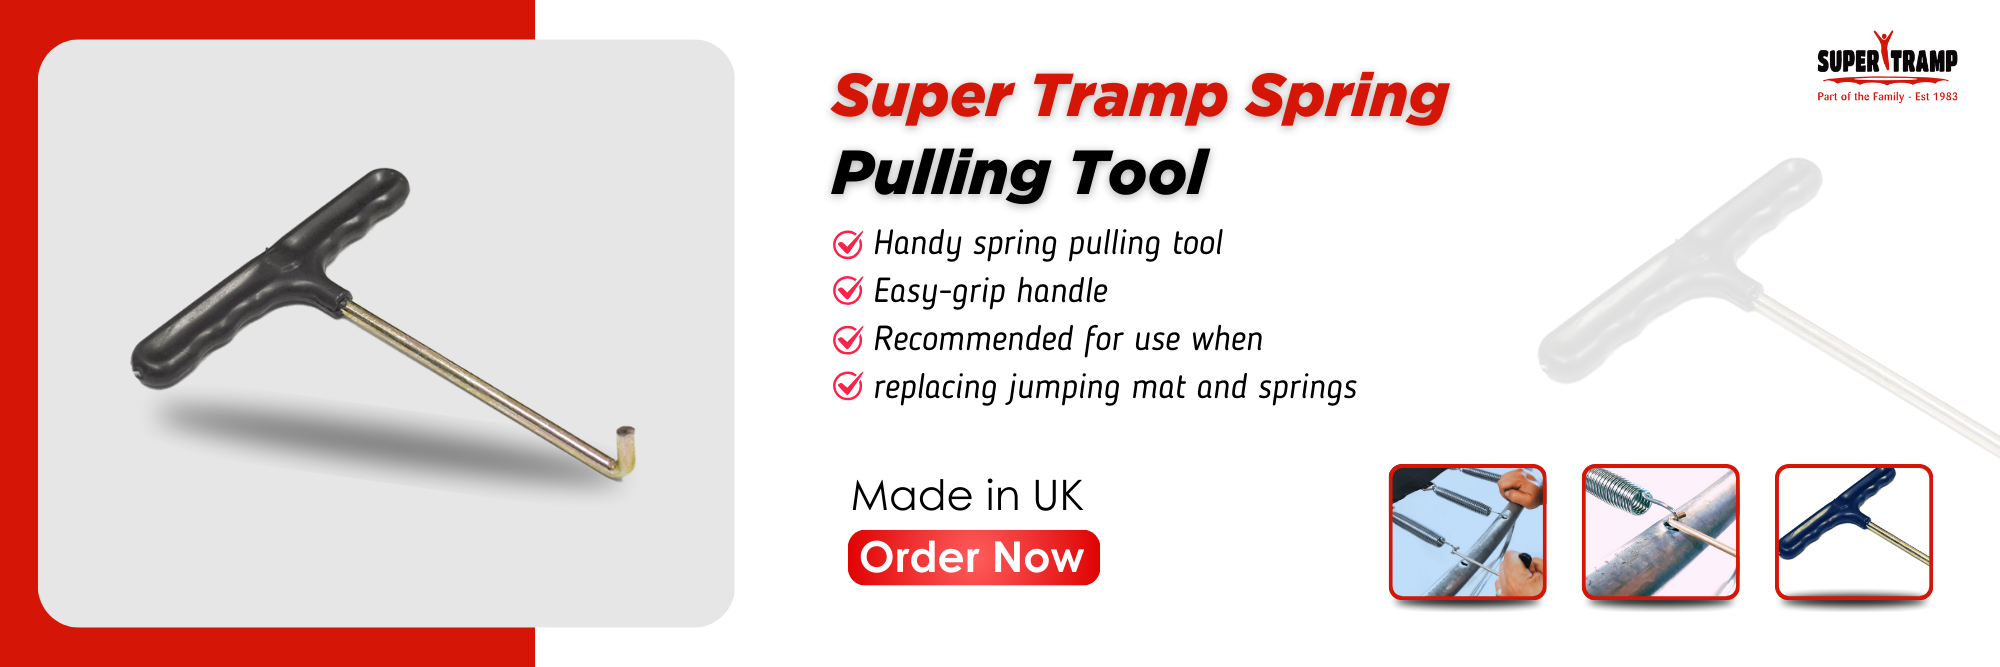
Before you start with the process, make sure you have all the tools and equipment on hand. A pair of work gloves can be used to protect your hands. You’ll need a spring pulling tool, which can be purchased at most hardware stores, to remove the old springs. Have the correct number and type of replacement springs for your specific trampoline model ready to install. It’s best to replace all the springs at once to ensure even tensioning.
Know Your Springs
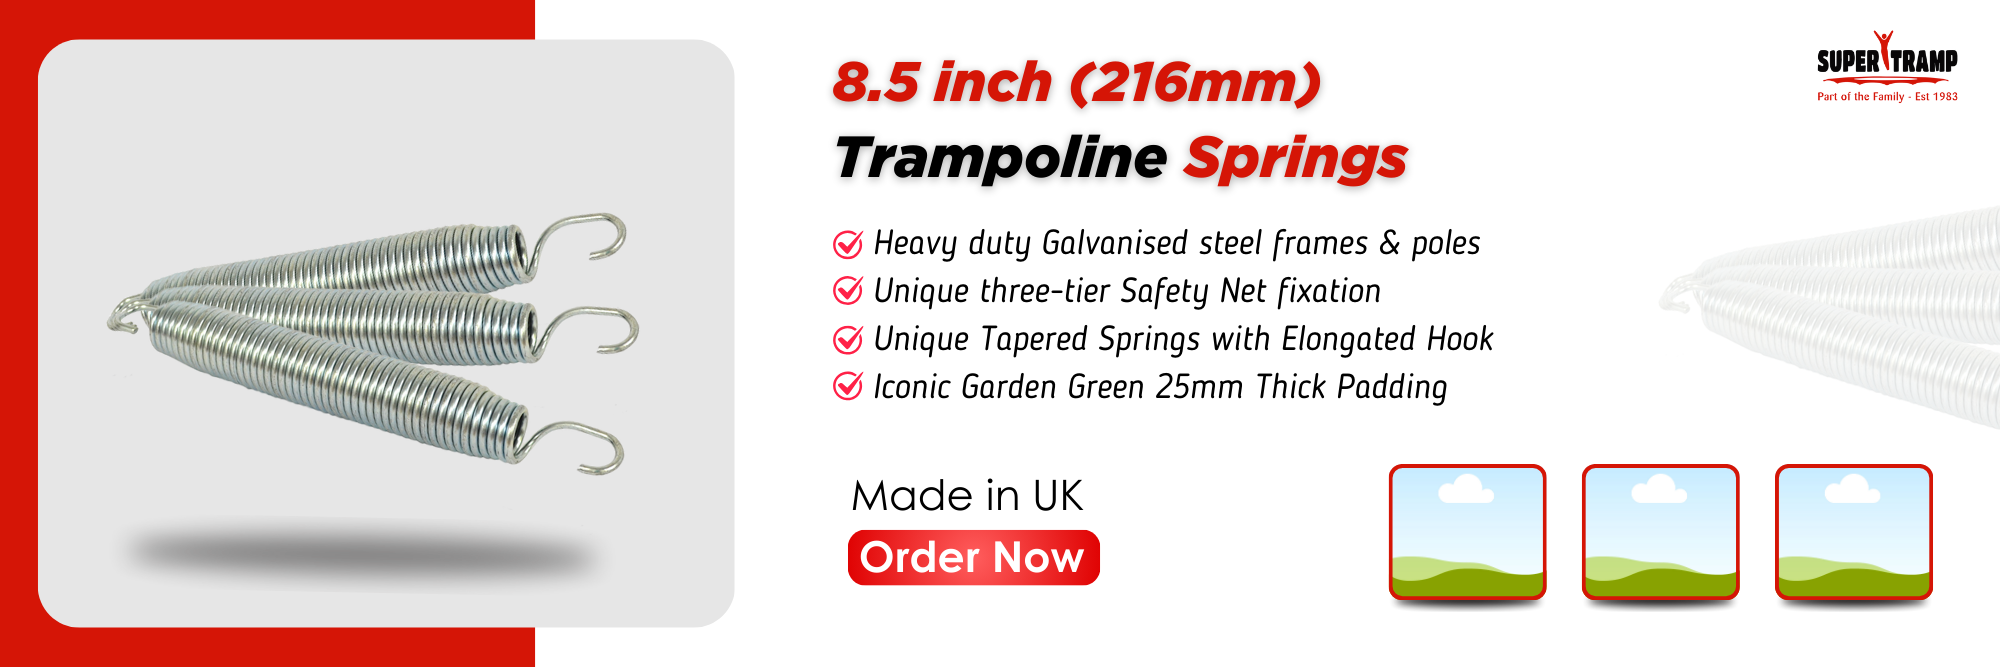
Identify the number of springs your trampoline needs and the type of springs required. Most trampolines use 6 to 8 springs per trampoline section. The springs will either be looped end or hooked end, so check which style you need. Measure one of your existing springs to determine the correct length and gauge (thickness) for replacement. It’s best to purchase springs recommended by your trampoline’s manufacturer to ensure safety and performance.
Safety First
Before removing any springs, check that the trampoline netting and trampoline pads are securely attached and in good condition. Ensure the trampoline is placed on level ground. For your safety, have another person present to help hold sections steady as you work. Never remove more than one spring at a time, and do small sections of the trampoline at once. Removing too many springs at once can cause the trampoline to become unstable and hazardous.
Installing the new springs
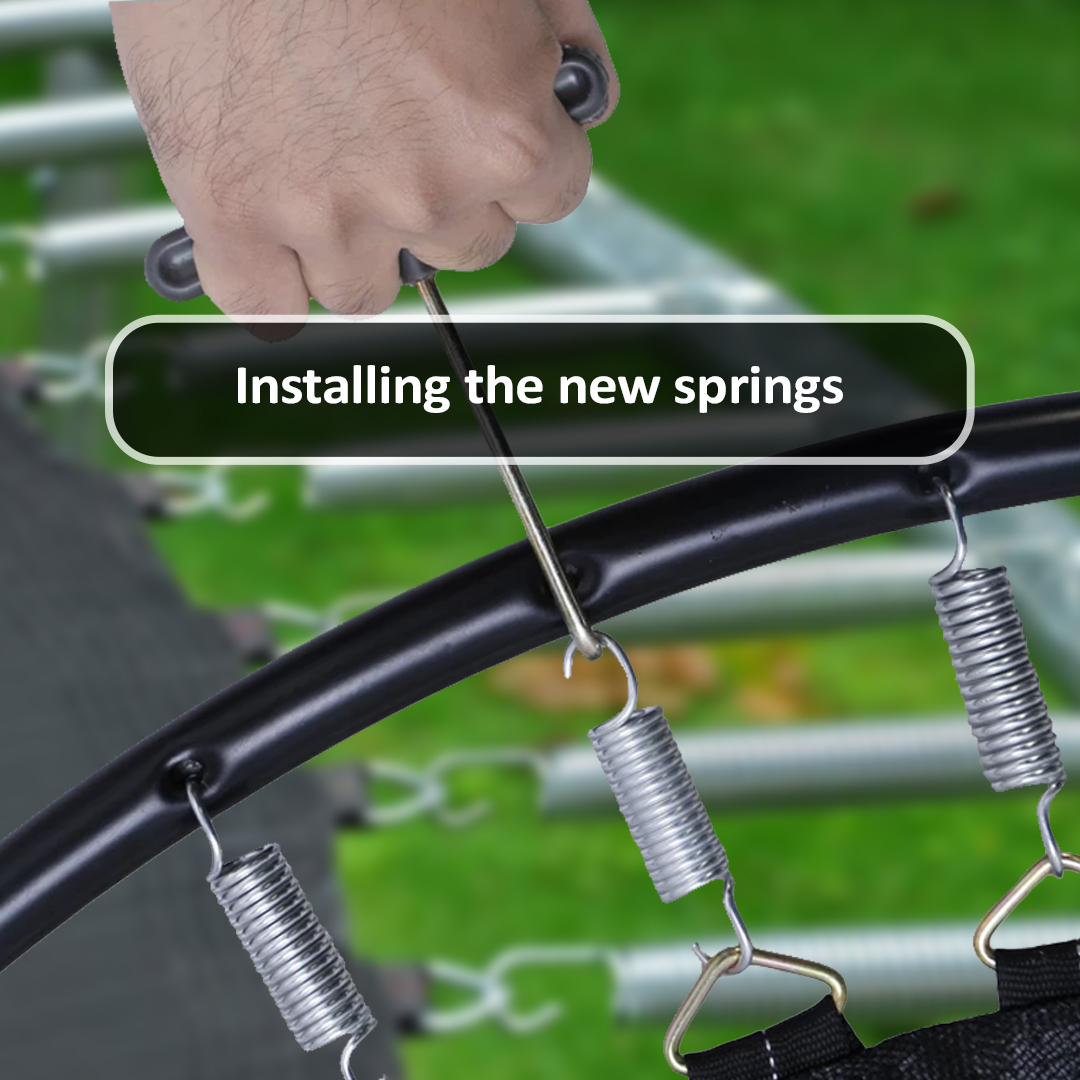
The first step is ensuring you have the correct replacement springs for your trampoline model. Once you have the new springs in hand, you need to determine where each spring attaches. The easiest way is to replace one spring at a time, so you can use the existing springs as a guide.
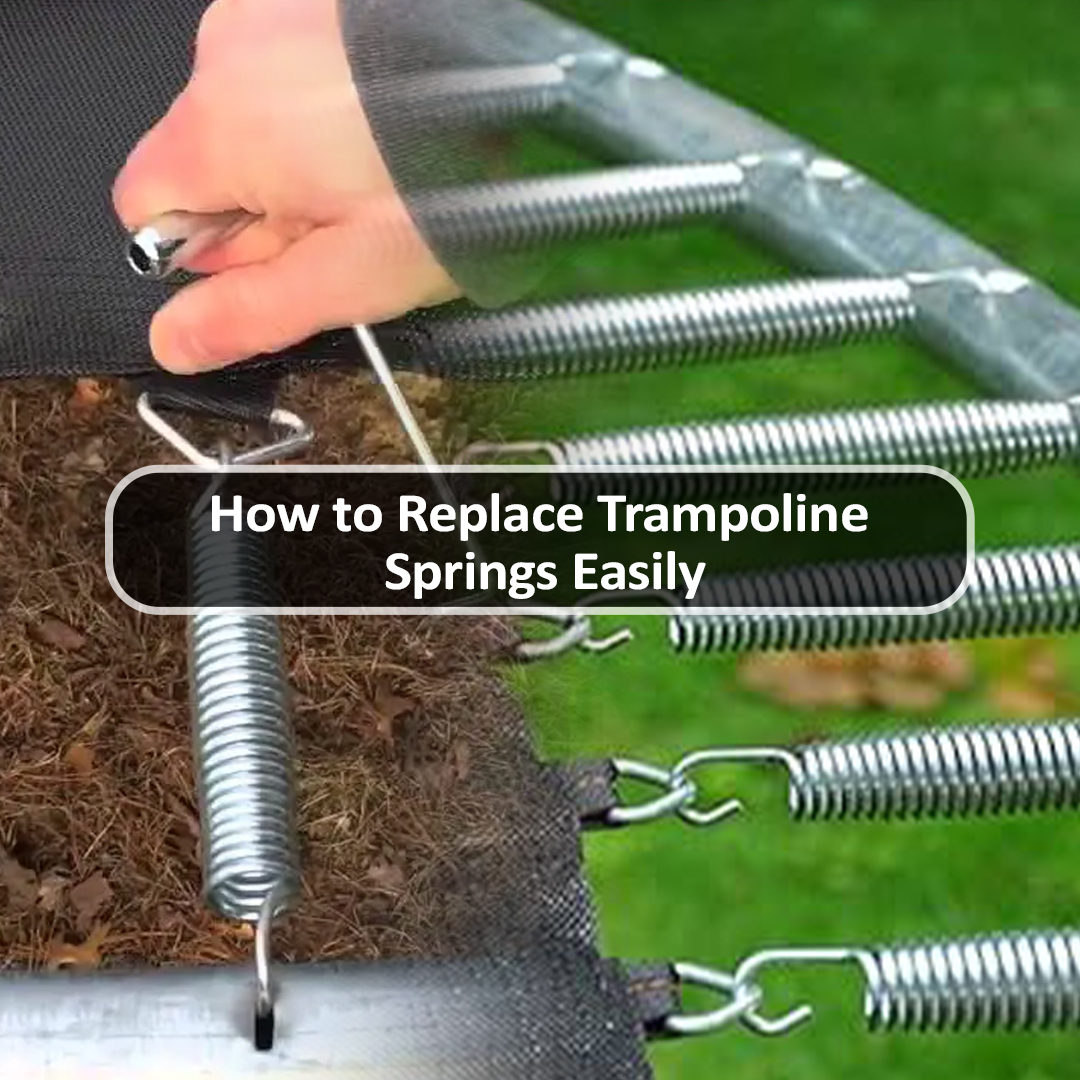
Begin by choosing one spring to replace. Locate where that spring attaches to the frame and where it attaches to the mat or net. Place one end of the new spring over the attaching point on the frame, then grasp the other end with your spring puller tool.
Attaching the new spring
- With the new spring in position, you can now attach it securely.
- Place the end of the spring you’re holding over the attaching point on the mat or net.
- While holding the spring in place, use your other hand to pull the spring back and up, attaching it to the frame.
- Release the spring puller, allowing the tension to pull the mat up.
Check that the new spring is attached properly by giving it a firm tug with your hands. It should feel taut and secure, just like the existing springs. If it feels loose or unstable, detach it and reattach following the steps again.
Once the first new spring is installed, move on to replacing the remaining springs one at a time using the same process. Take your time to ensure each new spring is positioned and attached properly. With all the springs replaced, do a final check of the entire trampoline by pushing down on the mat in multiple places. It should feel evenly taut all around.
Checking for even tension and alignment
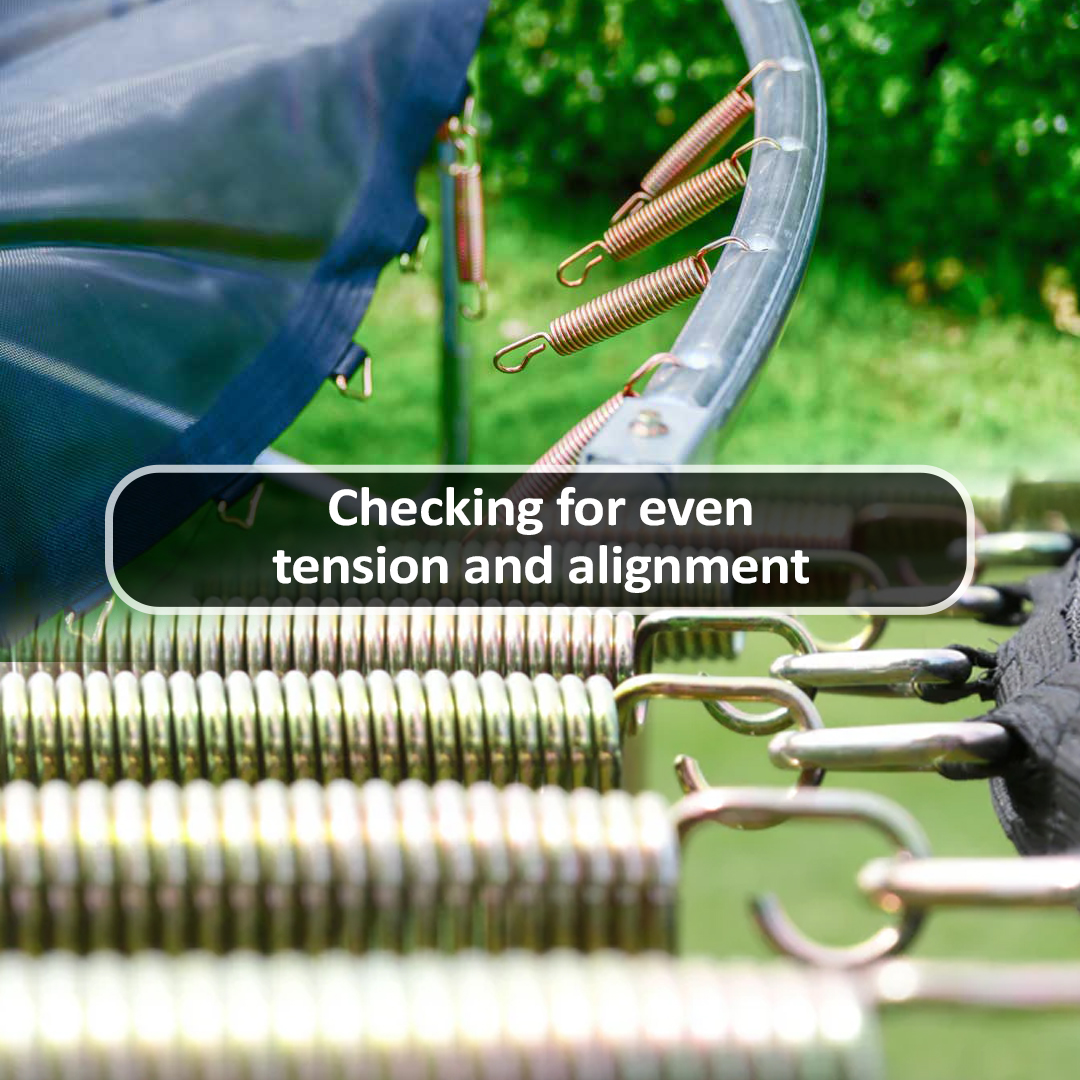
Even spacing
Once you’ve replaced the old springs, it’s important to check that the new springs are evenly spaced around the garden trampoline mat. If some springs are closer together or farther apart, it can affect how the mat sits and lead to weak points or instability. Walk around the outside of the trampoline and visually inspect the springs. If any look uneven or off, you may need to adjust the attachment points on the mat or frame to fix the spacing.
Proper tension
Next, you’ll want to check that each spring has the proper tension. The springs should have some give but still feel taut. If any springs feel loose or overly tight, the trampoline will not have an even, balanced feel. To test the tension, grasp one spring at a time and gently pull up, feeling how much give there is. Compare how each spring feels as you go around the trampoline. If you find any springs that seem off, you may need to adjust the attachment point on the mat or frame to increase or decrease the tension. The goal is for all springs to have roughly the same tension for optimal performance and safety.
Final safety check
Once the spacing and tension seem even and correct, do a final check of the overall trampoline. Ensure the mat is sitting evenly without any sagging or drooping areas. Do a bounce test in the very centre of the mat to check that it feels balanced and responsive. Get friends or family members to also do bounce tests around the outer edges of the mat. Make any final minor adjustments needed to the springs or attachments. When everything is even, taut and responsive, your trampoline should be ready for safe jumping again!
With some patience and attention to detail, you can ensure your trampoline springs are properly installed for maximum safety and fun. Take the time to check that everything looks and feels even and balanced before letting kids back on the trampoline.
Conclusion
With a few simple tools, you can replace those old, worn out springs on your trampoline and make it bounce like new again. Just be sure to take all the right safety precautions and don’t rush the process. Trampolining is meant to be fun and carefree. With your newly re-sprung mat, you’ll be back to bouncing sky high in no time. And just think – next time a spring or two need replacing, you’ll be a pro at it.
