

You love bouncing on your trampoline, but over time parts wear out and need replacing. But, with a few simple tools and trampoline spares, you can get your trampoline bouncing like new again. Replacing trampoline spares is easier than you think when you follow this handy step-by-step guide.
It’s very important to identify which parts need replacing, choosing the right replacement parts, safely disassembling your trampoline, installing the new parts, and reassembling it securely.
In this blog, you will get a step by step guide on how to replace trampoline spare parts like trampoline bed, safety enclosure, frame pads and trampoline springs.
Assessing Your Trampoline

Inspection of Trampoline Condition
The first step is conducting a thorough inspection of your trampoline. Check that the frame pads, springs, mat, and safety net are secure and show no signs of damage or wear. Look for any tears, holes, or fraying in the materials. Test that all parts are firmly attached by tugging on them. If anything seems loose or damaged, it will need replacement. It’s best to inspect your trampoline regularly to catch issues early and prevent injuries.
Identification of Parts Needing Replacement
Once you’ve inspected the trampoline, determine which parts need replacement. The most common replacements are springs, pads, mats, and safety nets. Springs lose tension over time and with heavy use, so if your trampoline isn’t bouncing like it used to, it’s probably time for new springs. Pads, mats, and nets typically need replacement every 3-5 years depending on quality and exposure to elements.
Understanding Trampoline Specifications
Before purchasing replacement parts, check the specifications of your trampoline to ensure you get the correct sizes and types. You’ll need to know the trampoline size (round or rectangular and diameter/dimensions), number of springs, spring size, mat diameter, and safety pad dimensions. The specifications should be listed in your trampoline’s instruction manual. If you no longer have the manual, you may be able to find the information on the manufacturer’s website by entering your trampoline’s serial number or model number. Getting the wrong size or type of replacement parts could affect the safety and performance of your trampoline.
Acquiring Replacement Parts
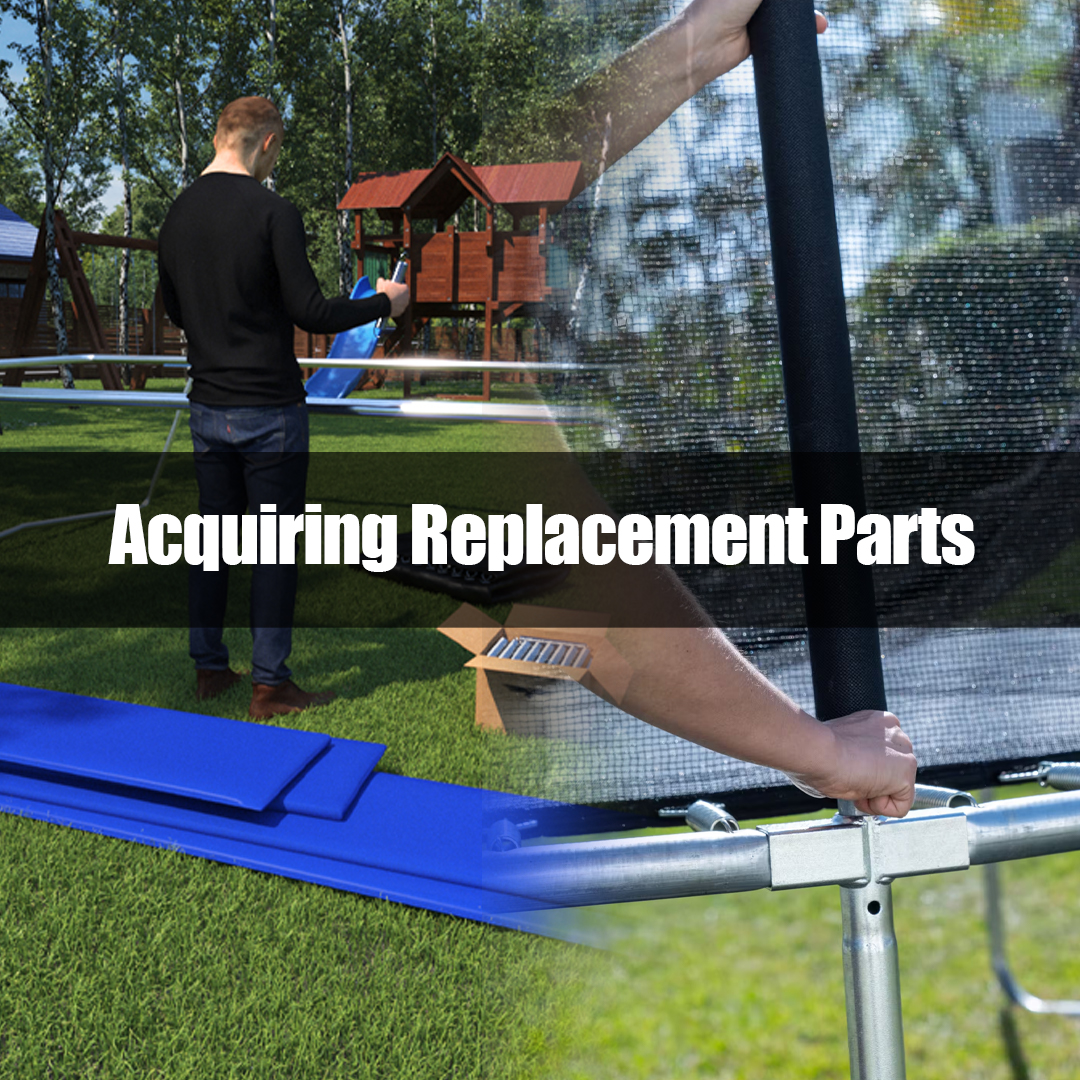
Researching Reputable Suppliers
The first step to acquiring replacement trampoline parts is finding a reputable supplier. Do some research on trampoline part retailers in your area or online. Check reviews from other customers to determine suppliers with a proven track record of selling high-quality, compatible parts. Reputable retailers will offer clearly specified parts, provide helpful customer service, and stand behind their products.
Ordering Correct Spare Parts
Once you’ve found a reputable supplier, you need to order the correct replacement parts for your specific trampoline make and model. Trampoline designs can differ between brands and models, so parts are not universally interchangeable. Check your trampoline’s instruction manual for details on the correct springs, mats, safety pads and any other parts you need to replace. Provide the supplier with your trampoline’s make, model number, and the part numbers of the pieces you need to replace. Double check that the parts they recommend or ship to you match those specifications.
Ensuring Compatibility and Quality
When your new trampoline parts arrive, thoroughly inspect them to ensure they are high quality and compatible with your trampoline before installing them. Springs, mats, safety pads and other parts should be specifically designed for your trampoline’s make and model. They should show no signs of damage or wear and be constructed of durable, weather-resistant materials. Springs should be the correct length, gauge, and number for your trampoline. Mats and pads should fit properly with no tears, punctures or UV damage.
Replacing the Trampoline Bed

Assessing Bed Condition
The trampoline bed is one of the most important parts of your trampoline, so inspecting it regularly is key. Check for any tears, holes or weak spots in the material and padding. Measure the diameter of your current bed to determine the correct size for replacement. It’s best to replace the bed if there are any signs of damage or every 3-5 years as a precaution.
Removing Old Bed
To remove the old trampoline bed, you’ll need to detach it from the frame. Locate the bed connectors, which attach the bed to the frame using springs. Release each connector one by one using a bed removal tool or pliers. Be very careful, as the tension from the springs can cause injury if released suddenly. Remove any remaining springs from the frame. Discard the old bed according to the manufacturer’s instructions.
Installing New Bed
Lay out your new trampoline bed on the ground and locate the connector holes around the edge. Attach one spring at a time to the frame using the bed installation tool, pulling the bed up and over the frame while maintaining even tension. Connect the springs to the bed, pulling each one taut as you go. Make sure the new bed is centred properly on the frame before tightening the final springs.
Securing Bed in Place
Double check that all springs are securely fastened to both the bed and frame. The bed should have an even, taut surface with no sagging, folds or uneven areas. Bounce on the new bed to ensure proper tension and installation. Your trampoline bed replacement is now complete and ready for action! Take it for an inaugural bounce and enjoy your refreshed trampoline.
With some time and patience, replacing your trampoline bed can be a straightforward DIY task. Follow each step carefully and don’t hesitate to call the manufacturer’s support line if you have any questions during installation. A new bed can breathe new life into an older trampoline, so take your time and do it right.
Replacing the Safety Enclosure

Removing the Old Enclosure
To replace your trampoline’s safety enclosure netting, first you’ll need to remove the old net. Use wire cutters to cut the netting away from the trampoline frame, being extremely careful not to damage the frame. Remove any remaining netting pieces or debris.
Installing the New Enclosure
Once the old net is removed, unpack your new enclosure netting. Find the entrance to the net, which will have a zipper or Velcro opening. Attach the entrance to the middle section of one side of the trampoline frame. Then, work your way around the frame, pulling the netting over and securing it in place with the straps, ropes or clips provided with your new net. Ensure the netting is evenly tensioned all the way around for the best safety.
Securing the Enclosure in Place
The final step is ensuring your new net is securely installed. Double check that it’s properly attached to the trampoline frame all the way around. Tighten any straps or ropes and make sure the entrance is securely fastened. Give the net a firm tug in all directions to confirm it’s taut and stable.
Replacing the enclosure netting on your trampoline may seem like a tedious task, but for the safety of anyone jumping, it’s important to properly maintain. Be sure to inspect your trampoline netting regularly and replace it every couple of years or sooner if you notice any tears, holes or damage.
Replacing the Frame Pads
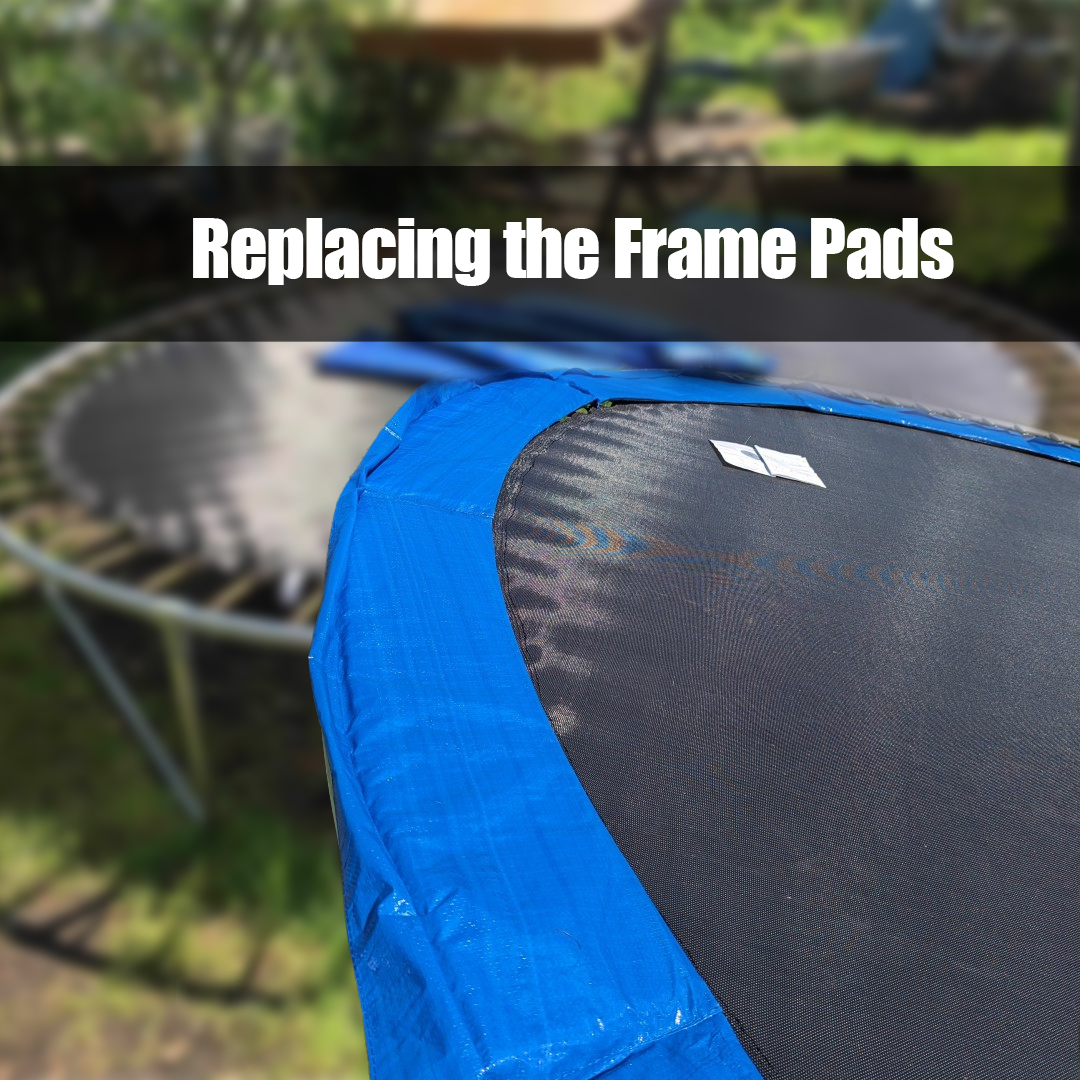
Removing the Old Frame Pads
To start, you’ll need to remove the old, worn out frame pads from your trampoline. This may require some elbow grease, as the pads can become stuck on over time. Gently pry up an edge of the pad with a putty knife or similar tool and work your way around, slowly peeling it off. Any remaining adhesive can be scraped off with the putty knife. Be very careful not to damage the trampoline frame during removal.
Installing the New Frame Pads
With the old pads removed, you’re ready to put on the new ones. Line up the edge of the pad with the edge of the frame, then firmly press into place. Work your way around the entire trampoline, smoothing out any air bubbles as you go. The new pads should go on easily, as they have a self-adhesive backing. Take your time and make sure each section is secure before moving on.
Securing the Frame Pads in Place
To ensure the new frame pads stay put for the long run, it’s a good idea to secure them with waterproof silicone caulk, weather-resistant strapping tape, or zip ties. Run a thick bead of caulk along the edge where the pad meets the frame, then smooth it out with a putty knife or your finger. Alternatively, you can place strapping tape or zip ties around the entire circumference of the trampoline, threading them through the mesh netting and over the edge of the pads. This helps prevent the pads from peeling up or shifting over time due to weather and use.
With the old pads removed and new ones installed and secured, your trampoline frame will have fresh protection and be ready for more high-flying fun. Be sure to check and re-secure the pads regularly to maximise their lifespan.
Replacing the Springs
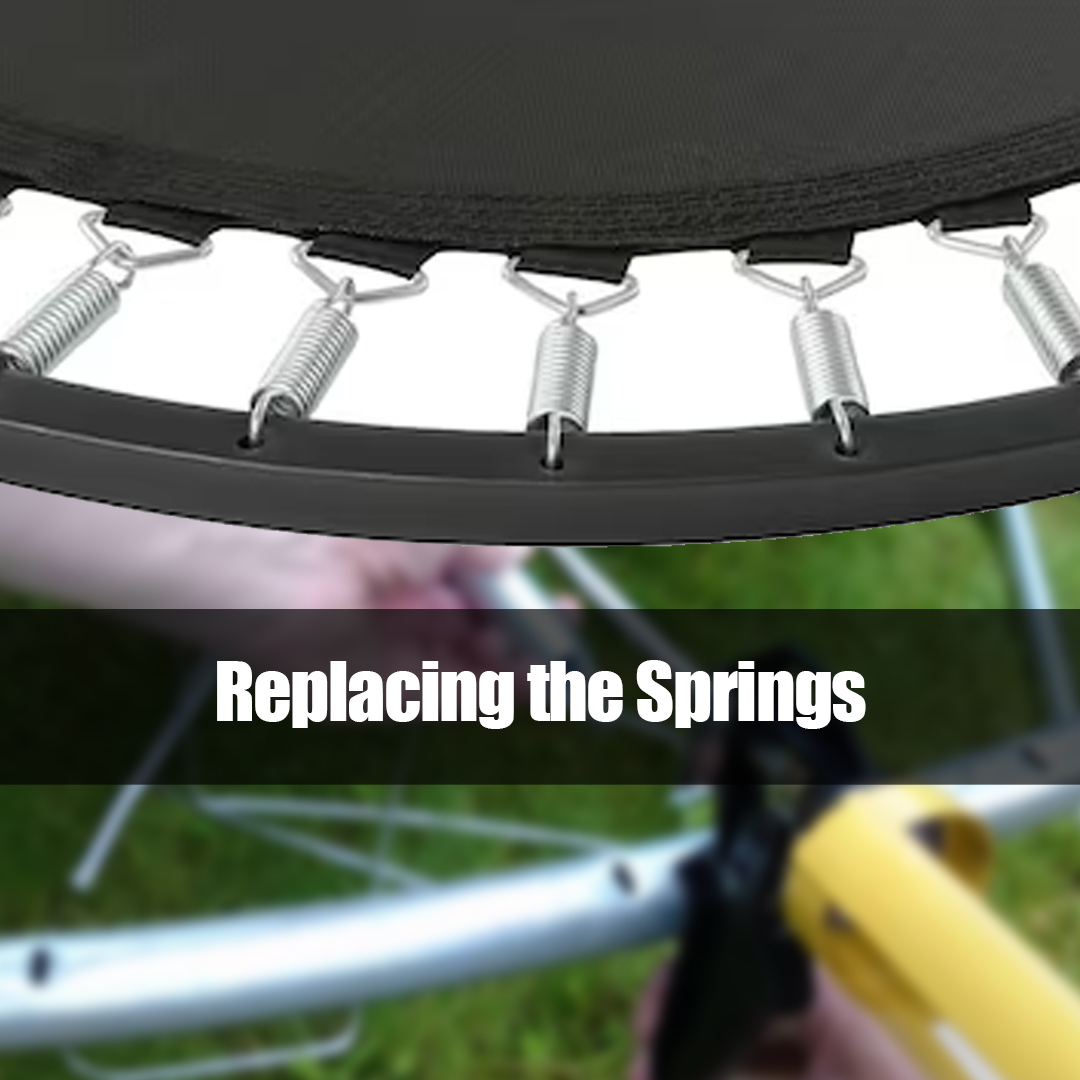
Removing the Old Springs
To remove the old springs, start by locating the spring pulling tool that came with your trampoline. This is a long rod with a hook on the end that helps loosen the springs. Working one spring at a time, slip the hook under the spring and lift up to release tension. Unhook the spring from the mat edge and frame rail. Remove all springs in the same manner.
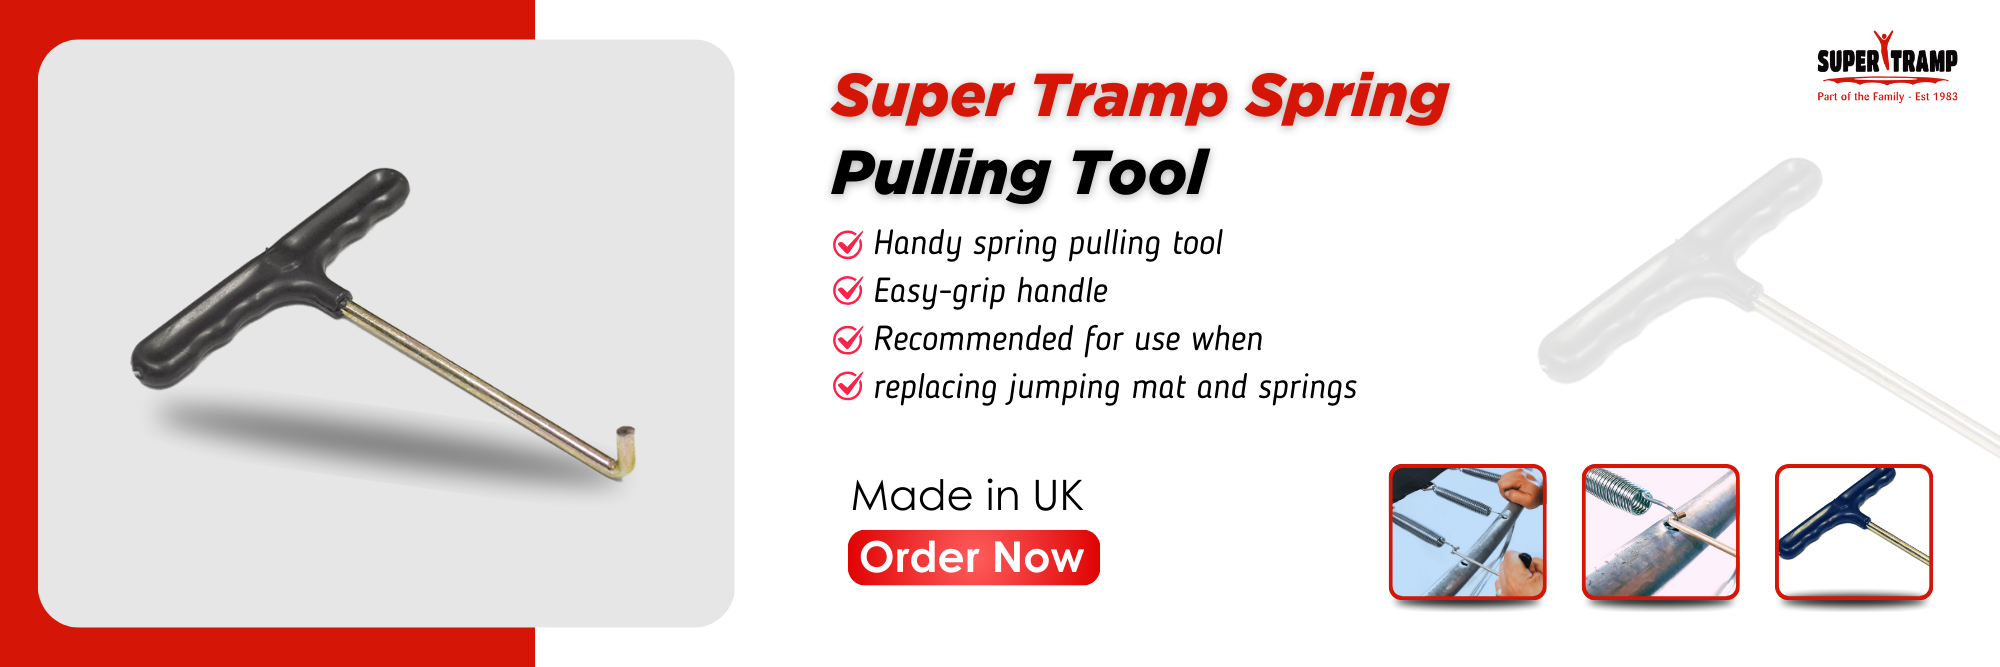
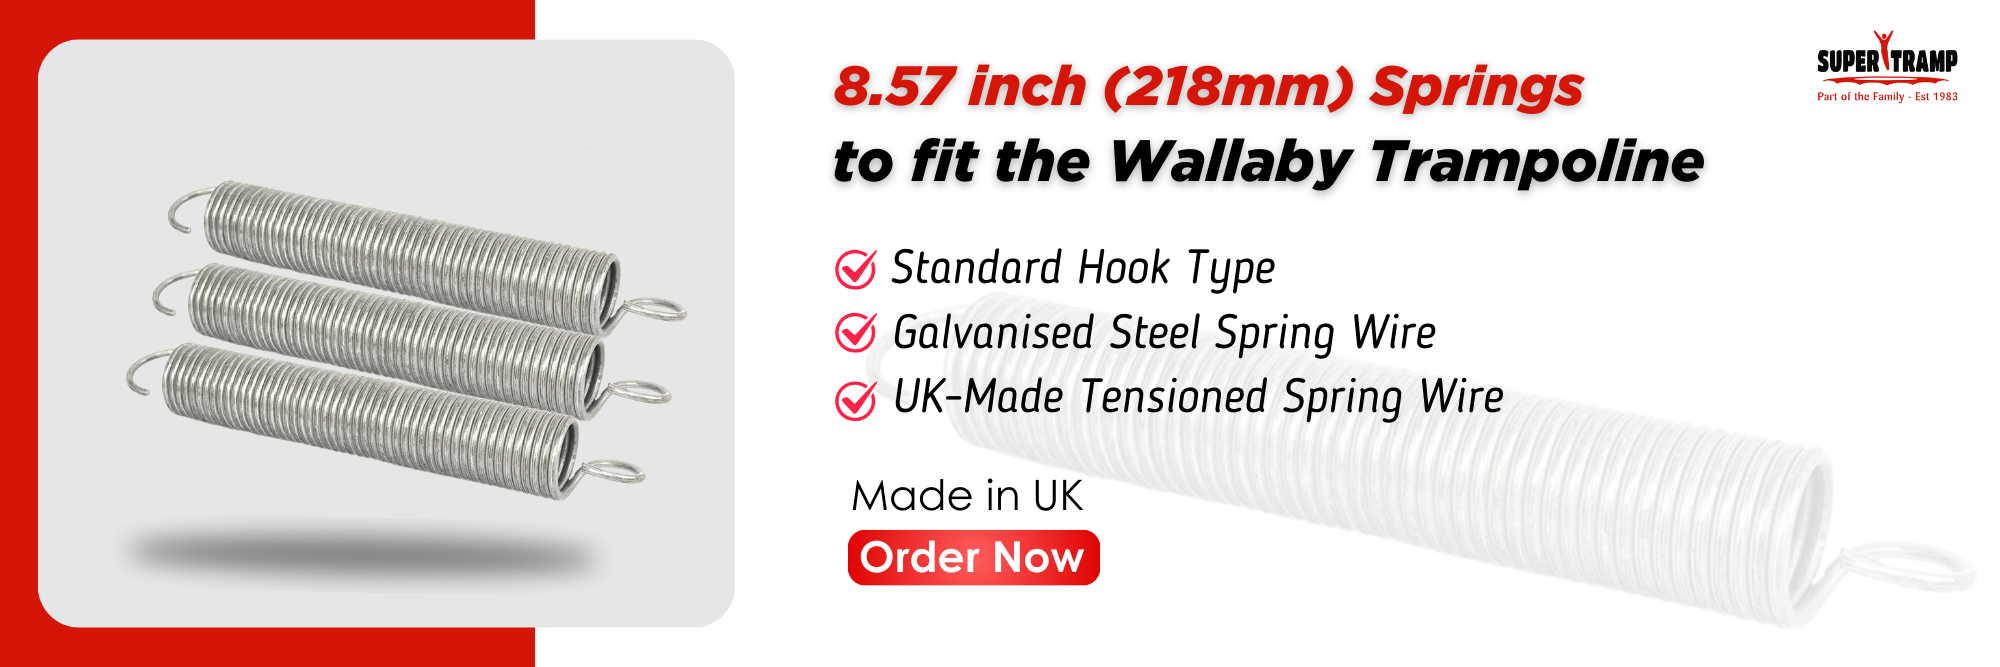
Installing the New Springs
Next, install the new replacement springs. Connect one end of a new spring to the mat edge, then wrap the other end around the frame rail. Use the spring tool to pull the spring into place and attach the loose end to the frame. Repeat with all new springs, working in a circle from one point.
Ensuring Proper Tension and Alignment
Once all the new springs have been installed, double check that they are properly tensioned and aligned. The mat should sit evenly within the frame with springs at a 45-degree angle. Bounce on the mat to ensure it feels taut and responsive. Make any needed adjustments to the springs using the spring tool.
Properly tensioned and aligned springs are key to your trampoline’s performance and safety. Take your time replacing the springs and check your work to ensure maximum bounce and many more hours of fun. Replacing the springs is a DIY task, but if at any point you feel unsure, don’t hesitate to call a professional.
Conclusion
By now, you should feel confident tackling a trampoline repair on your own. Just remember to work safely, double check instructions, and don’t be afraid to call in a professional if you get stuck. Trampolining is such a fun backyard activity for the whole family to enjoy. With the right know-how and parts, you can save money by fixing minor issues yourself. That means more time bouncing around with a smile on your face. Thanks for reading – now go and enjoy your freshly repaired trampoline!
