The weather in the UK is like a kaleidoscope, ever-shifting and always surprising. On one day, it turns the sky golden for your selfies on the trampoline while you’re enjoying the sun; on another, it sends strong winds that shake fences and scatter garden chairs like toys. We love watching nature shows, but while we stay ready for the change, is your trampoline equally prepared?
That bouncy patch of joy in your garden may look harmless, but the moment strong winds hit, it turns into a giant sail, flying across gardens, smashing into fences, or worse, damaging property. And when that happens, it’s not just the trampoline that’s at risk… It’s your wallet, too.
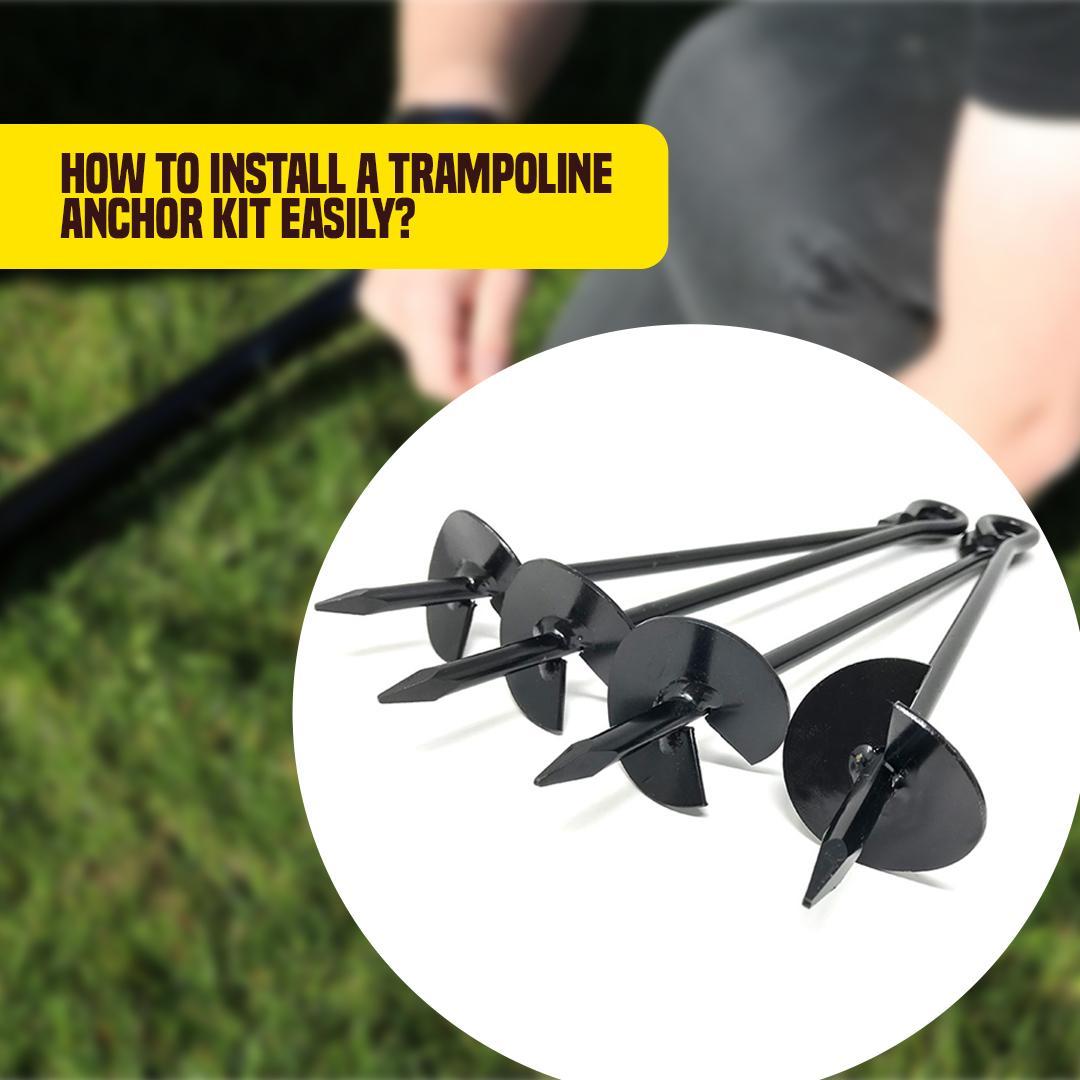
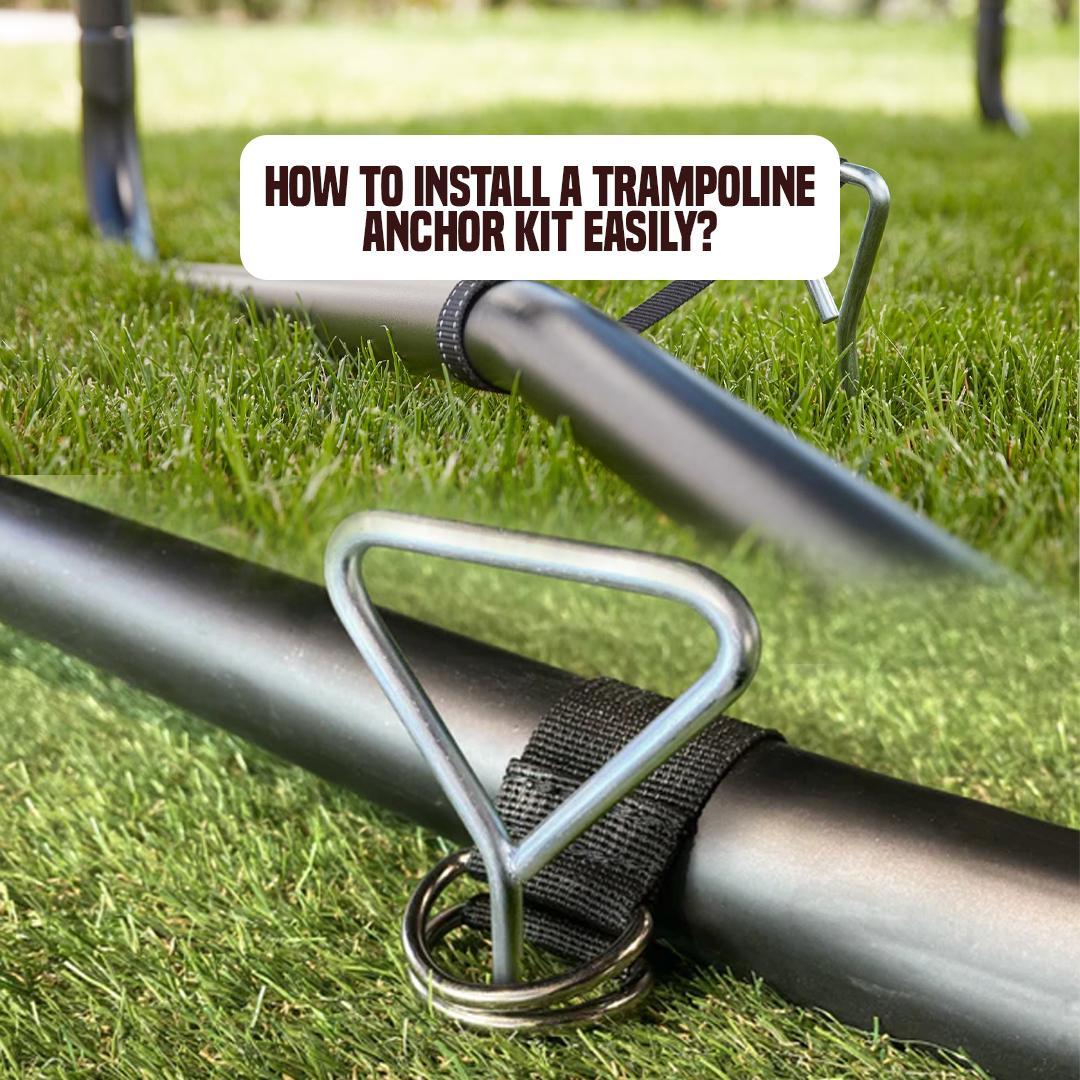
If you’ve ever wondered how to secure your trampoline without overcomplicating it or hiring someone, you’re in the right place. This blog is your no-fluff, step-by-step guide to installing a trampoline anchor kit, a small investment that protects your big garden fun. Let’s get into it and save you from the regret (and repair bills) of doing it too late.
Why Anchor Kits Are Important for Trampoline
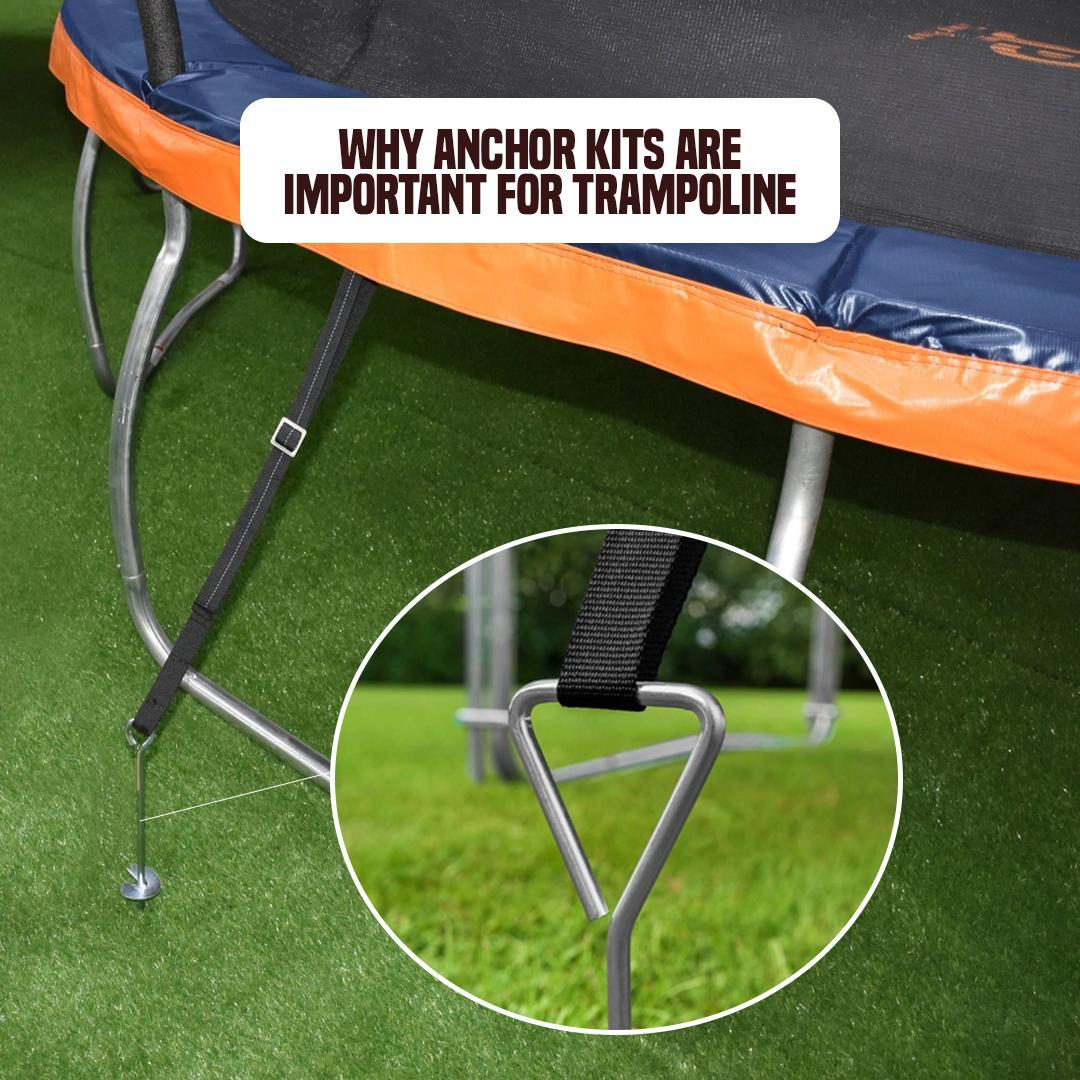
The joy of bouncing on a garden trampoline is often overshadowed by one thing we can’t control: the unpredictable UK weather. You might think a trampoline is too heavy to move, but the truth is: wind doesn’t ask for permission. One strong gust, and your trampoline can shift, tip, or worse, take flight. That’s why securing it with the right anchor kit is more of a need than an optional add-on.
Let’s break down exactly why every UK trampoline owner should take anchoring seriously, not just for safety, but for savings too.
3. It Reduces the Risk of Accidents
A loose trampoline is dangerous. Without proper anchoring, even one hard jump can cause the frame to shift slightly, tipping the balance and surprising the jumper. Add children into the mix, and it’s a recipe for injury.
If your garden has paving nearby, fencing, or garden furniture close to the trampoline, anchors act like silent bodyguards, preventing trampoline from blowing away.
4. It Extends the Life of Your Trampoline
Every inch a trampoline shifts is one step closer to wear and tear. Small movements cause the mat to expand out of shape, strain the legs, and loosen bolts over time. Anchoring stops this slow damage in its tracks.
Think of it as giving your performance trampoline a solid foundation, the kind that adds 2-3 years to its usable life. That’s fewer replacements, fewer repairs, and way more savings.
When it comes to trampolines, prevention pays off. Anchors safeguard your peace of mind in addition to your investment. Now that you understand the ‘why’, let’s look at the ‘how’ and what you need to get started with a hassle-free anchor installation.
What You’ll Need Before You Start
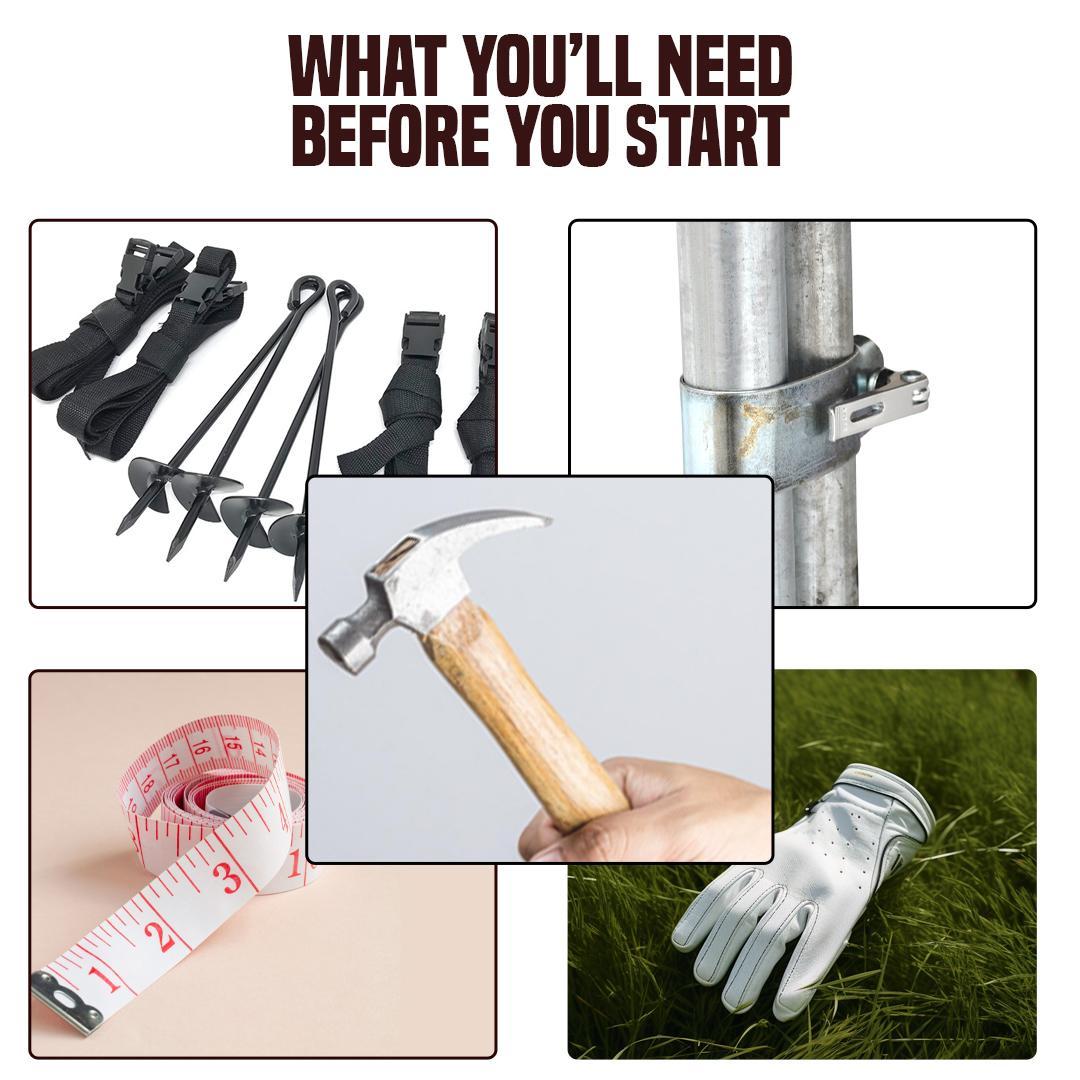
Before you dive into installing your trampoline anchor kit, let’s make sure you’re fully prepared. Here’s your quick, practical checklist of the tools and parts that’ll make the job smooth, safe, and successful.
1. A Premium-Quality Trampoline Anchor Kit
Start with the right foundation. Choose an anchor kit that’s built for the UK’s unpredictable weather, ideally made with galvanised steel to resist rust and stay strong in wet conditions.
Tip: Choose Super tramp trampoline anchor kits that include weatherproof straps and metal buckles; plastic ones don’t hold up well in storms.
2. Leg Clamps / Replacement Elevator Kit
If your trampoline sits on a slope or soft patch, leg clamps add that extra stability where anchors alone might fall short. They wrap around the leg and connect directly to the anchor, locking the structure more securely in place.
3. Hammer
For U-peg-style anchor kits, you’ll need a hammer to drive the anchors into the ground. A rubber mallet works best if you’re trying to avoid damaging the pegs, especially in harder soil conditions.
4. Measuring Tape
Precise placement makes a big difference. Use a measuring tape to evenly space your anchors around the trampoline and keep strap lengths consistent. This prevents uneven tension, which can pull the frame awkwardly during bouncing.
5. Gloves
Protect your hands. Simple as that. Whether you’re twisting in metal spirals or hammering down pegs, gloves help avoid scrapes, blisters, and unexpected slips — especially if the ground’s damp or muddy.
Once your gear’s in hand, you’re all set to move on to the most important part: installing your trampoline anchor kit the right way. Let’s break it down into simple steps that anyone can follow, no matter your DIY experience.
How to Install a Trampoline Anchor Kit with 2 Easy Methods
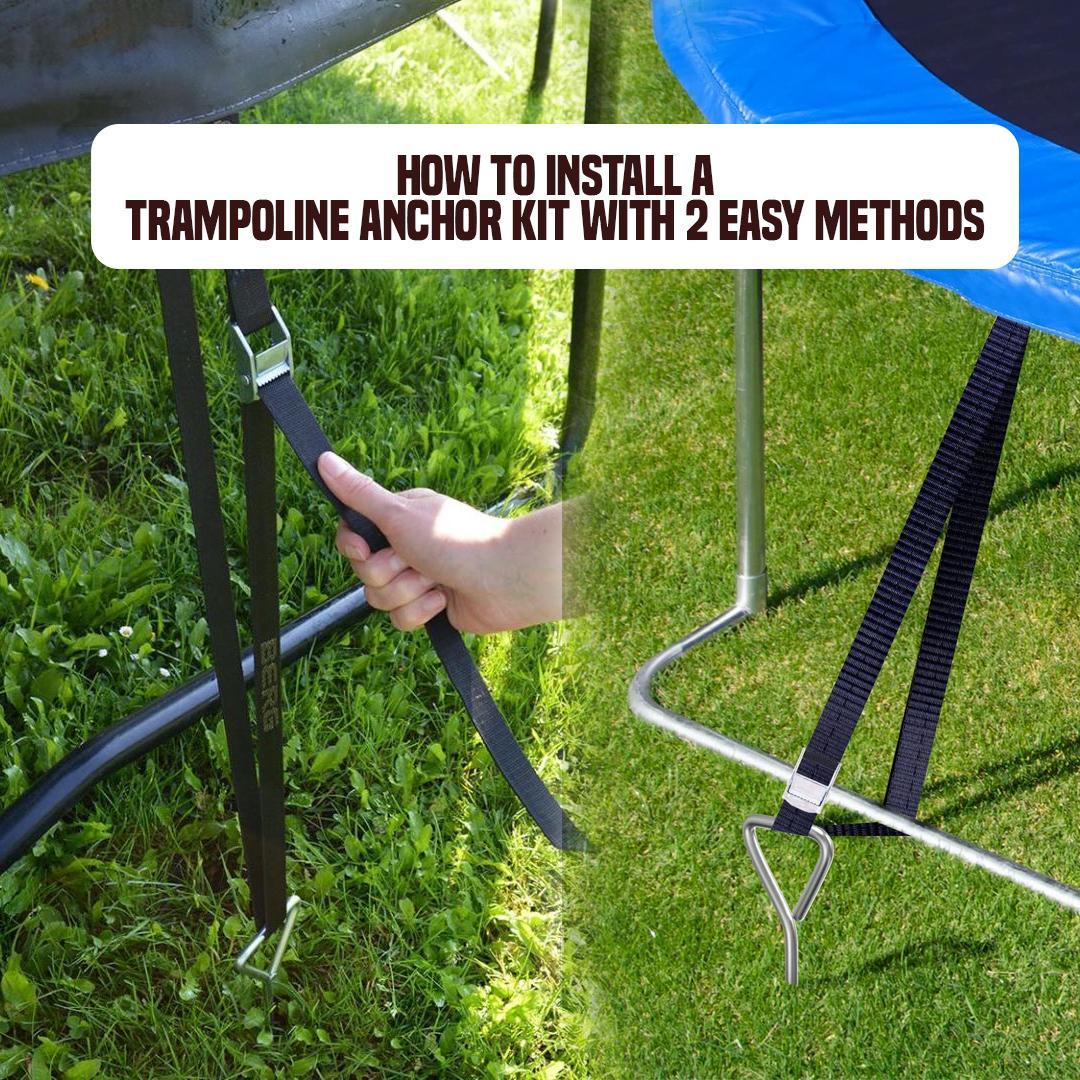
When it comes to above-ground trampoline safety, installation matters just as much as the anchor kit you choose. The right method, done the right way, can save you from costly damage and unnecessary stress.
Whether you’ve picked a spiral anchor kit with straps or a leg clamp setup, both options are beginner-friendly and only take a bit of time and care.
Method 1: Using Straps (Perfect for Spiral or Auger Anchors)
If your trampoline kit came with spiral-style anchors and tension straps, this method is for you. It’s ideal for soft soil and areas with moderate to strong wind exposure.
Step 1: Select the Frame’s Anchor Points
For a balanced distribution of weight, aim for four locations, one close to each leg. Steer clear of areas that are too soft or rocky.
Step 2: Calculate the Distance Between the Anchor Point and the Frame
To maintain a constant distance between your anchors and the legs, use a tape measure. This aids in uniformly distributing the tension.
Step 3: Attach the anchors to the ground with screws.
Using a metal rod or your hand, twist each spiral anchor into the ground. Only the top loop should be visible due to its depth.
Step 4: Loop the Strap Over the Trampoline Frame in Step Four.
First, lower the strap over the top of the frame. Check to make sure it is flat and not twisted.
Step 5: Guide the Strap Through the Anchor Loop
Pull the strap’s free end through the metal loop of the anchor below.
Step 6: Feed the Straps Through the Buckle
Thread the strap through and fasten it with the tension buckle. Pull until snug.
Step 7: Tighten the Straps Evenly
Repeat for all sides and adjust the tension so the trampoline holds firm without strain.
Pro Tip: Tighten straps with care. You want them firm, not forced; too much pulling can bend the frame over time.
Method 2: Using Leg Clamps (Best for Slopes or Added Strength)
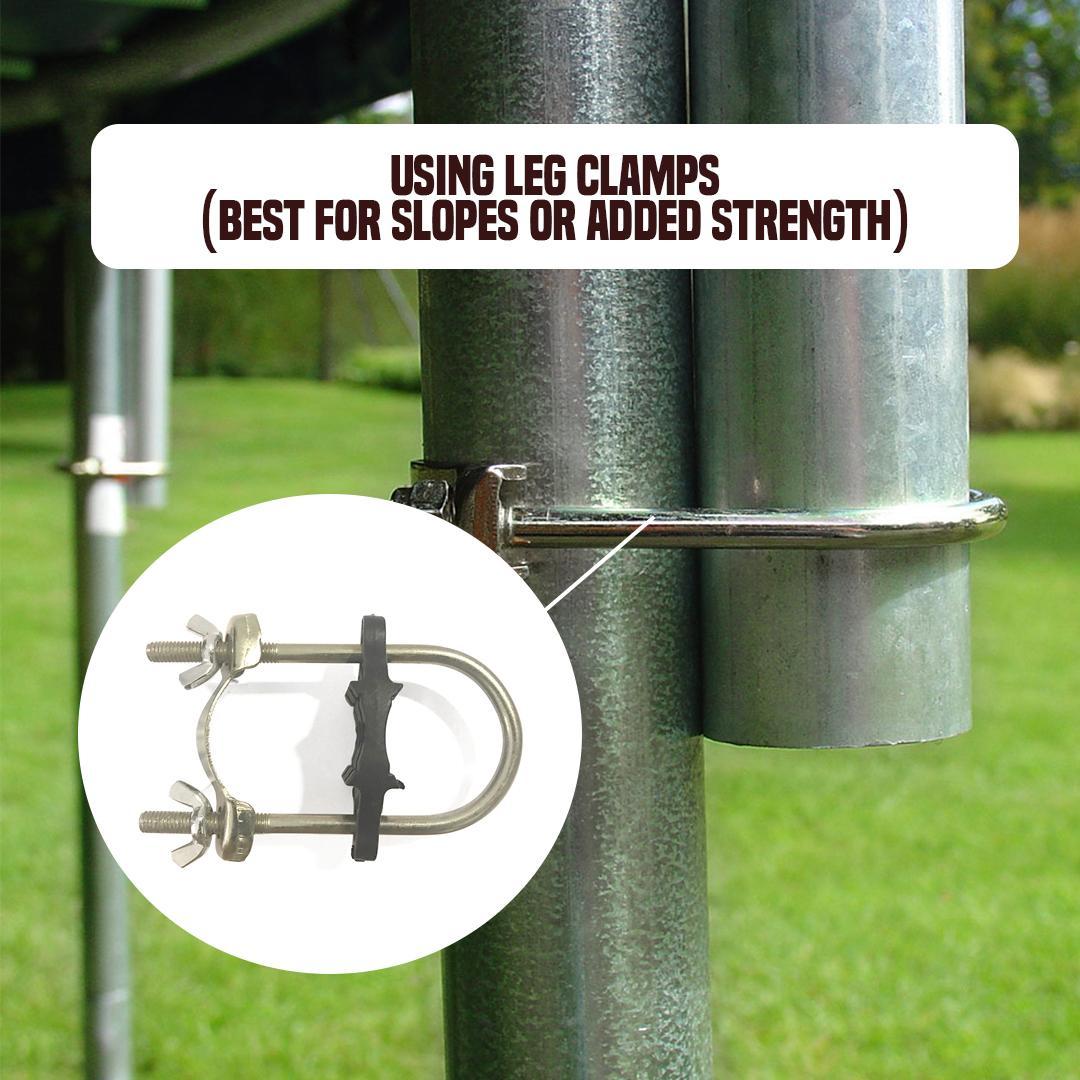
If your trampoline sits on uneven ground or you’re in a high-wind area, leg clamps are your best bet. They offer added grip and hold the frame more directly than straps alone.
Step 1: Make the ground clear
Clear the area around each leg of any rocks, roots, or trash. This facilitates the peg’s solid grounding.
Step 2: Select Anchor Points for Each Leg’s Centre
The best balanced grip is provided by the middle of the leg. Keep clamps away from the leg’s edge.
Step 3: Position the Peg Near the Leg
The metal peg should be placed next to the leg base. Until the loop at the top is level with the frame, hammer or screw it into the ground.
Step 4: Encircle the Leg and Peg with the Clamp
Pass the clamp through the anchor peg’s loop after sliding it over the leg. It should fit securely and not sway.
Step 5: Tighten the Clamp for a Secure Hold
Tighten the clamp using the provided bolt or the built-in locking mechanism to secure the leg firmly.
Real Story: One customer from Manchester switched to leg clamps after their trampoline toppled during a 50mph wind. Since then? Rock solid, not a single shift during two back-to-back storms.
Final Thoughts
Replacing a damaged trampoline or dealing with an unexpected accident isn’t just frustrating, it’s expensive. And yet, most of it can be avoided with one simple step: anchoring it properly.
We’ve walked through why a trampoline anchor kit isn’t just a smart idea, it’s a must-have in the UK’s ever-changing weather. From protecting your frame in heavy winds to keeping your garden safer for kids, anchoring gives you peace of mind without breaking the bank.
More importantly, we showed you just how easy it is to install one, whether you’re using straps or leg clamps. With the right tools and clear steps, anyone can do it, no professional needed.
So, don’t wait for the next windy day to teach you a costly lesson. You’ve got the guide now, grab your kit and secure your fun.
Explore our weather-tested, UK-ready trampoline anchor kits today — your trampoline (and your wallet) will thank you later.
