There’s nothing quite like the thrill of bouncing high up into the air. But before the children start somersaulting, you’ll need to properly set up your new round trampoline. Don’t worry, we’ve got you covered. Setting up a ground-enclosed round trampoline is pretty straightforward as long as you follow the instructions. The key things to keep in mind are finding a flat spot, assembling the frame, attaching the springs and safety pads, and securing it properly.
In this blog, you will learn how to set up a Ground Enclosed or In Ground trampoline from scratch.
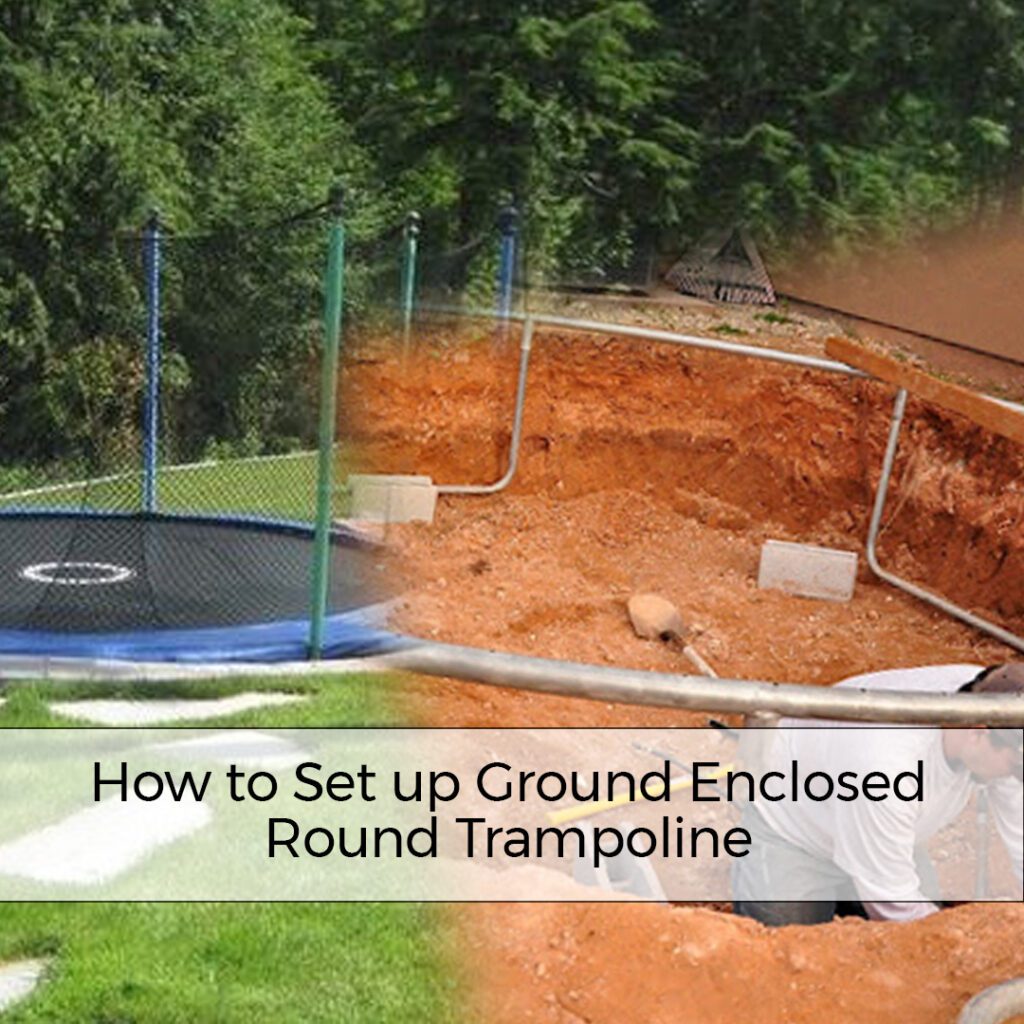
Selecting the Right Location for Your Ground Enclosed Round Trampoline

The location you choose for your trampoline is critical to keeping it safe and ensuring years of fun. Look for a spot in your garden that is completely flat and level. An uneven surface can cause the trampoline to wobble or tip, creating a falling hazard.

You’ll also want plenty of overhead clearance—at least 20 feet high and free of overhanging branches. This gives jumpers enough room to bounce without hitting their heads or getting limbs caught on anything.
For safety, place the trampoline at least 15 feet away from fences, buildings, and other structures. This clearance zone should circle the entire trampoline. Anyone bouncing off the trampoline would have enough space to land without crashing into anything.
To prevent unauthorised use, position the trampoline in a visible spot in your garden that can be seen from your house. An ideal location is in the middle of a lawn in full view of the kitchen or living room window. That way you can keep an eye on jumpers and ensure only one person bounces at a time.
Lastly, check if there are any underground utilities like gas or water lines before you start digging, and make sure the surface is level. The most important thing is choosing a spot that minimises risks. Your trampoline location should be in an open space, visible, level, and a safe distance away from any potential hazards. With the right spot picked out, you’ll be well on your way to safe and fun bouncing!
Preparing the Ground Surface for Installation
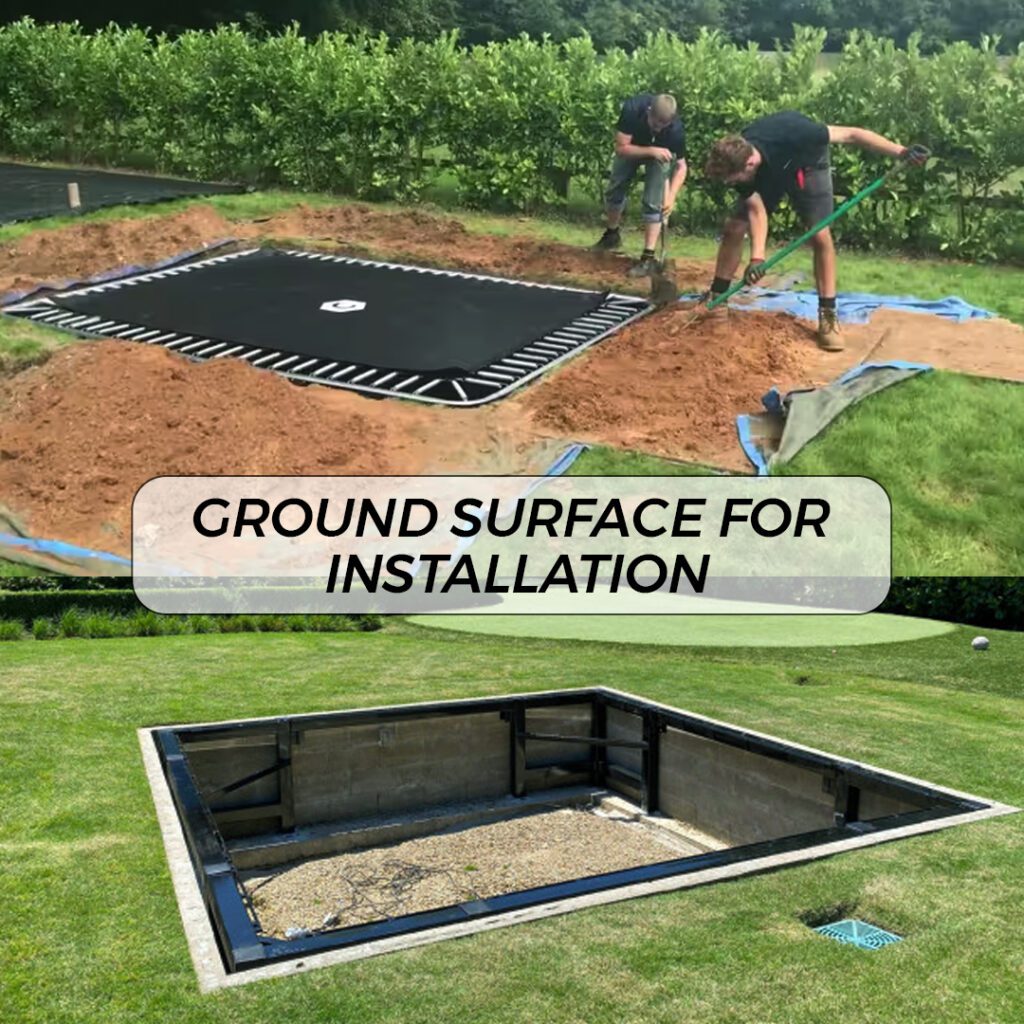
Setting up the ground surface properly is key to keeping your trampoline safe and secure.
- Find a level area in your garden and clear it of any debris. You’ll want at least 6-8 feet of clear space around the edge of the trampoline.
- Check that the soil is firm and compact. If it’s loose or sandy, you’ll need to tamp it down. You can use a hand tamper or roller to flatten and compress the soil. Make sure there aren’t any holes, dips, or slopes—your in-ground trampoline needs to be completely level for safety.
- Now, lay out the trampoline parts to ensure you have everything before assembly. The round frame pads, safety net, springs, jump mat, and poles should all be included, along with an instruction manual. Read through the whole manual before starting to put it together.
- Once the ground is prepared and parts checked, you’re ready to assemble your trampoline. Start by connecting the legs to the round frame, then attaching one spring at a time to the jump mat, pulling it over the frame as you go. Make sure the V-rings on the net are securely fastened to the rings on the pad, then you’re all set for bouncing fun!
With proper ground prep and careful assembly, your trampoline will provide hours of safe entertainment. Inspect it regularly for any signs of damage or wear, and enjoy this thrill ride in your own garden.
Assembling the Frame and Enclosure Net

Now that you have all the parts laid out, it’s time to start putting them together. Assembling the frame, enclosure net, and also frame pads of your trampoline is a straightforward process, but it does require patience and an extra set of hands.
Attach the Legs to the Frame
Lay out the frame pieces in a circle on the ground. Match up the numbered sections and slide the legs into the leg sockets on the underside of the frame. Secure in place with the bolts and washers provided, tightening firmly with a wrench.
Connect the Frame Sections
With the help of another person, lift two adjacent sections of the frame into an upright position. Line up the holes on the ends of the tubing and slide the provided pins or bolts into place to connect the frame pieces. Work your way around the circle, connecting one section at a time, until the entire frame is assembled.
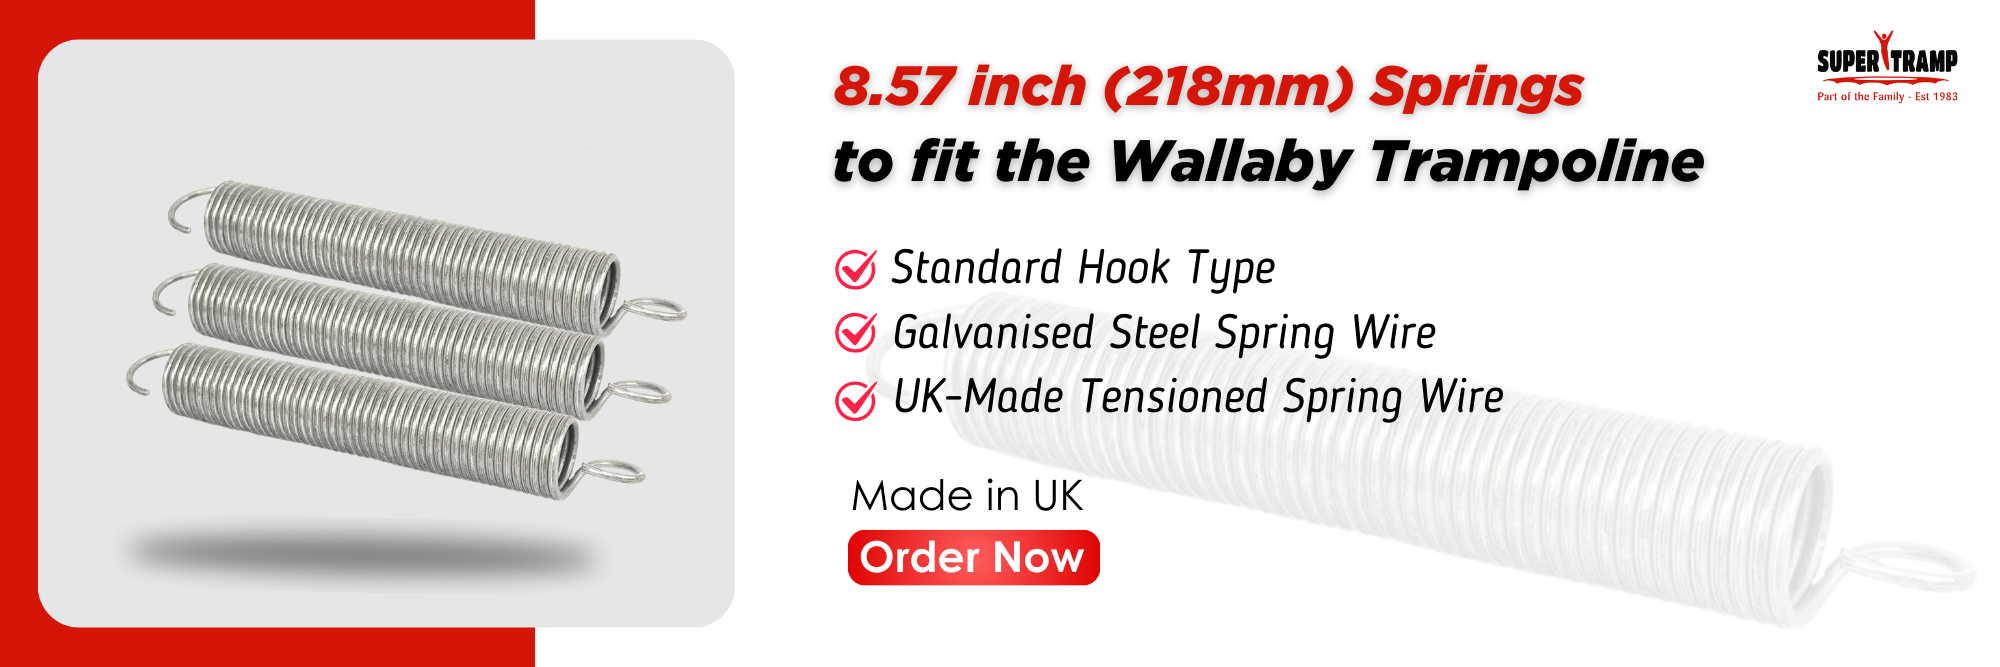
Attach the Springs and Mat
Start at any point in the circle and attach one spring at a time, connecting the frame to the outer edge of the trampoline mat. Move around the circle, attaching springs across from one another to keep the tension even. Once all springs are attached, your trampoline mat should be firmly secured and stretched taut within the frame.
Install the Safety Enclosure Net
The enclosure net provides an essential safety barrier, especially for children and beginners. Attach the net to the top edge of the frame poles, feeding the straps through and securing tightly with the provided fasteners. Ensure the entrance to the net is properly closed off to prevent falls and that there are no gaps anywhere around the edge of the netting.
Double check that everything is securely assembled before allowing anyone to jump on the trampoline. With the proper safety precautions taken, you’ll be bouncing in no time! Be sure to review all instructions for maximum weight limits and proper use to keep everyone safe while having fun.
Attaching the Trampoline Mat and Springs
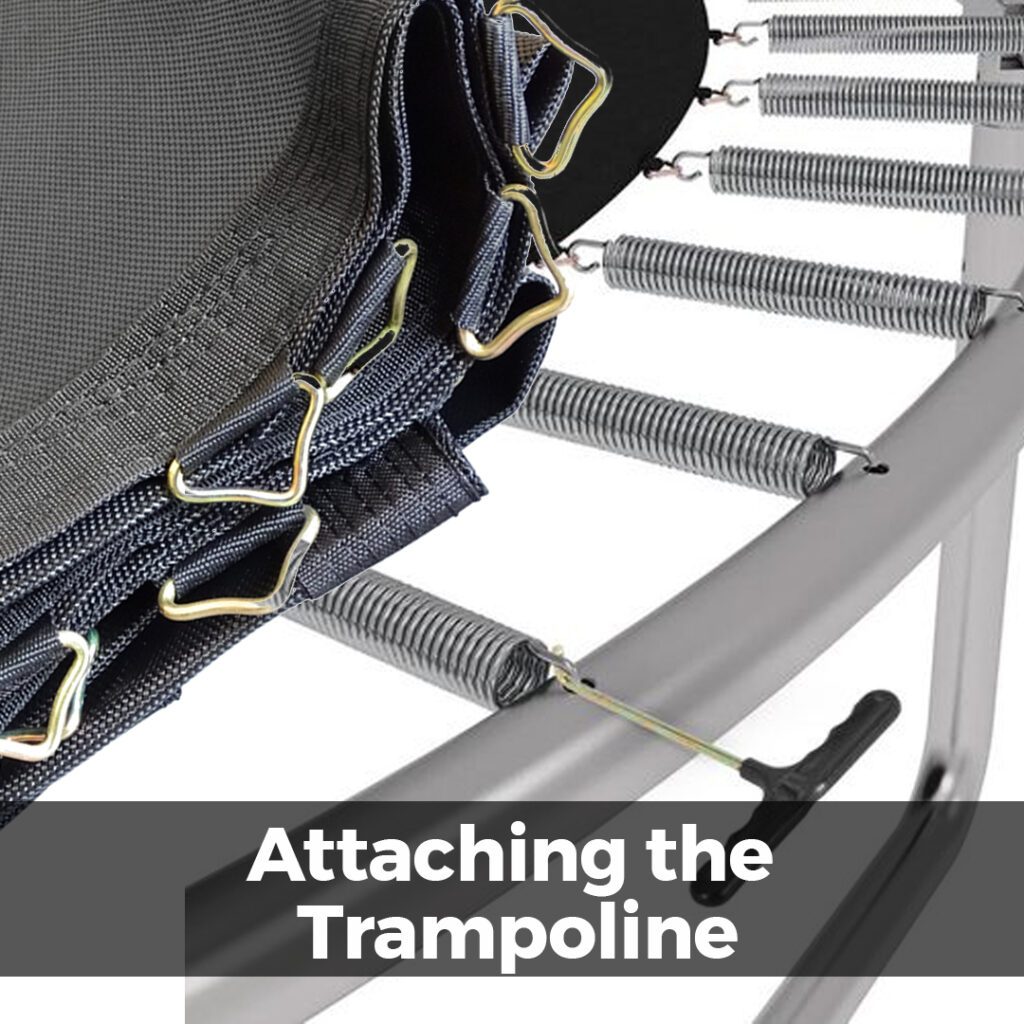
Now that you have your trampoline frame assembled, it’s time to attach the mat and springs. This step requires some patience, but with the help of a friend, it can go quickly.
Attaching the Trampoline Mat
Lay out your trampoline mat in the centre of the frame. The mat should be positioned so that the warning labels and padding face up. The V-rings on the mat should align with the spring holes in the frame pad and frame.
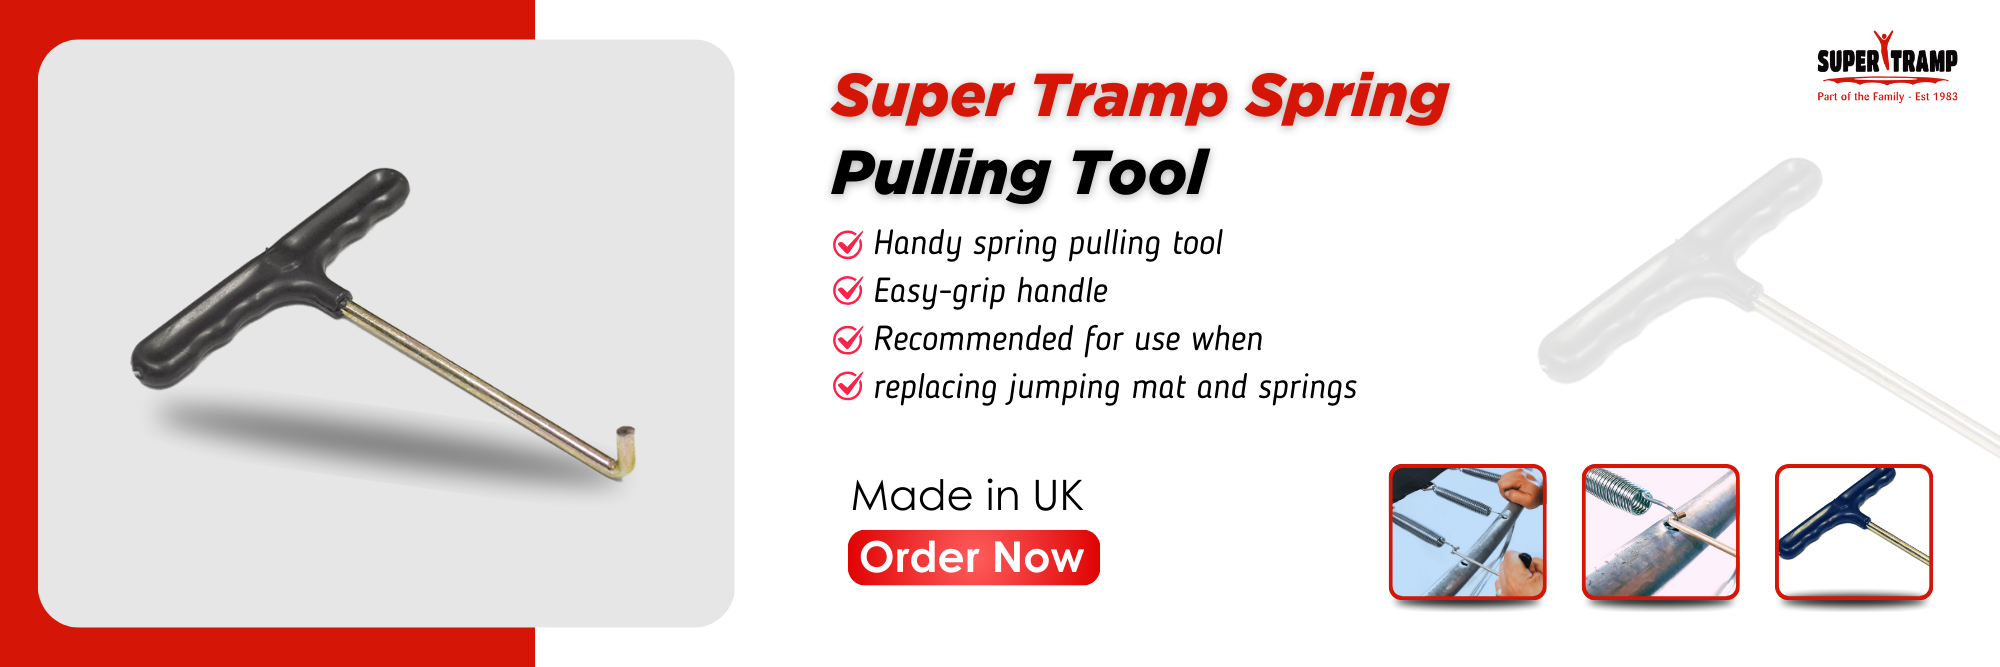
Start by attaching two springs at opposite sides of the mat to secure it in place with the help of a spring pulling tool. Then attach one spring to every fourth V-ring around the circumference of the mat. Once those are in place, install springs in the open slots between them. Work in a circle, pulling the mat up and over the edge of the frame as you go.
As you attach more springs, the mat will become taut. Use a rubber mallet to help secure the springs in place. Aim for attaching one spring for every V-ring on the mat. Double check that all springs are securely hooked to the frame before allowing anyone to jump on the trampoline.
Testing the Trampoline
Before letting children or less experienced jumpers on the trampoline, have an average size adult test it out first. Jump in the centre of the mat without touching the net to ensure the springs and mat are secure and working properly. Also, don’t forget to check the capacity of your trampoline weight limit because it matters the most. The mat should feel taut but still have some give. If anything feels loose or unstable, check all connections again.
Once everything checks out, you’re ready to start enjoying your new trampoline! Be sure to go over the safety precautions and instructions for proper jumping techniques with anyone before they jump. Following the usage guidelines will help ensure you have many years of fun and safe jumping ahead.
Final Safety Checks Before First Use
Before letting the children loose on the trampoline, it’s important to do a few final safety checks. This will ensure everyone has fun while avoiding injury.
Inspect the Safety Pad and Netting
Carefully inspect the safety pad that covers the springs and the netting that encloses the trampoline. Make sure there are no tears, holes, or damage in either the pad or the netting. If there are any signs of wear and tear, do not use the trampoline until repaired or replaced. The safety pad and netting are critical barriers between the jumper and the ground and springs.
Check All Parts are Securely Attached
Double check that the safety pad, netting, mat, and all poles and parts are properly and securely attached to the frame with no loose ends or unsecured pieces. Everything should be taut with no slack or loose pieces that could trip up a jumper or become a strangulation hazard.
Review Safety Rules with Jumpers
Go over the safety rules and precautions with anyone planning to use the trampoline before the first jump. Remind them of things like no double bouncing, no flips, always jumping in the centre of the mat, only one jumper at a time, no sharp objects, no shoes, always using a safety pad and netting, etc. Make sure any new jumpers also understand how to properly get on and off the trampoline and how to control their bounce.
By ensuring the trampoline is properly set up and that all safety guidelines are understood before jumping, you’ll keep the fun going all season long. Regular inspections and reinforcing the rules will help make the trampoline a safe source of entertainment and exercise for years to come.
Conclusion
So there you have it; your brand new ground-enclosed round trampoline is set up and ready for action. Now you can spend countless fun hours bouncing the day away with friends and family. Remember to always put safety first—follow the instructions, secure the netting properly, and never have more than one person bouncing at a time. With some regular maintenance to keep everything in working order, this trampoline should provide years of enjoyment and memories in the making. The effort to set it up will be well worth it once you experience the thrill of bouncing high up into the air.
