Sunken trampolines have become popular in many gardens for several compelling reasons. But what exactly is a sunken trampoline? This trampoline is also known as an in-ground trampoline, it’s installed flush with the ground rather than above it, offering numerous advantages over traditional models.
One primary benefit is enhanced safety. With the trampoline at ground level, the risk of falling from a height is significantly reduced, making it safer for both children and adults. Additionally, a sunken trampoline blends seamlessly with the landscape, avoiding the bulky appearance of above-ground models and enhancing your garden’s aesthetics.
In this blog, we’ll tell you everything you need to know about sunken trampolines. We’ll explore why they are a smart choice, outline their advantages, and provide a step-by-step installation guide. By the end, you’ll be equipped to make an informed decision and successfully install a sunken trampoline, transforming your outdoor space into a fun and safe environment for everyone.
Why Choose a Sunken Trampoline?
The growing popularity of sunken trampolines can be attributed to their numerous advantages over traditional above-ground trampolines.
This innovative design involves digging a hole in your garden where the trampoline is placed, creating a seamless and integrated look.
Why Are They a Perfect Fit for Your Garden?

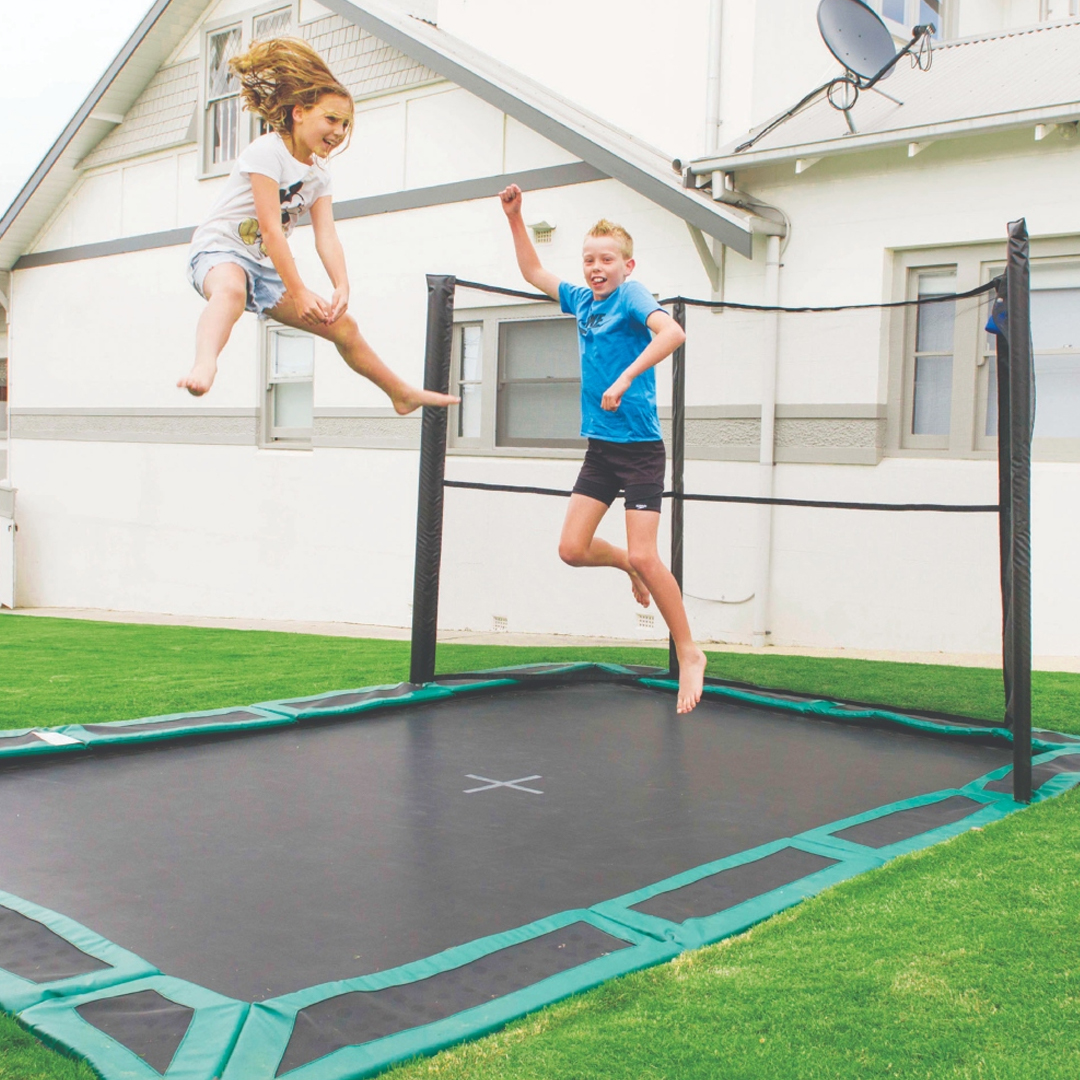
- Enhanced Safety: Safety is first, especially when it comes to play equipment for outside use. Compared with traditional above-ground trampolines, sunken trampolines are by design safer. There is a much lower chance of falling from a considerable height because the leaping surface is at ground level. This lowers the possibility of injuries from falls, making it a safer choice for children.
- Seamless Integration with Your Landscape: The ability of sunken trampolines to fit in well with the garden is one of its best qualities. A buried trampoline blends in organically with the surroundings, in contrast to above-ground trampolines, which can be large and visually distracting. This subtle design preserves the balance and beauty of your landscape while improving its overall appearance.
- Improved Durability and Stability: Sunken trampolines are not only aesthetically pleasing in-ground trampolines but also durable and stable. Being installed at ground level means they are less susceptible to strong winds and other weather conditions that might affect above-ground trampolines. This stability ensures a consistent and reliable jumping experience, extending the lifespan of the trampoline.
- Space-Saving Solution: For those with limited garden space, a sunken trampoline is an excellent solution. It takes up less visual and physical space than an above-ground trampoline, allowing you to maximise your outdoor area. This makes it an ideal choice for smaller gardens or for those who want to maintain a clean and open look.
- Enhanced Play Experience: Finally, sunken trampolines provide an enhanced play experience. The even surface makes it easier to access and use, encouraging more frequent play and exercise. It’s also great for social interactions, as it becomes a central, inviting feature in your garden where children and adults alike can gather and enjoy.
Choosing a sunken trampoline improves your garden’s overall vibe rather than just providing a play feature. Because they combine functionality, style, and safety, submerged trampolines are a great addition to any garden.
Where Would a Sunken Trampoline Fit Best?
To get the most out of your sunken trampoline and make sure it blends in perfectly with the garden, you need to find the ideal location for it. To help you in selecting the perfect location, keep the following points in mind:
Flat and Level Ground
A level, flat space is the best place for a sunken trampoline. This guarantees the stability and safety of using the trampoline. The performance of the trampoline may be impacted by uneven ground and present installation issues. Walk around your garden before you begin to locate any spots that are naturally level or easily levelled.
Away from Trees and Structures
Choose a location that is clear of trees, shrubs, and other structures. Overhanging branches can pose a risk, and tree roots can interfere with the installation process. Ensure there is enough clearance around the trampoline to prevent any potential hazards and to allow for safe jumping.
Good Drainage
Proper drainage is essential to prevent water from accumulating in the trampoline pit. Avoid low-lying areas prone to water pooling. If your chosen spot has drainage issues, consider installing a simple drainage system to direct water away from the trampoline area.
Accessibility
Ensure the trampoline is easily accessible from different parts of your garden. Consider the paths and walkways leading to it, making sure there is a clear and safe route. This is especially important for younger children who need easy access.
Aesthetic Integration
Think about how the trampoline will fit into your overall garden design. A sunken trampoline should enhance the beauty of your outdoor space, not detract from it. Consider surrounding it with plants, mulch, or decorative stones to create a harmonious look.
Proximity to Play Areas
If you have other play equipment or a designated play area in your garden, placing the trampoline nearby can create a cohesive play zone. This makes it convenient for children to move between activities and keeps all play equipment in one area, making supervision easier.
By carefully selecting the right location, you’ll ensure that your sunken trampoline not only provides hours of fun but also enhances the overall look and functionality of your garden.
Planning and Preparation
Before diving into the installation of your sunken trampoline, it’s crucial to plan and prepare thoroughly. This section will guide you through selecting the best trampoline and gathering all the necessary tools and materials for a successful installation.
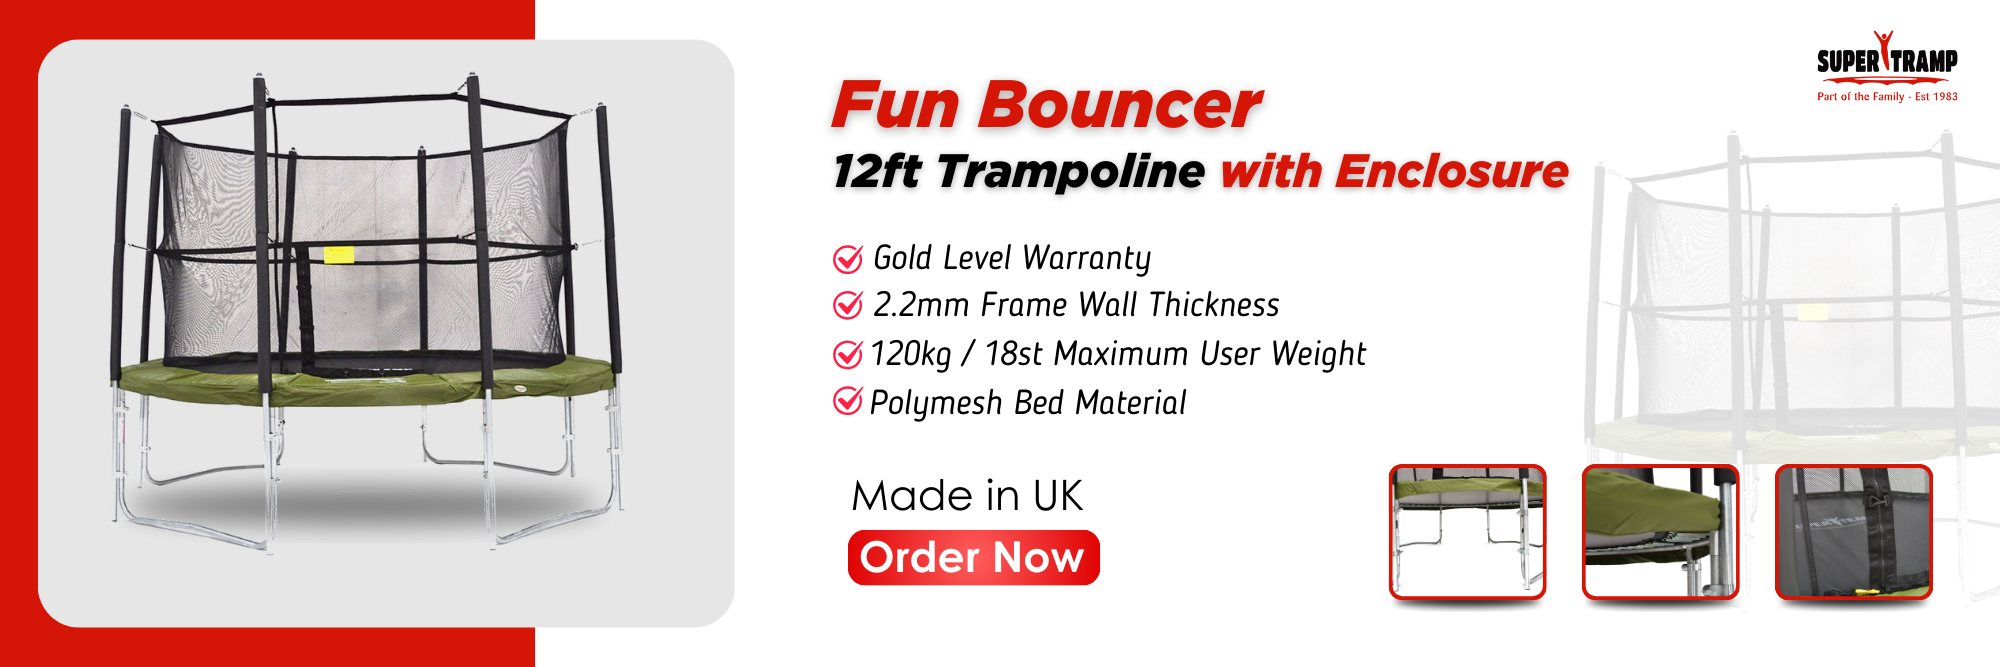
Selecting the Right Trampoline
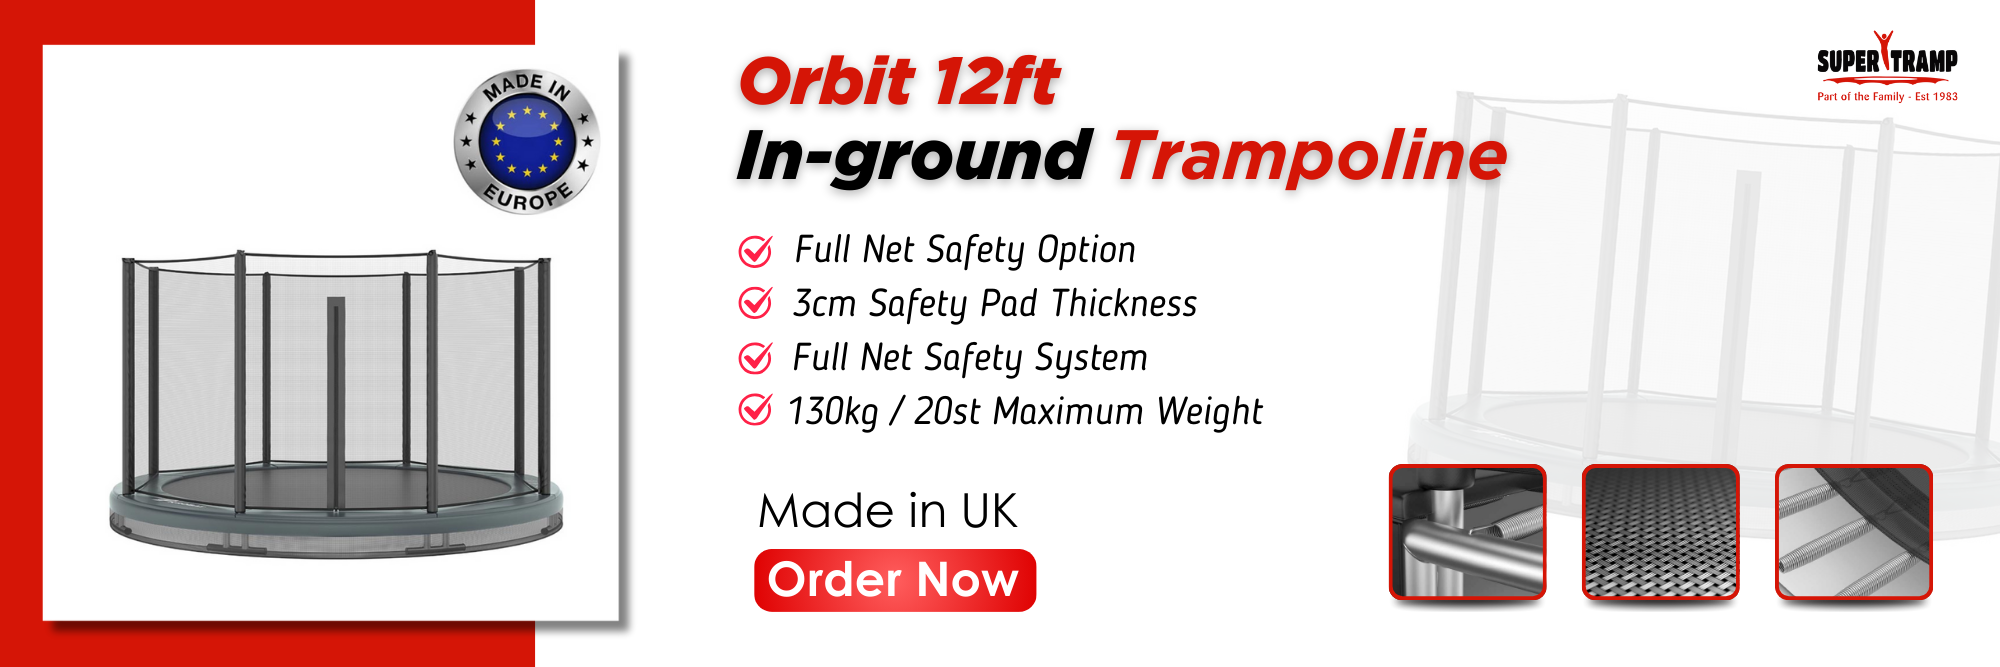
- Different Types and Sizes of Sunken Trampolines: Sunken trampolines come in various shapes and sizes, from round to rectangular, and in diameters ranging from small (8 feet) to large (14 feet or more). Consider the available space in your garden and who will be using the trampoline to choose the appropriate size.
- Comparing Features and Brands: Look for trampolines with sturdy frames, high-quality springs, and durable jumping mats. Check reviews and compare different brands to find one that offers the best combination of safety features, durability, and warranty. Some brands may offer additional safety features like reinforced edges or advanced drainage systems.
- Budget Considerations: Set a budget for your trampoline purchase. While it might be tempting to go for the cheapest option, investing in a higher-quality trampoline can pay off in terms of safety, durability, and overall performance. Compare prices and features to find the best value for your investment.
Gathering Tools and Materials
List of Necessary Tools
- Shovel: For digging the hole where the trampoline will be installed.
- Measuring Tape: To measure the area and ensure accurate dimensions.
- Level: To ensure the ground and trampoline frame are perfectly level.
- Wheelbarrow: For transporting soil and other materials.
Additional Materials
- Gravel: Used for creating a drainage layer at the bottom of the pit.
- Sand: To create a smooth and stable base for the trampoline.
- Drainage Pipes: If your chosen location has poor natural drainage, installing drainage pipes will help manage water flow and prevent pooling.
- Protective Padding and Netting: Optional but recommended for added safety.
You can make sure that the installation of your submerged trampoline goes smoothly and successfully by properly planning and preparing. You may create a secure and entertaining addition to your garden by selecting the ideal trampoline, acquiring all required tools and materials, and picking the proper position.
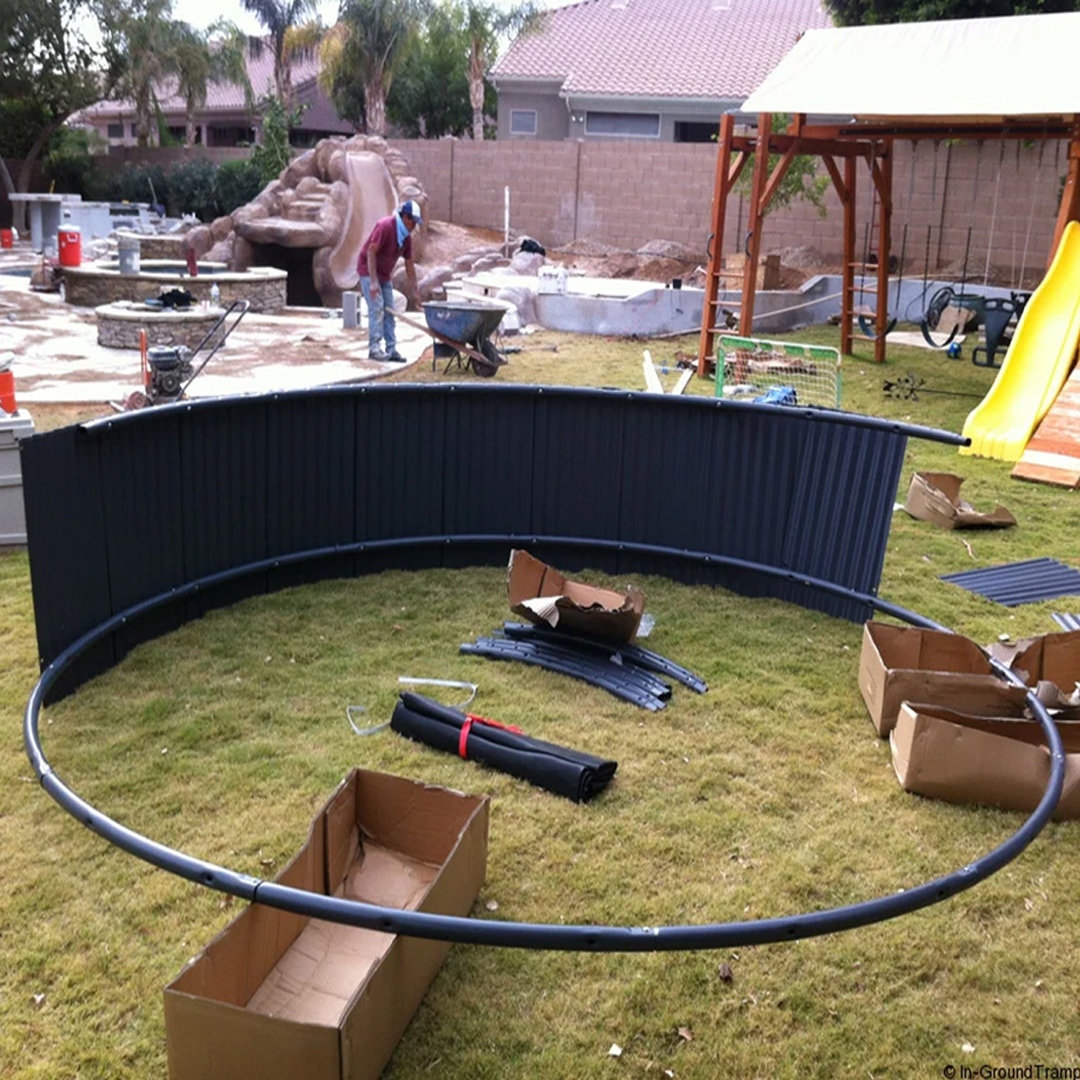
Site Preparation
A sunken trampoline installation must be done correctly, which requires careful site preparation. This section will walk you through precisely excavating the hole and setting up the foundation for a secure and safe installation.
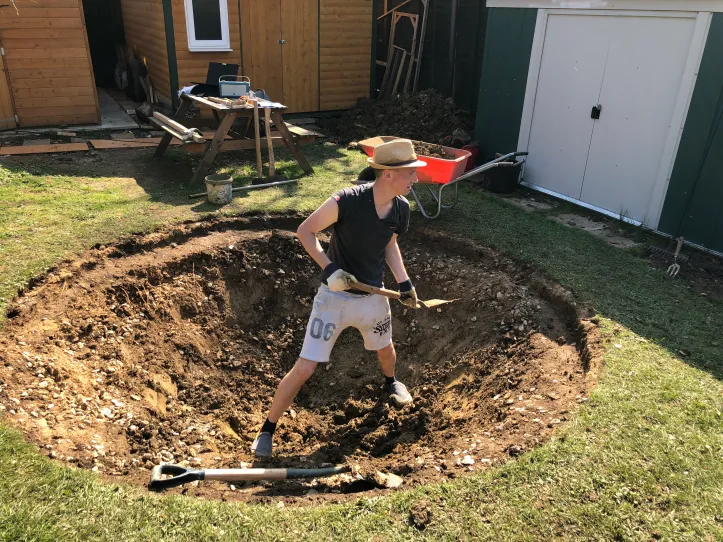
Digging the Hole
Step-by-Step Guide to Digging the Hole
- Clear the Area: Remove any grass, plants, or debris from the marked area.
- Start Digging: Using a shovel, begin digging the hole. Start from the centre and work your way outwards, following the marked outline.
- Depth: Dig to the appropriate depth based on your trampoline’s height specifications. Typically, the hole should be about 3 feet deep for most trampolines.
- Check Level: As you dig, periodically check the level to ensure the base remains even.
Tips for Efficient Digging and Soil Removal
- Use a Wheelbarrow: Transport soil to a designated area to keep your worksite clean.
- Digging in Layers: Dig in layers rather than all at once. This makes it easier to manage and maintain an even depth.
- Work with Others: If possible, get help to speed up the process and make the digging more efficient.
Here’s the table that will help you in digging a proper hole according to the different size and shape:
| Shape of trampoline | Trampoline size / outer hole diameter | Inner hole diameter | Hole depth |
| In-ground round trampoline | 8ft (2.44m) | 6ft (2.04m) | 75cm |
| 10ft (3.00m) | 8ft (2.60m) | 75cm | |
| 12ft (3.65m) | 10ft (3.25m) | 90cm | |
| 14ft (4.26m) | 14ft (3.86m) | 90cm | |
| In-ground rectangle trampoline | 10ft X 6ft(3.00m X 1.85m) | 8ft X 4ft(2.60m X 1.45m) | 75cm |
| 11ft X 8ft(3.35 X 2.45m) | 9ft X 6ft(2.95m X 2.05m) | 75cm | |
| 14ft X 10ft(4.25m X 3.00m) | 12ft X 8ft(3.85m X 2.60m) | 90cm | |
| 17ft X 10ft(5.18m X 3.00m) | 15ft X 8ft(4.78m X 2.60) | 100cm |
By carefully marking the area, and efficiently digging the hole you’ll create a solid foundation for your sunken trampoline. This ensures safety, stability, and longevity for your new garden feature.
Installing the Trampoline
Now that your site is prepared, it’s time to install the trampoline. This section will walk you through assembling the frame, placing it in the hole, and securing it to ensure a safe and stable setup.
Assembling the Frame
Step-by-Step Instructions for Assembling the Trampoline Frame:
- Read the Manual: Carefully read the manufacturer’s instructions before starting.
- Lay Out the Parts: Organise all the parts in your work area to ensure you have everything needed.
- Connect the Frame Pieces: Begin by connecting the frame pieces according to the manual. Typically, this involves sliding or snapping pieces together.
- Attach the Legs (if applicable): If your model includes legs for added support, attach them securely to the frame.
- Install the Springs: Attach the springs to the frame and the jumping mat, ensuring they are evenly spaced and securely fastened.
Placing the Frame in the Hole
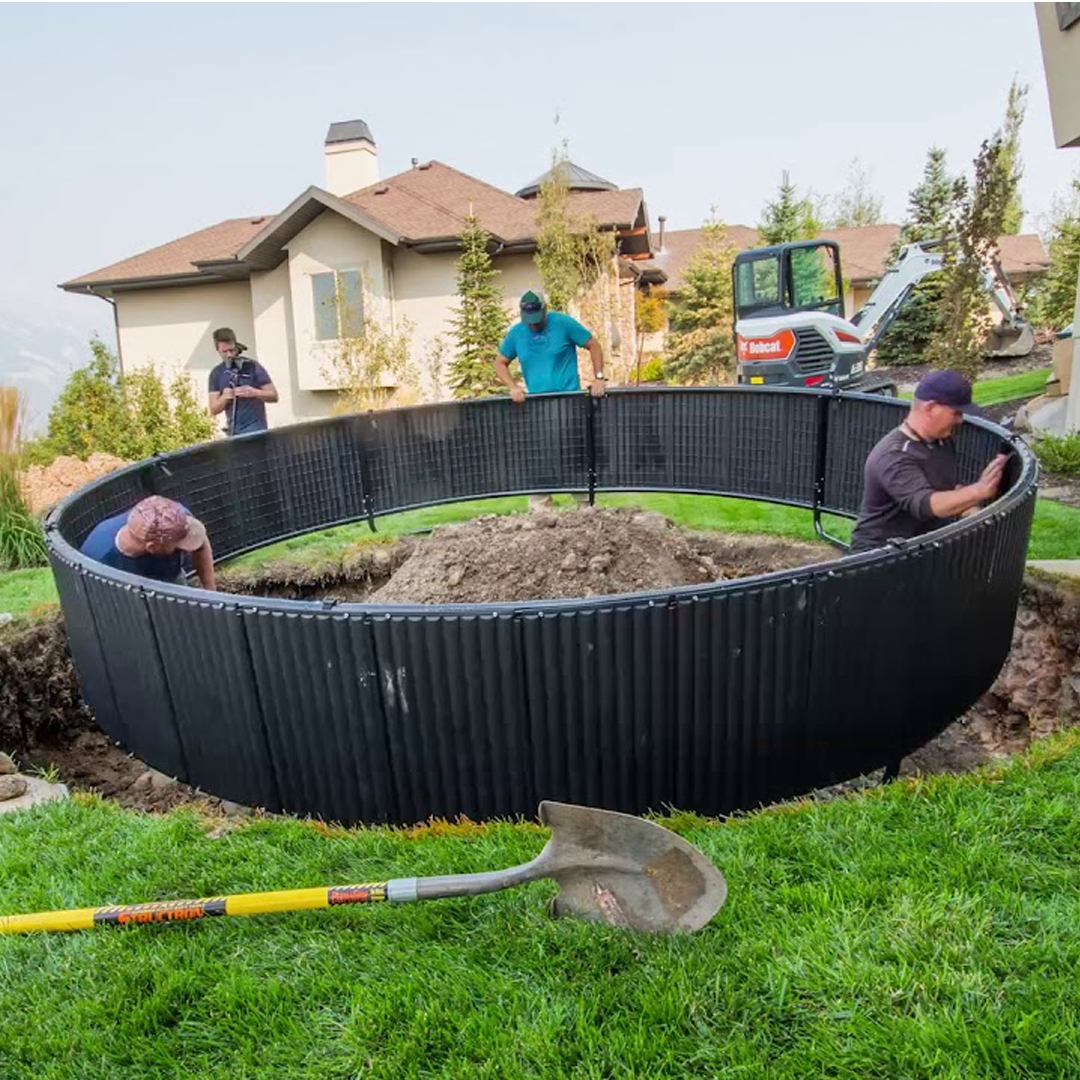
Positioning the Frame Correctly:
- Lower the Frame: Carefully lower the assembled frame into the hole, ensuring it fits snugly within the dug-out area.
- Check Alignment: Ensure the frame is centred and aligned properly within the hole.
Adjusting and Levelling as Needed:
- Adjust the Base: If the frame is not level, adjust the gravel or sand base as necessary to achieve a level surface.
- Double-Check Alignment: Use a level to confirm that the frame is evenly positioned.
Securing the Trampoline
How to Secure the Trampoline in Place:
- Anchor the Frame: Use ground anchors or stakes to secure the trampoline frame to the ground. Drive the anchors into the ground and attach them firmly to the frame.
- Reinforce with Additional Materials: Depending on the trampoline model, you may need to add extra support such as concrete footings or additional stakes.
By following these steps, you’ll ensure your sunken trampoline is properly installed, stable, and safe for use. Taking the time to assemble the frame correctly, position it accurately, and secure it firmly will provide peace of mind and a fun, safe environment for everyone.
Finishing Touches

To maximise safety and comfort, it’s essential to add trampoline frame pads and a safety net to your sunken trampoline. These additions help prevent injuries and ensure a secure jumping environment for everyone.
Installing Padding and Safety Net
- Attach Padding: Securely attach the protective padding around the edges of the trampoline frame. Ensure the padding covers all exposed metal parts to prevent injuries.
- Install the Safety Net enclosure: Follow the manufacturer’s instructions to install the safety net. Attach it to the trampoline frame, making sure it is taut and securely fastened.
Adding Plants, Mulch, or Decorative Elements
- Plants: Incorporate a mix of shrubs, flowers, and ornamental grasses around the trampoline to create a natural, inviting space.
- Decorative Elements: Add garden ornaments, such as sculptures, bird baths, or solar lights, to enhance the area around the trampoline. These elements can make the space more inviting and integrate the trampoline into the overall garden design.
Conclusion
A submerged trampoline can be installed to make your garden a secure, enjoyable, and visually beautiful area. By using these instructions, you can guarantee a seamless installation that complements your outside space while producing a welcoming play area.
We encourage you to start on this thrilling endeavour and enjoy the numerous advantages of owning a buried trampoline in your backyard. We would be interested in learning about your installation experience, whether you have previously installed one or not.
Leave a comment below with any questions you may have, along with your experiences and advice.
Let’s collaborate and encourage one another to design entertaining and safe outdoor areas!
