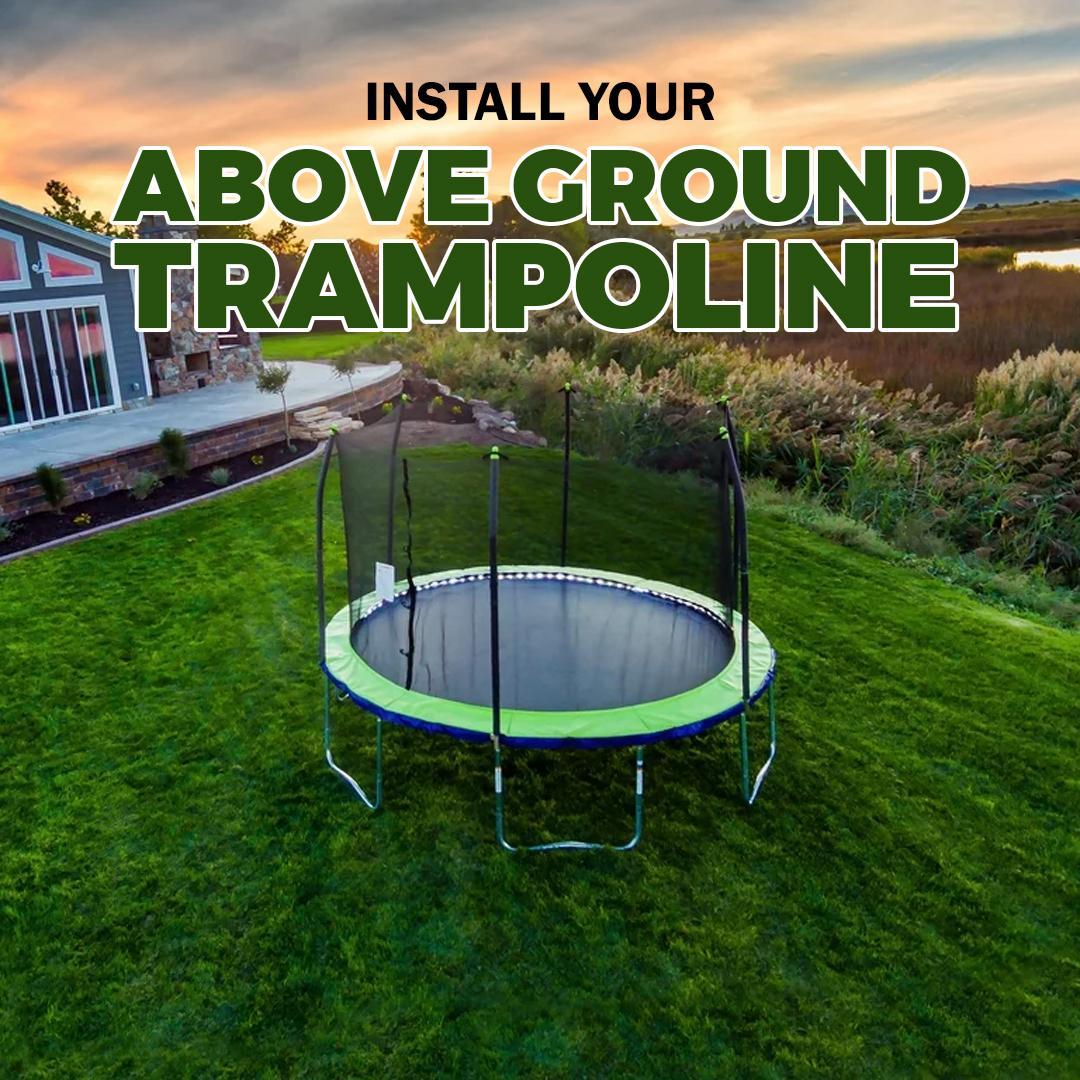

Installing an above-ground trampoline is an exciting way to add fun and fitness to your garden. However, before you start bouncing, it’s crucial to ensure that your trampoline is installed correctly. Proper installation isn’t just about getting the trampoline up and running—it’s about ensuring the safety and longevity of your equipment. A well-installed trampoline minimises the risk of accidents, giving you peace of mind while your family enjoys hours of fun.
This guide will walk you through every step of the installation process, from selecting the perfect spot in your yard to attaching the final safety features. We’ll cover safety precautions, tools needed, choosing the best location, assembling the frame, fitting the mat and springs, securing the elastic band, attaching the frame pad, setting up the safety net, and finally, attaching the trampoline ladder.
Let’s get started and make sure your trampoline is set up for maximum fun and safety!
Important Instructions Before You Start

Before diving into the assembly of your above-ground trampoline, there are some crucial instructions to keep in mind to ensure a smooth and safe setup.
- Team Up: It’s essential to have at least two people working together to assemble the trampoline. This simplifies the procedure and increases safety..
- Protect Your Hands: Wear gloves to protect your hands from pinch points and sharp edges during assembly. This simple step can prevent injuries and make the process more comfortable.
- Avoid Excessive Force: Do not apply excessive force during assembly, as this can cause damage to the trampoline parts. If something doesn’t fit easily, double-check the instructions to ensure you’re doing it correctly.
- When you’re setting up a trampoline, you’ll want to have a few tools and materials on hand. These include a rubber mallet (a type of hammer), a spring pull tool (often included with the trampoline), a Phillips screwdriver (a type of screwdriver with a cross-shaped head), gloves, a tape measure, and a soft surface or mat to lay out the parts. These items can help make the assembly process much easier and safer.
Choosing the best location for your trampoline is crucial for safety and enjoyment. Follow these tips:
- Level ground: Make sure the area is flat and stable to serve as a solid base for the trampoline.
- Clear space: Ensure there is at least 8 feet of clearance around the trampoline, free from trees, fences, and other obstacles.
- Soft ground: Place the trampoline on a soft surface like grass to reduce the risk of injury.
- Sun and shade: Consider the sun’s position when setting up the trampoline. Choosing a spot with some shade will make it more comfortable to use, especially on hot days.
By following these important instructions, you’ll set a strong foundation for the rest of the assembly process, ensuring your trampoline is safe and ready for hours of fun.
Assembling the Frame

Assembling the above-ground garden trampoline frame is a crucial step that establishes the foundation for the entire structure. Follow these detailed steps to ensure a sturdy and safe frame assembly.
Step 1: Place the Frame on the Ground
- Lay out all the trampoline frame parts flat on the ground. This allows you to have a clear overview of all the components and makes the assembly process more manageable.
Step 2: Attach the Leg Extensions
- Place the leg extensions onto the round above-ground trampoline legs. Ensure that the part with the pin is on the top so that it can be assembled with the frame later.
Step 3: Assemble the Frame Legs with the Frame Parts
- Begin joining the frame legs with the frame parts. Alternate the frame parts with and without sockets to form a solid connection. Rotate the leg extensions until they click together firmly, ensuring that they will not come apart. Once the entire frame is put together, keep going through this process.
- Once assembled, place the frame in your desired location.
Tips for Ensuring the Frame is Sturdy and Level
- For easier assembly, apply some grease or bearing oil to all junctions. This will make the connections smoother and ensure a tighter fit.
- Make sure the area where you place the trampoline is flat and level. This helps maintain the stability and safety of the trampoline.
- Periodically check that all connections are secure and tight to prevent any loosening over time.
Common Issues and How to Troubleshoot Them
- Tight Fitting Legs: The trampoline legs may sometimes be slightly tight to fit. This is intentional and adds additional strength to the trampoline. If you find it challenging to insert the legs, apply a little grease to the joints to ease the process.
- Uneven Frame: If the frame doesn’t seem level, double-check that all legs are properly clicked into place and that the ground is even. Adjust the placement as necessary.
- Loose Connections: Ensure all pins and sockets are fully engaged. If any connections seem loose, disassemble and reassemble that section to secure it properly.
By carefully following these steps and tips, you’ll ensure your trampoline frame is assembled correctly, providing a solid and safe foundation for the rest of the installation.
Fitting the Mat and Installing the Springs

Attaching the above-ground trampoline mat and springs correctly is crucial to ensure a safe and enjoyable bouncing surface. Follow these detailed steps to guarantee proper installation.
Step 4: Lay the frame pads and Attach the Springs
Position the Mat: Lay the trampoline frame pads flat inside the frame with the logo facing upward. This orientation ensures the correct placement and visibility of any design or branding on the mat.
Attach Corner Springs First: To make the installation of the jumping mat easier, locate the four rings at the corners of the mat. Attach four springs to these corner locations first.
- Pass the spring through the spring loops on the underside of the mat corners.
- Attach the corners of the mat to the corners of the frame.
Continue with the Remaining Springs
- Continue by attaching springs from the corner towards the middle of the mat. Work methodically, moving from corner to middle on each side until all springs are attached.
- Initially, it may seem like the mat won’t fit, but it will stretch to the correct size once all springs are in place.
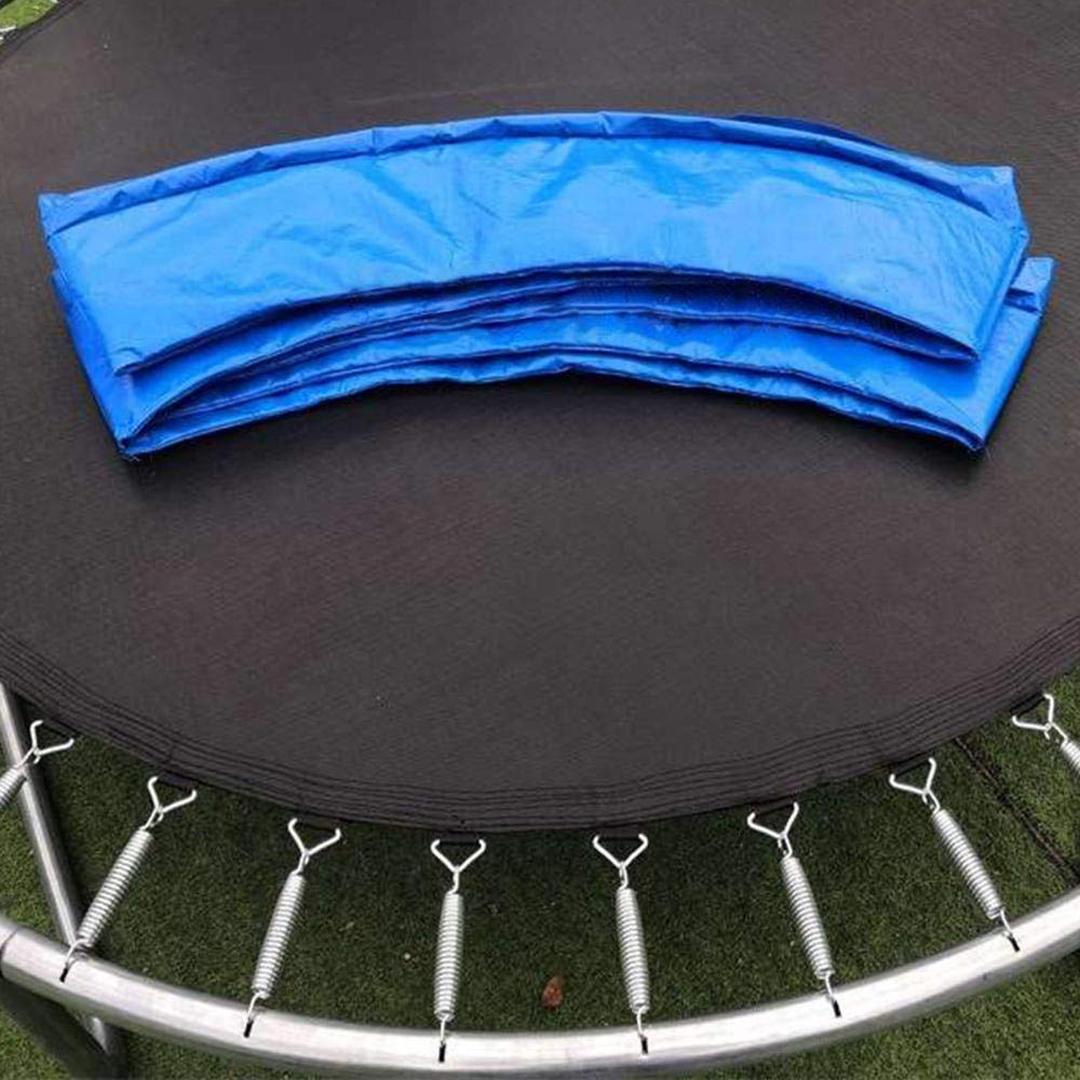
Step 5: Lay the Safety Pad
Position the Pad: Lay the safety pad on top of the trampoline with the eyelets facing up. This pad covers the springs and frame, providing additional safety.
Step 6: Insert the Elastic Toggles
Thread the Elastic: Insert the elastic toggles through the eyelets ensuring that the loop end of the elastic faces outward and the toggle end is on the inside.
Step 7: Secure the Frame Pad
Attach the Elastic Band
- Pull the elastic band around the frame after flipping the frame pad over.
- Insert the toggle into the loop and rotate the toggle inwards to secure it.
Tips
- Spring Attachment: Springs can be hard to attach and require some force. Use the attached spring tool or another spring to pull the spring towards the frame holes. This leverage will make the process easier.
- Even Tension: Ensuring even tension is crucial for a uniform bounce. By starting with the corners and working your way to the middle, you evenly distribute the tension across the mat.
Warnings
- Check Spring Hooks: Be sure all spring hooks are well attached to the frame to prevent any dislodging during use.
- Secure Corner Springs: Ensure that you hook the corner springs through the loops in the corners. This keeps the corners of the mat securely in place.
By following these steps and tips, you’ll ensure your trampoline mat is securely and correctly fitted, providing a safe and enjoyable jumping experience.
Attaching the Frame Pad
The frame pad is a crucial safety feature for your above-ground trampoline, protecting users from coming into contact with the springs and frame. Follow these steps to attach the frame pad securely and ensure there are no gaps or loose areas.
Step 8: Secure the Frame Pad
Attach the Springs to the Frame Pad
- Put springs into the spring loops to fasten the frame pad to the trampoline. To do this, remove a single spring under each loop, slip it through the loop, and then reattach it to the frame.
- Repeat this process for all loops around the trampoline. This ensures the frame pad is tightly secured and covers all springs and the outer edge of the trampoline frame.
Step 9: Place the Safety Net Poles and Safety Net enclosure
Position the Safety Net: Place the safety net enclosure on the above-ground trampoline so that the entrance aligns with the warning labels printed on the jumping mat. This orientation ensures easy access and visibility of safety information.
Insert Poles into the Net Sleeves: Insert all poles into the sleeves of the net. Ensure each pole fits snugly within its sleeve for maximum stability.
Attach Poles to the Enclosure Sockets
- Insert each pole one by one into the enclosure sockets on the trampoline frame. Make sure they fit entirely into the sockets to secure the net pole firmly.
- Repeat this process for all poles around the trampoline.
Step 10: Secure the Safety Net
Check the Pole Fittings: Ensure that each pole is properly fitted into its socket and securely fastened. This step is crucial for the overall stability and safety of the above-ground trampoline enclosure.
Fix the Net to the Frame: Use the enclosed net elastics to attach the bottom of the net to the trampoline frame. This helps keep the net taut and prevents it from shifting during use.
Warning
Proper Sleeve Positioning: Make sure the net sleeves are pulled down completely, leaving no space at the top. This ensures full coverage and prevents gaps where a user might accidentally come into contact with the poles.
Importance of the Frame Pad for Safety: The frame pad acts as a protective barrier, preventing jumpers from coming into direct contact with the trampoline’s springs and frame. This reduces the risk of injuries from falls or missteps.
By following these steps and warnings, you’ll ensure the frame pad is securely attached and the safety net is properly installed, providing a safe jumping environment for all users.
Attaching the Trampoline Ladder

Attaching the trampoline ladder is an important final step to ensure safe access for users. Here’s how to attach the ladder securely and check its stability.
Importance of the Ladder for Safe Access: The ladder is essential for safe and easy access to the trampoline, especially for children. It prevents the need for climbing over the frame, reducing the risk of falls and injuries.
Step 11: Attach the Trampoline Ladder
Position the Ladder: Place the ladder at the entrance of the trampoline, where the safety net opening is located. Ensure it is centred and aligned with the opening for easy access.
Secure the Ladder
- Attach the ladder hooks over the top rail of the trampoline frame. Make sure the hooks are positioned securely and evenly on the frame.
- Some ladders come with additional securing mechanisms such as straps or bolts. If your ladder has these, follow the manufacturer’s instructions to fasten them properly.
Checking the Stability of the Ladder
Test the Attachment
- Gently pull on the ladder to ensure it is firmly attached to the frame and does not move or slide.
- Press down on each step of the ladder to check for any instability or wobbling. The ladder should remain steady and secure underweight.
Trampoline is Ready to Use: With the ladder securely attached, your trampoline is now ready for use. Conduct a final inspection to ensure all components are properly installed and secure.
- Safety Check: Walk around the trampoline, inspecting the frame, springs, mat, frame pad, safety net, and ladder for any issues.
- Test Bounce: Gently bounce on the trampoline to verify the mat’s tension and the overall stability of the structure.
By following these instructions, you ensure the trampoline is set up for safe and enjoyable use.
Conclusion
Congratulations on successfully installing your above ground trampoline! By following the steps outlined in this guide, you’ve not only created a fun and exciting addition to your garden but also prioritised safety and durability.
We hope this guide has been helpful in setting up your trampoline. Have any tips or experiences to share? We’d love to hear how your installation went or any creative ways you’ve enhanced your trampoline setup. Please feel free to post any questions or comments in the space provided below!
Thank you for choosing safety and quality in your trampoline installation. Here’s to many happy and safe bouncing sessions ahead!
