
Trampolines have become very popular as essential features in gardens, turning outdoor spaces into exciting and fun places for exercise. Among the available options, 12ft and 14ft round trampolines are considered very versatile and offer a good balance of size and performance. Whether for active children, aspiring athletes, or fitness enthusiasts looking for a dynamic workout, these medium-sized trampolines promise hours of endless joy and high-flying jumps.

Let’s delve into the world of trampolines and explore why these sizes have captured the hearts of so many. This guide will cover installation tips, safety guidelines, and maintenance essentials to help you maximise the enjoyment and longevity of your 12ft or 14ft round trampoline. So get ready to elevate your garden into an airborne adventure – trampolining awaits!
Why Choose a 12ft or 14ft Trampoline?
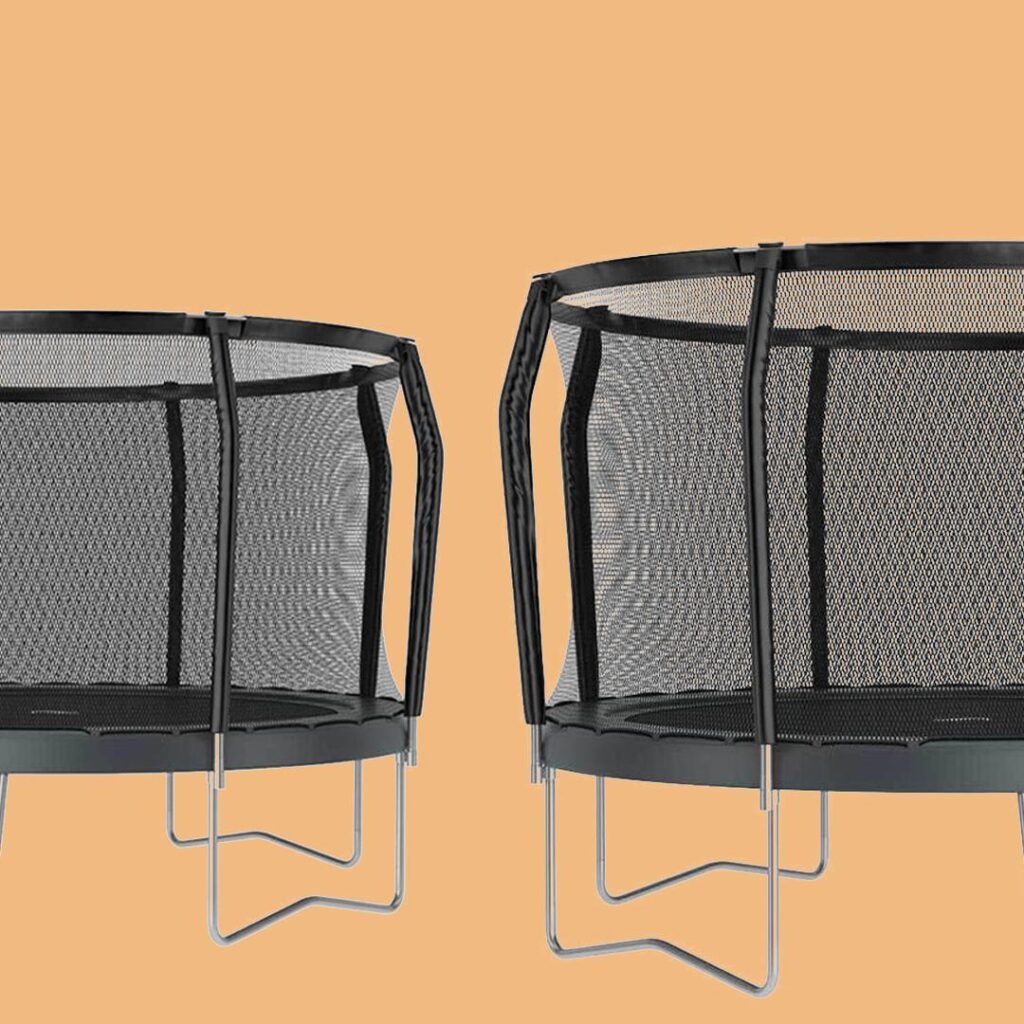
Choosing between a 12ft and 14ft trampoline ultimately depends on your specific needs and preferences. Whether you prioritise space efficiency, accommodating multiple users, or maximising the jumping area, both sizes offer unique advantages that can transform your outdoor space into a hub of active enjoyment. Now, let’s dive into the specific benefits of each size starting with the 12ft trampoline.
Benefits of a 12ft round Trampoline
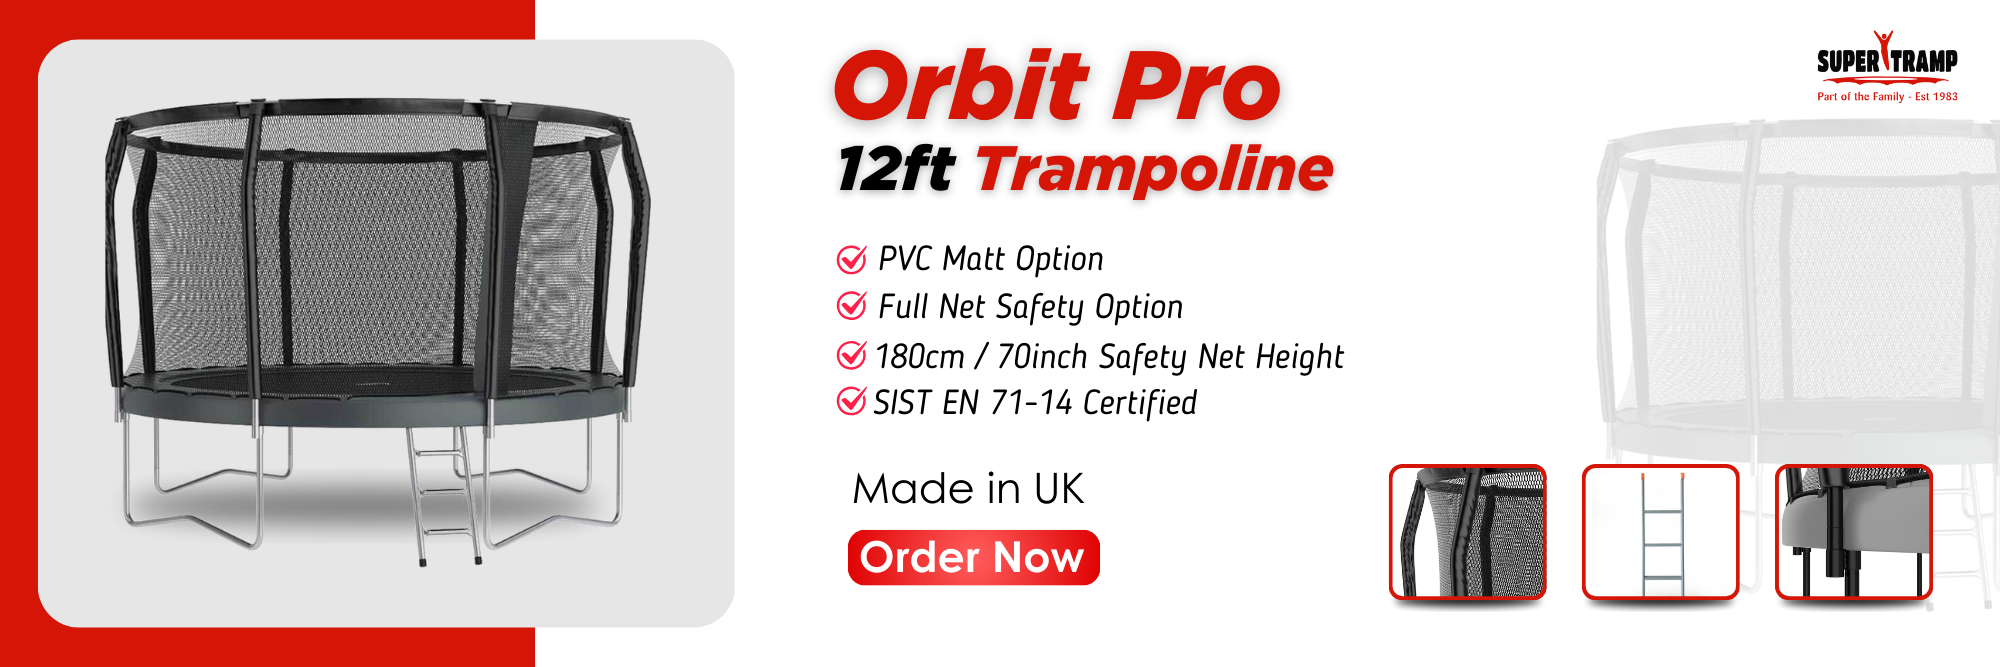
When considering a 12ft trampoline, you’re opting for a size that strikes a perfect balance between ample jumping space and a manageable footprint. Here’s why it stands out:
- Generous Jumping Area: With a diameter of 12 feet, these trampolines provide enough room for exciting bouncing sessions without overwhelming the smaller garden.
- Suitability for Families: Ideal for families with children of various ages, a 12ft trampoline offers enough space for multiple users to jump safely together.
- Moderate Installation Effort: Easier to set up compared to larger sizes, making it a practical choice for those looking for a straightforward assembly process.
Now, let’s explore the advantages of stepping up to a 14ft trampoline.
Benefits of a 14ft Trampoline
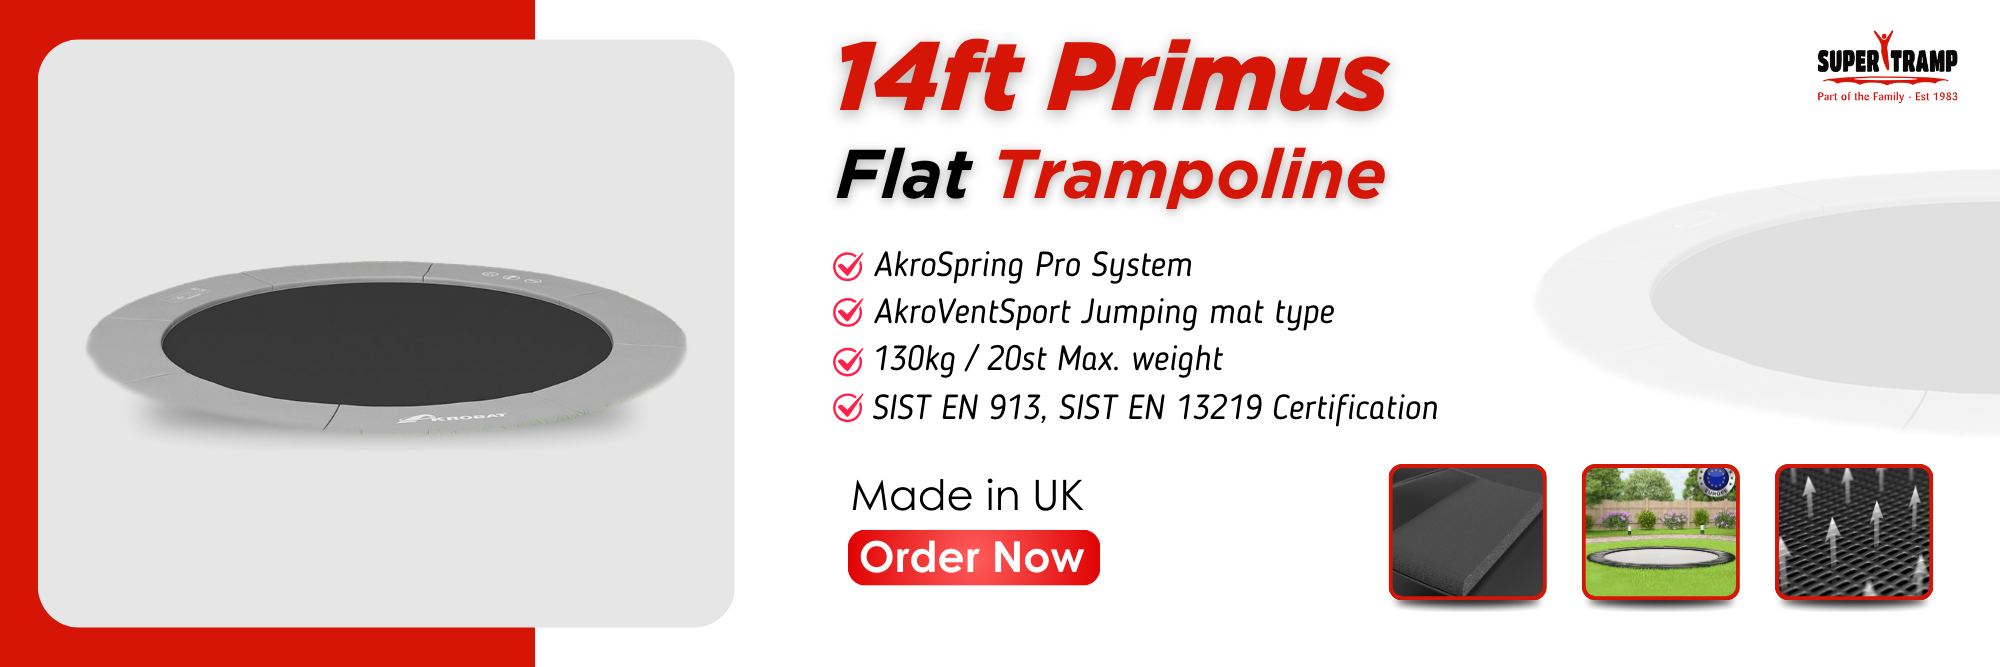
If you’re leaning towards a 14ft trampoline, here’s what makes it a compelling option:
- Spacious Bouncing Area: The larger diameter of 14 feet provides an expansive jumping surface, accommodating more users simultaneously and allowing for higher jumps.
- Versatility in Use: Suitable for older children, teenagers, and even adults, a 14ft trampoline can support diverse activities from casual bouncing to more structured exercises.
- Enhanced Safety Features: Many 14ft trampolines come equipped with robust trampoline safety enclosures and padding, ensuring a secure environment for users of all ages.
Next, it’s important to consider various factors such as available space, age groups of users, and intended usage when deciding between a 12ft or 14ft trampoline.
Considerations for Space, Age Groups, and Intended Usage
When choosing between a 12ft and 14ft trampoline, several factors come into play:
- Intended Usage: Think about how the trampoline will be used. Will it primarily be for recreational bouncing, fitness workouts, or both? The size you choose should align with these intended activities.
| Factors | 12ft trampoline | 14ft trampoline |
| Space | 12ft trampoline fits well in medium-sized yards | 14ft trampoline requires more room and is better suited for larger spaces |
| Age Groups | Younger children may find a 12ft trampoline more manageable | Older childrens and adults might appreciate the larger surface area of a 14ft trampoline |
Now that we’ve explored why 12ft and 14ft trampolines are popular choices, let’s move on to what you need to consider before you start setting up your trampoline.
Tips for a Smooth Start
Before diving into the excitement of setting up your trampoline, it’s crucial to lay the groundwork for a safe and enjoyable experience. Here’s what you need to consider:
- Level Ground: Your trampoline functions best and is safest when placed on completely level ground. Ensure the surface is flat and free from any significant slopes or uneven terrain.
- Surrounding Space: Maintain a clear space of at least two metres around the trampoline. This unobstructed area provides ample room for safe entry and exit, as well as for users to bounce without the risk of colliding with objects.
- Surface Considerations: The Bouncer trampoline is designed to be placed on soft surfaces like grass or artificial turf. If placed on abrasive surfaces such as concrete or gravel, the leg bases may deteriorate over time. To protect the frame, consider using floor guards or rubber matting underneath.
Choosing the right site for your trampoline not only enhances its performance and longevity but also ensures a safer and more enjoyable experience for everyone using it.
Installation Guide
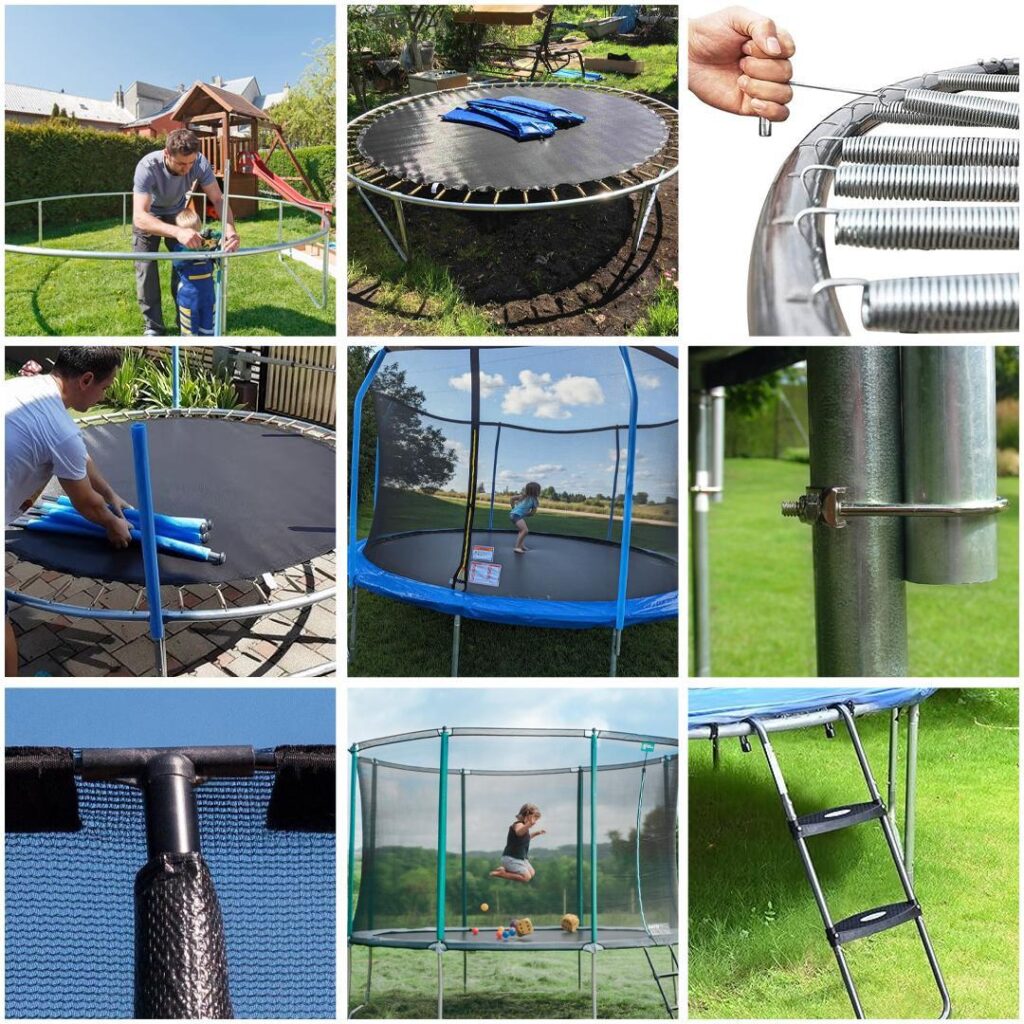
Setting up your trampoline is an exciting endeavour that requires careful attention to detail for safety and performance. Follow these step-by-step instructions to ensure a successful assembly:
Assembling the Frame
- Begin by laying out the frame parts on a reasonably level part of your lawn.
- Assemble the trampoline legs by sliding the leg extensions onto the leg bases.
- Join the leg extensions to the leg bases and link them together by fitting them into the top rails while the trampoline is upside down.
Fitting the Polymesh Bed
- Unfold the black Polymesh bed inside the completed trampoline frame with the painted markings facing upwards.
- Each spring has an elongated hook and a standard hook; ensure the elongated hook is fitted into the frame and the standard hook onto the bed.
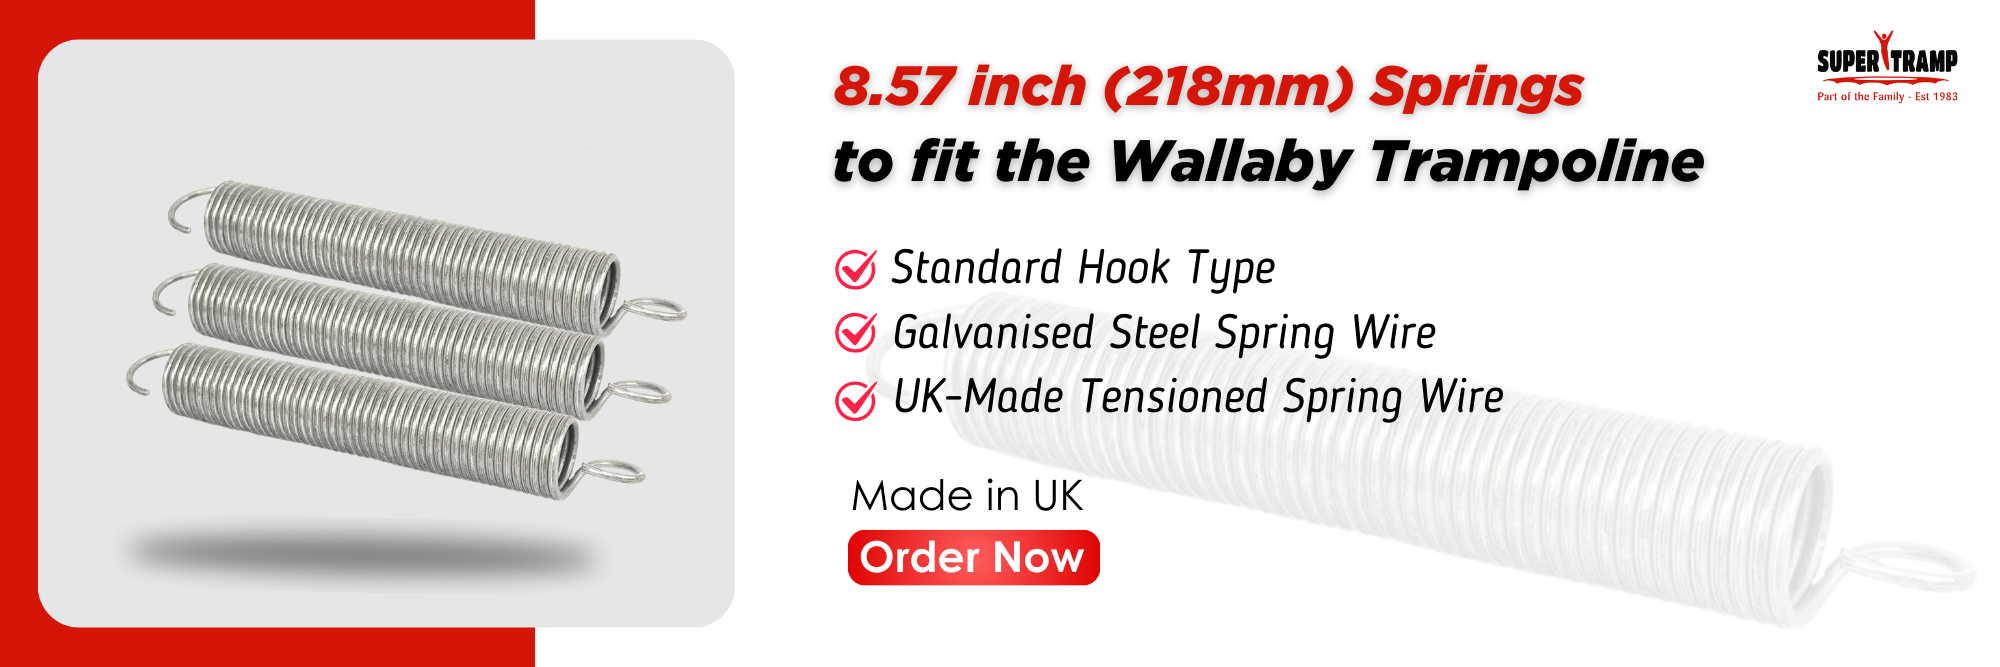
Attaching Springs
- Selecting the right trampoline springs for your trampoline is crucial, as there are many different kinds and sizes available.
- After choosing the right trampoline spring, fit one spring into the slot just to the right-hand side of a T-shaped joiner, attaching it securely to the bed inside the frame.
- Repeat this process for all other T-shaped joiners.
Installing Enclosure Poles
- Locate the top sections of the enclosure poles and the bungee loops with 1 Q-hook and eyebolt.
- Fit each eye bolt through the slot in the top of the pole and secure it with the provided bolt.
- Insert the bottom sections of each pole into the T-joiners in the top frame without fastening with the bolts provided.
- While installing enclosure poles, installing enclosure pole foam covers is crucial for enhancing safety by cushioning impacts and reducing the risk of injury on a trampoline.
Attaching Safety Enclosure Net
- Lay the safety enclosure net on the top of the black jumping bed.
- Connect the plastic clips in the top of the safety net to the corresponding bungee loops via the “Q”-hook bolted to the top pole section.
- Integrated slots in the bottom hem of the safety net correspond to steel triangles on the jumping bed; feed each steel bed triangle through its corresponding slot in the hem of the net.
Securing Enclosure Poles
- Temporarily remove one of the springs already attached to the frame. Feed the steel bed triangle through its corresponding slot in the hem of the net, then reattach the spring to the steel triangle and frame.
Completing Assembly
- Remove the enclosure poles from the T-joiners in the frame.
- Unfold the frame pad and place it on top of the frame with the green PVC facing upwards, aligning the holes in the pad with the T-joiners where the enclosure poles fit.
Final Steps
- Continue fitting the frame pads into position using the spring loops on the underside.
- Temporarily remove each spring to fit it through the spring loop and then reconnect it to the frame.
- Fit each enclosure pole back into its corresponding T-joiner in the frame and secure it using the nut and bolt provided.
- Finally, secure the top and bottom pole sections together using the screw provided.
Adding Trampoline Accessories
Complete the assembly by fitting the trampoline ladder provided. Always use a ladder when entering and exiting the trampoline. Before using your trampoline, ensure the ladder is safe by hooking the rungs securely over the top ring of the tubular steel frame. Make sure the ladder you use fits the height of your trampoline frame. Always face the ladder when using it to access or exit the trampoline. Never use the ladder with your back to it or with the front of your body facing away from the trampoline.
Tools Required and Estimated Time for Assembly
You’ll need a screwdriver, wrench (provided with the trampoline), and possibly a spring tool for assembly. The estimated time for assembly is approximately 2-3 hours, depending on familiarity with assembly and the number of helpers.
Tips for Ensuring a Stable and Safe Setup
To ensure stability and safety:
- Double-check all connections to ensure they are securely fastened.
- Ensure the garden trampoline is placed on a level surface to prevent instability during use.
- Have at least one person assist with assembly to make the process smoother and safer.
Now that your trampoline is securely assembled, let’s move on to essential maintenance tips to keep it in optimal condition for safe bouncing and enjoyment.
Trampoline Care and Maintenance
Maintaining your Super Tramp trampoline is key to prolonging its life and ensuring a safe bouncing experience. Although designed to withstand the outdoors year-round with minimal upkeep, a little care and attention can significantly extend its longevity. Follow these guidelines to keep your trampoline in top condition:
General Maintenance
Your Super Tramp trampoline is built for outdoor durability, but it’s important to perform monthly checks to prevent damage and maintain performance. Remember that the synthetic materials used to make the mat and frame pads are susceptible to harm from things like cigarette ends, fireworks, and fire debris. Here’s what you need to do:
- Check all joints to ensure they are intact and haven’t become dislodged during use.
- Verify that all springs are attached and replace any stretched or damaged springs.
Frame Care
Avoid sitting or standing on the frame or frame pads while the above-ground trampoline is in use, as this causes excessive wear to the springs and pads. In some climates, surface rust may appear on the frame. Remove any rust using a wire brush or coarse sandpaper, and treat the area with non-toxic paint to protect it.
Spring Maintenance
Do not stand or bounce on the springs, as they are not designed to withstand such stresses and may become stretched, misshaped, or weakened. Replace any damaged springs immediately to prevent damage to the remaining springs.
Mat Care
The trampoline mat can be weakened by UV radiation over time. While a little mould or mildew won’t harm the mat, ensure that all footwear and sharp objects, including jewellery, are removed before bouncing. This prevents unnecessary wear and tear.
Useful Information
- Identify stretched or “dead” springs by checking for visible light through the coils when the spring is removed from the trampoline. Replace any such springs to maintain performance.
- When fitting springs, use your body weight to pull the spring back, which is often more effective than relying solely on arm strength.
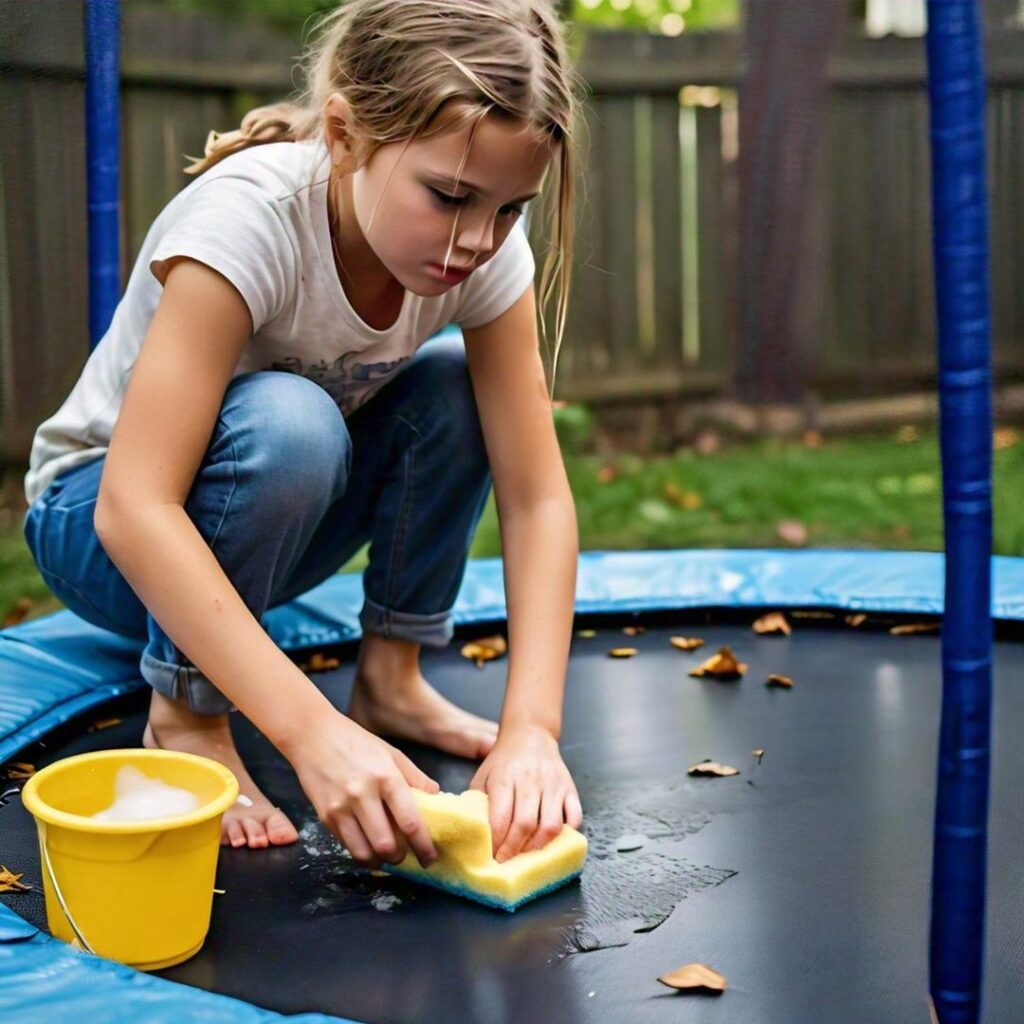
Cleaning Instruction
- Mat: Clean the mat regularly with a mild soap and water solution, rinsing thoroughly and allowing it to air dry.
- Frame: Wipe down the frame with a damp cloth to remove dirt and debris. Treat any rust spots as mentioned.
- Springs: Clean the springs with a cloth to remove any dirt, and check for signs of wear or damage.
By following these maintenance steps, you can ensure your trampoline remains safe and functional for years to come.
Now that you know how to care for your trampoline, let’s move on to some essential guidelines for safe bouncing to keep everyone protected while enjoying the fun.
Safe Bouncing Guide
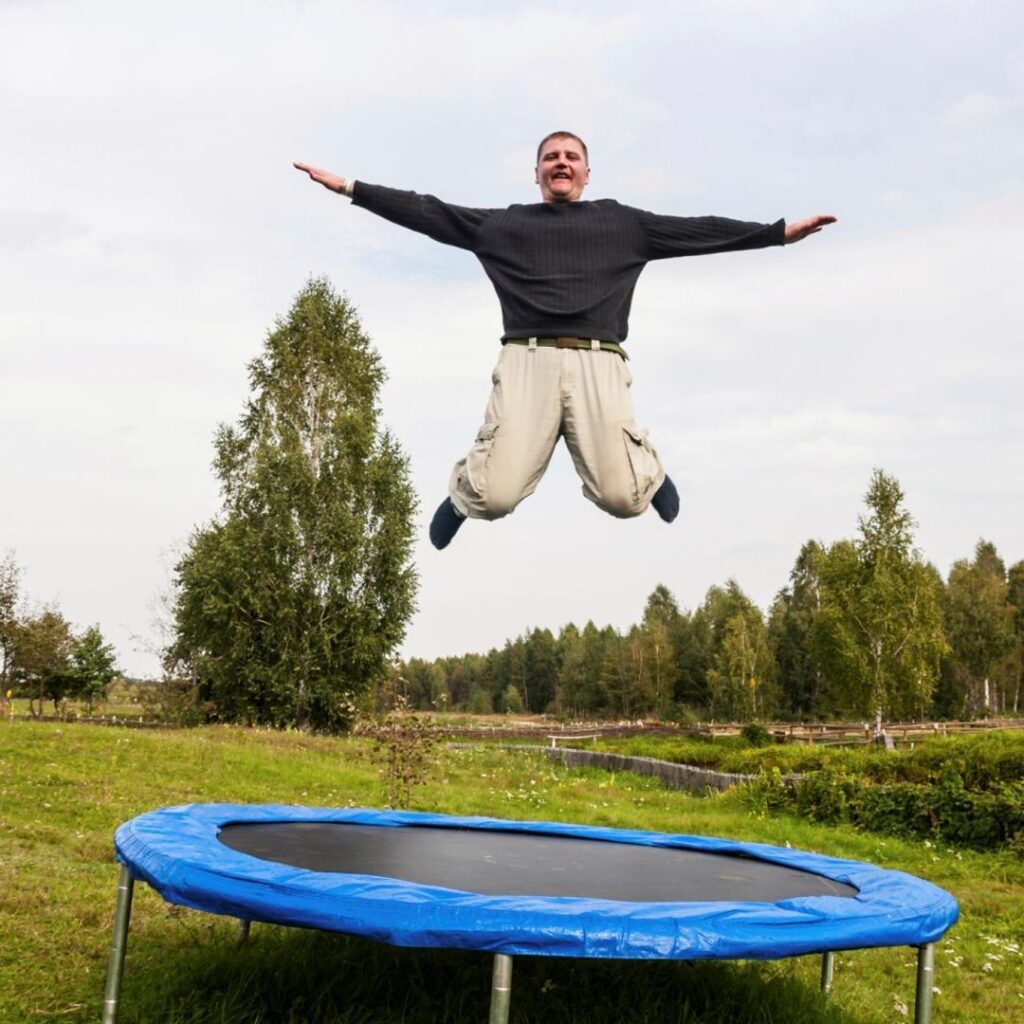
Bouncing on a trampoline is fun and exhilarating, but following safety guidelines is crucial to prevent injuries. Here are some key practices:
Exercises and Activities
- Standing Bounce: Start in the hands and knees position, bounce lightly, shift your hips back, and drop to hands and knees. Push up with your arms to return to standing.
- Hands and Knees: To stop bouncing, bend your knees as your feet touch the mat to resist momentum.
- Seat Drop: Sit in the middle with your legs straight out. Lean back, keep your back straight, and arms behind. From a small bounce, shift your hips forward and push up with your hands to stand.
- Pike Jump: From a standing bounce, raise your legs straight at the top, touch your shins, and then return to standing.
- Tuck Jump: From a standing bounce, bring your knees to your chest, clasp your shins, and then return to standing.
- Half Twist: From a standing bounce, raise arms out and together above your head, twisting 180° to land facing the opposite direction.
- Full Twist: Perform as the half twist but rotate 360° to land in the starting position.
By following these guidelines and practising these moves, you can enjoy trampolining safely while getting a great workout.
Understanding safe bouncing is crucial, but being aware of potential hazards is equally important. Let’s discuss warnings and conclude our guide on trampoline safety.
Warnings
Trampolining can be an incredibly fun activity, but safety must always come first. Here are some essential warnings to ensure everyone stays safe:
- Supervise children.
- Only one person at a time.
- Store away in bad weather.
- Bounce in the centre.
- No one under the trampoline.
- Outdoor use only.
- Beware of slippery conditions.
- Avoid somersaults unless trained.
- Stay sober.
- Remove footwear.
- Empty pockets.
Don’t Miss Out
Visit SuperTramp today to explore our extensive range of high-quality trampolines and accessories. Our trampolines are designed with safety and durability in mind, ensuring you enjoy a secure and thrilling bouncing experience. Whether you’re a beginner or a seasoned trampoline enthusiast, our products cater to all skill levels and preferences. Discover how our trampolines can enhance your fitness routine and bring endless fun to your garden. Start bouncing your way to better health and joy with SuperTramp!
