The job offer’s just come through: Edinburgh to London, the kind of role you’d be mad to turn down. Boxes get packed, the van gets booked, and everything feels sorted, until you wander into the garden one morning with a coffee and remember the one thing nobody’s factored into the move. Your trampoline. Not a forgotten garden toy, but the thing you’ve bounced on every morning for two years before the rest of the street’s even stirring. Listing it as a trampoline for sale and starting again with a new one isn’t an option, not for this one. Some kit earns its place, and this has earned its move to London with you.

The trouble is, most removals firms don’t really know what to do with it either. The best answer you’ll usually get is something like, We can take the frame if it’s flat-packed. That leaves everything else down to you, the springs, the mat, the poles, all of it. Most people end up figuring it out through trial and error, and at least one bruised thumb along the way.
That’s exactly what this guide is here to save you from. It walks you through how to pack a trampoline for moving properly, step by step, whether you’re relocating for a new job, moving house with the family in tow, or simply refusing to leave your favourite piece of home kit behind. By the end, you’ll know how to get it from one garden to the next without losing a single bolt.
How Do You Prepare a Trampoline for Moving?
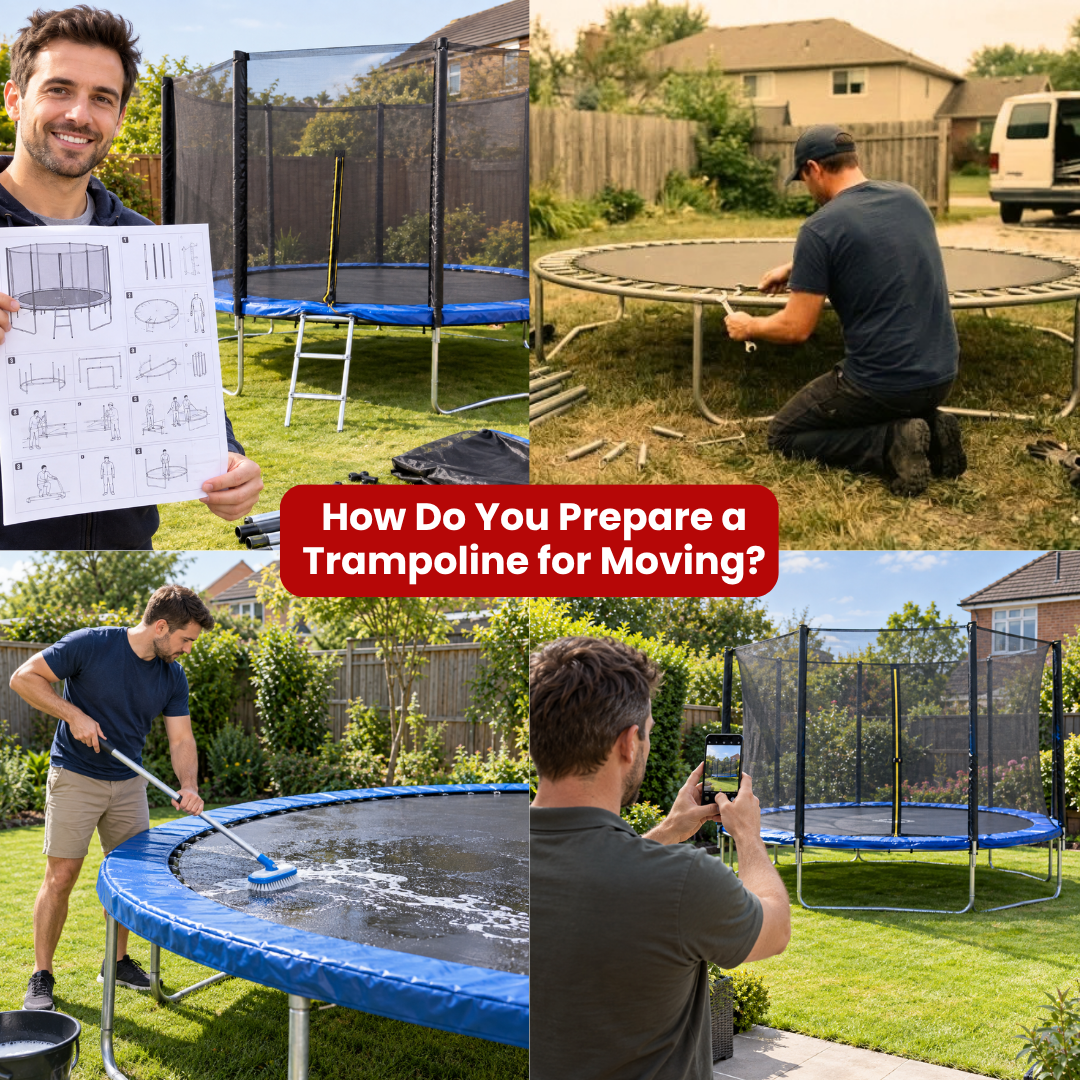
A bit of prep saves a lot of swearing later. Before anyone picks up a spanner, walk round the trampoline and take stock of what you’re actually dealing with. An in-ground trampoline needs a different approach entirely, since you’re not just folding up a frame but also dealing with the surround, the liner and whatever’s supporting the pit, so factor in extra time if that’s what you’ve got. Above-ground models are generally more forgiving, though size still matters.
Check the Manufacturer’s Instructions
Read out the original assembly booklet if you kept it. Most garden trampolines go together in a specific order, and coming apart usually just means reversing that sequence. If you can’t find the paperwork, a quick search using the model number on the frame will often bring up a PDF version online. Don’t force anything that won’t budge. There’s usually a technique for it rather than force strength.
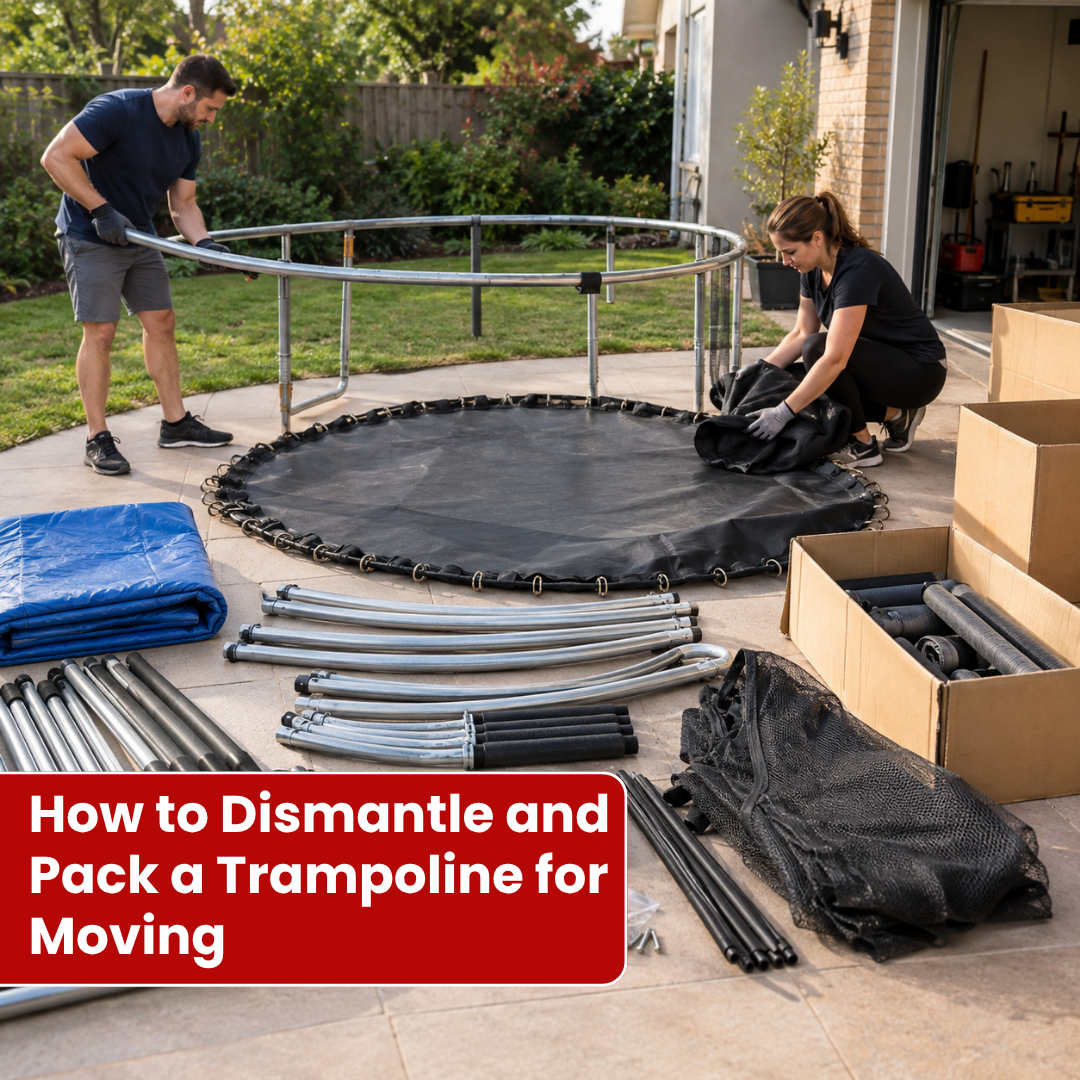
How Should You Dismantle and Pack Each Trampoline Part?
Once you’re set up, work through the trampoline piece by piece rather than trying to do everything at once. This matters more with a rectangular trampoline, since the frame sections and springs often differ in length from one side to another, and mixing them up makes reassembly a proper headache. Going slowly here genuinely pays off later.
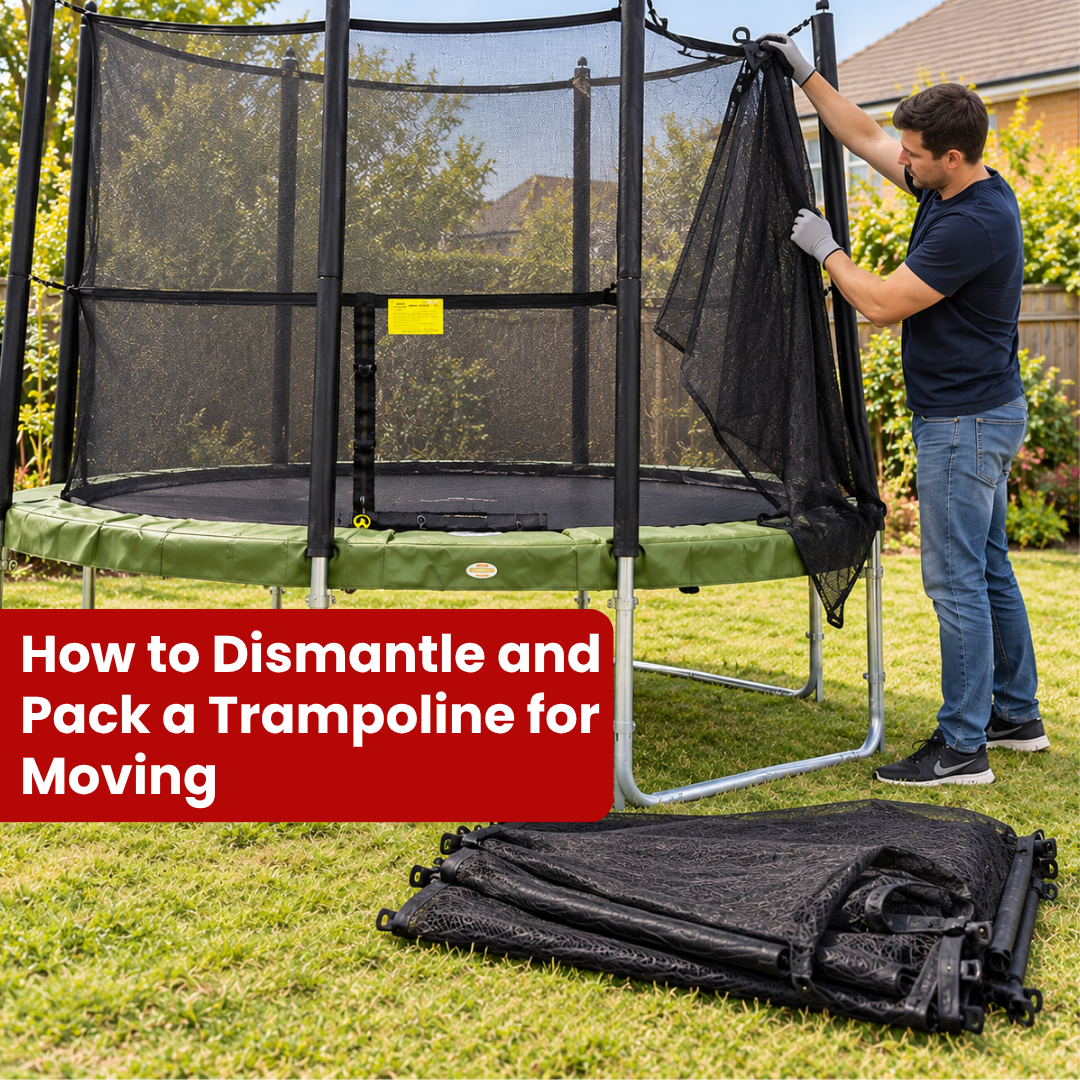
Remove the Safety Net and Enclosure Poles
- Unclip or unthread the net from the poles carefully rather than pulling it free.
- Avoid dragging it across the frame, as that’s a common way to tear the mesh.
- Lay the poles down together and, if your model has several different lengths, mark them with tape and a marker so you know which goes where.
Remove the Springs Safely
- This is where a trampoline spring tool earns its keep. Hook each spring, pull it towards the frame, and unhook it from the mat’s V-ring.
- Drop every spring straight into a bucket or heavy-duty bag, as they’re small, sharp-edged, and easy to lose in long grass.
- Rusted or stretched springs are worth replacing rather than reusing, particularly if the above-ground trampoline‘s a few years old.
Fold and Protect the Trampoline Mat
- Make sure the mat’s clean and completely dry before folding.
- Fold it the way the manufacturer suggests, usually in thirds or quarters, rather than scrunching it up any old way.
- A protective sheet, weather cover, or dust sheet wrapped around it keeps out dirt and moisture during transport and stops it from snagging on anything sharp in the van.
Separate and Protect the Frame
- Take the frame apart in line with the instructions, then group matching sections together, legs with legs, and top rail pieces with top rail pieces.
- Wrap any exposed metal edges with old towels or bubble wrap, both to protect the frame’s coating and to stop it scratching other furniture during the move.
Label Small Parts and Hardware
- This is the step people regret skipping most. Bag up nuts, bolts, washers and clips, and label each bag clearly, ideally noting which section of the trampoline it belongs to. Don’t trust memory on this one after a stressful moving day. Nobody remembers which bag of bolts came from where.
- If you’re storing the trampoline for a while before setting it back up, keeping it as a trampoline for garden use rather than leaving parts scattered in a shed makes reassembly far quicker.
A little organisation here saves a lot of frustration once you’re unpacking at the new place.
How Do You Transport a Trampoline Without Damaging It?
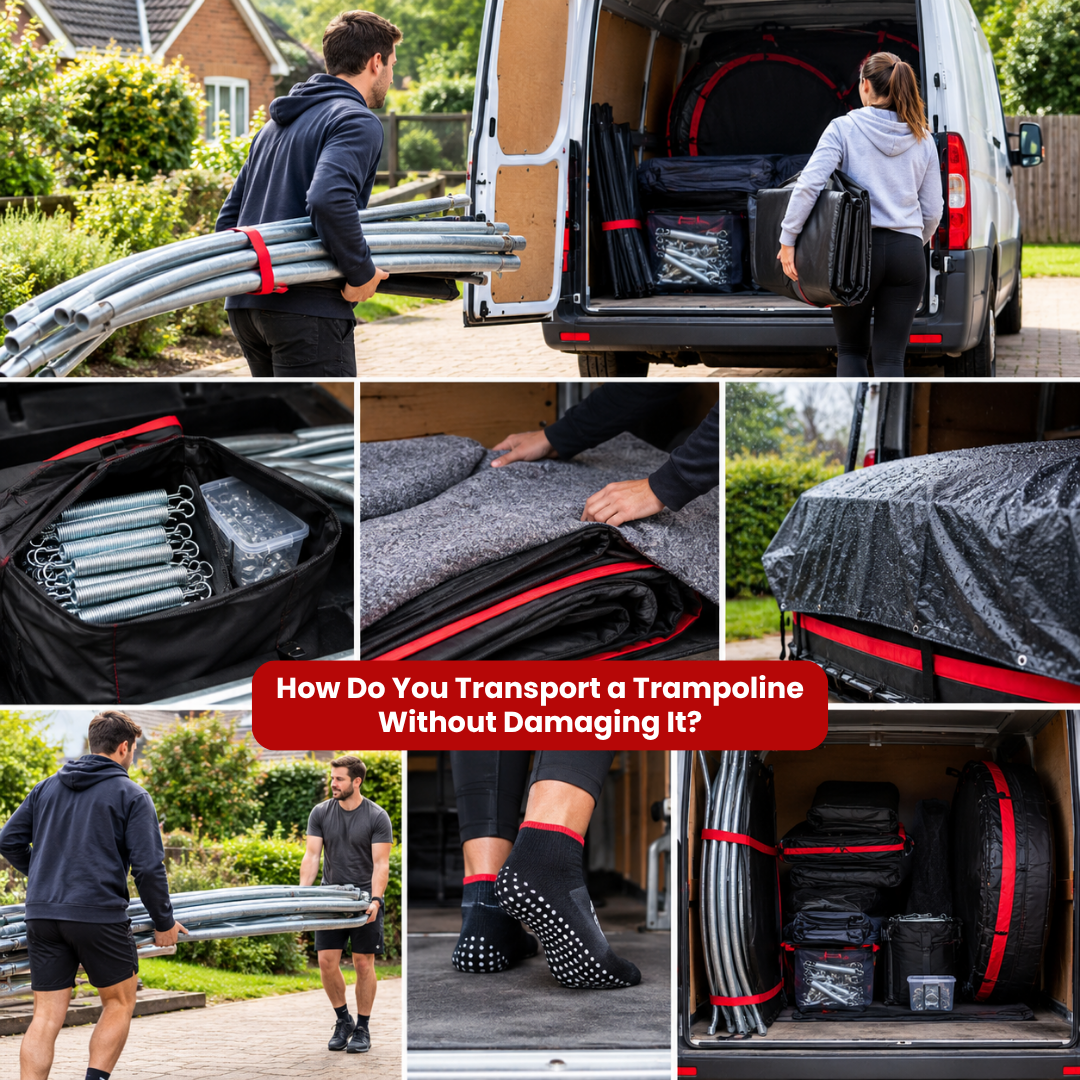
Getting everything into the van is only half the job. How it travels matters just as much as how it’s packed. If your family’s used to wearing grip socks for trampoline sessions indoors, that same attention to detail is worth applying here, small habits, careful handling, and checking things twice.
Keep the Parts Secure During Transport
Loose components shifting around in transit cause more damage than most people expect. Wedge bags of springs and hardware somewhere they can’t roll about, and never stack heavy furniture directly on top of the folded mat or netting.
Protect the Mat and Net From Sharp Objects
Keep fabric parts well away from tools, exposed screws or anything with a sharp edge. A single rip can turn into a proper tear once weight’s back on the mat, so a spare blanket or moving pad between the mat and anything metal is time well spent.
Avoid Leaving Components Exposed to Weather
Rain during loading or unloading is genuinely more likely to cause damage than the drive itself. Don’t leave the mat or net sitting wet inside a closed van. That’s exactly the kind of dampness that leads to mildew later.
Get Help With Heavy Components
Frame sections from a 14ft trampoline or larger are genuinely heavy and awkward to carry solo. Get a second pair of hands, bend from the knees rather than the back, and don’t try to be a hero with an eight-foot pole under one arm.
Keep Everything Together
Try to keep every performance trampoline part in one designated corner of the van or garage, rather than letting bits get mixed in with general boxes. It sounds like common sense, but it’s remarkably easy for a bag of springs to end up wedged behind a bookcase and forgotten for weeks.
What Should You Do After Moving the Trampoline?
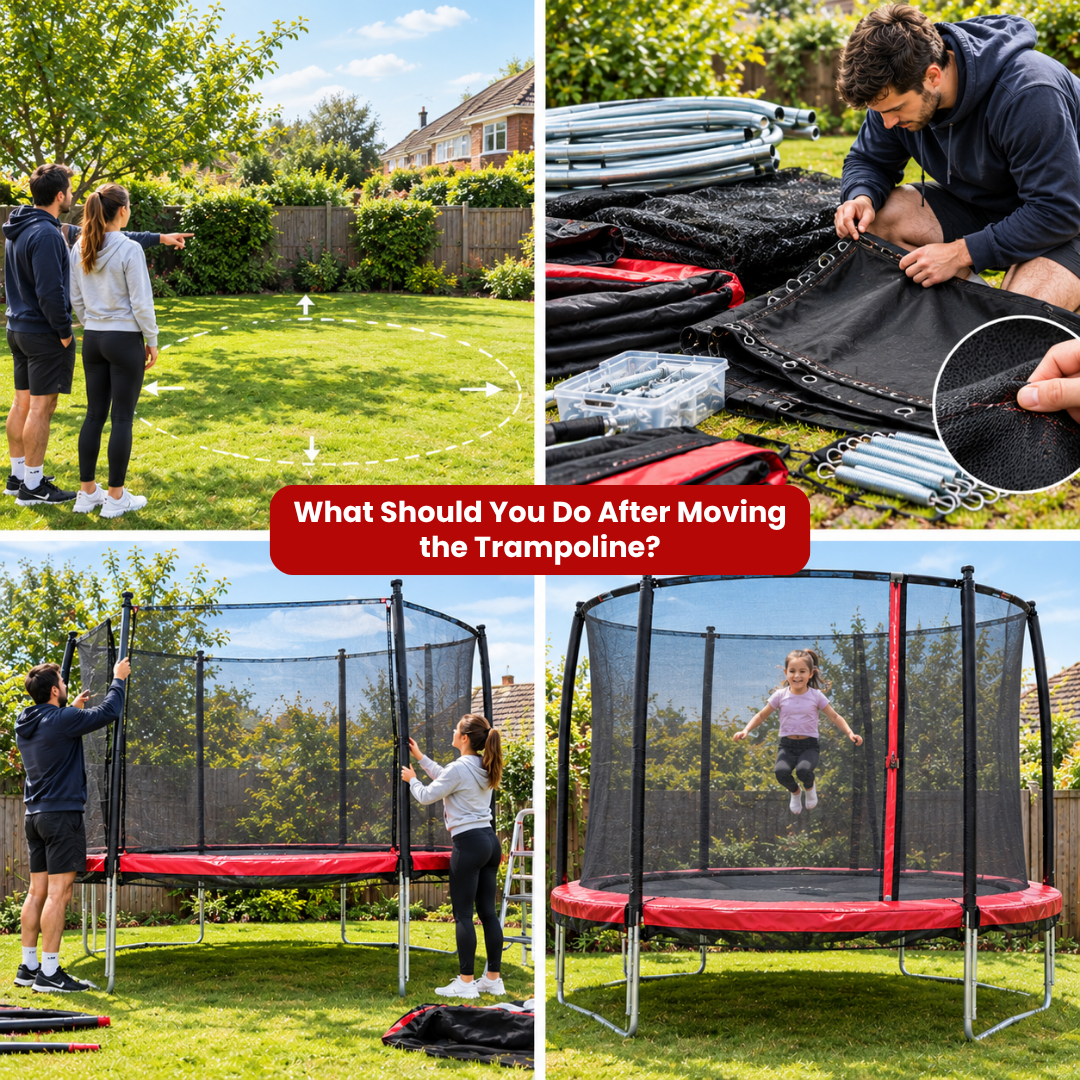
Arriving at the new house doesn’t mean the job’s finished. This next stage is where a bit of patience really pays off, especially if the new garden’s going to become the family’s main play zone once everything’s back together.
Check the New Garden Before Reassembly
Walk the space before committing to a spot. You’ll want reasonable clearance from fences, trees and overhead branches, plus ground that’s roughly level. An uneven patch might look fine at first glance but can leave the frame under uneven strain once it’s fully assembled.
Inspect Every Component Before Reassembly
Before anything goes back together, check the frame for bends, dents or cracked welds. Look over the mat for tears, thin patches or fraying stitching. Give the poles, netting, and any frame padding a proper once-over too. If anything looks worn or damaged, replace it rather than hoping it’ll be fine. This is also a good moment to order trampoline spares if a part didn’t survive the move, or general trampoline padding if the old covers have thinned out.
Reassemble According to the Instructions
Follow the manufacturer’s sequence, using those photos from earlier as a backup reference. If something doesn’t slot in easily, stop and check rather than forcing it. A component that resists usually means it’s the wrong way round, not that it needs more muscle.