Trampolines are a source of endless fun, but without the right trampoline safety net, they can quickly become a cause for concern. As parents, you’ve likely heard enough stories about trampoline accidents to make you worry about your children’s safety. The truth is, a trampoline without a safety net isn’t just an oversight, it’s an invitation to injuries, turning what should be an enjoyable family activity into a potential headline the next day.
We understand your worries, and while it’s easy to blame the trampoline itself, the real issue is often a lack of proper securing measures. This is where the trampoline safety net comes in. It’s not just a trampoline accessories, it’s a necessity. Many parents feel unsure about how to install the net correctly, which only adds to the stress. That’s why we’ve created this guide—to show you that it’s not as complicated as it seems. We’re here to walk you through the process, step by step, ensuring your trampoline is a safe space for your children to play, grow, and have fun without worries. Let’s ensure your family’s trampoline time is filled with joy, allowing you to sip your coffee in peace while watching them bounce safely.
What is a Trampoline Safety Net?
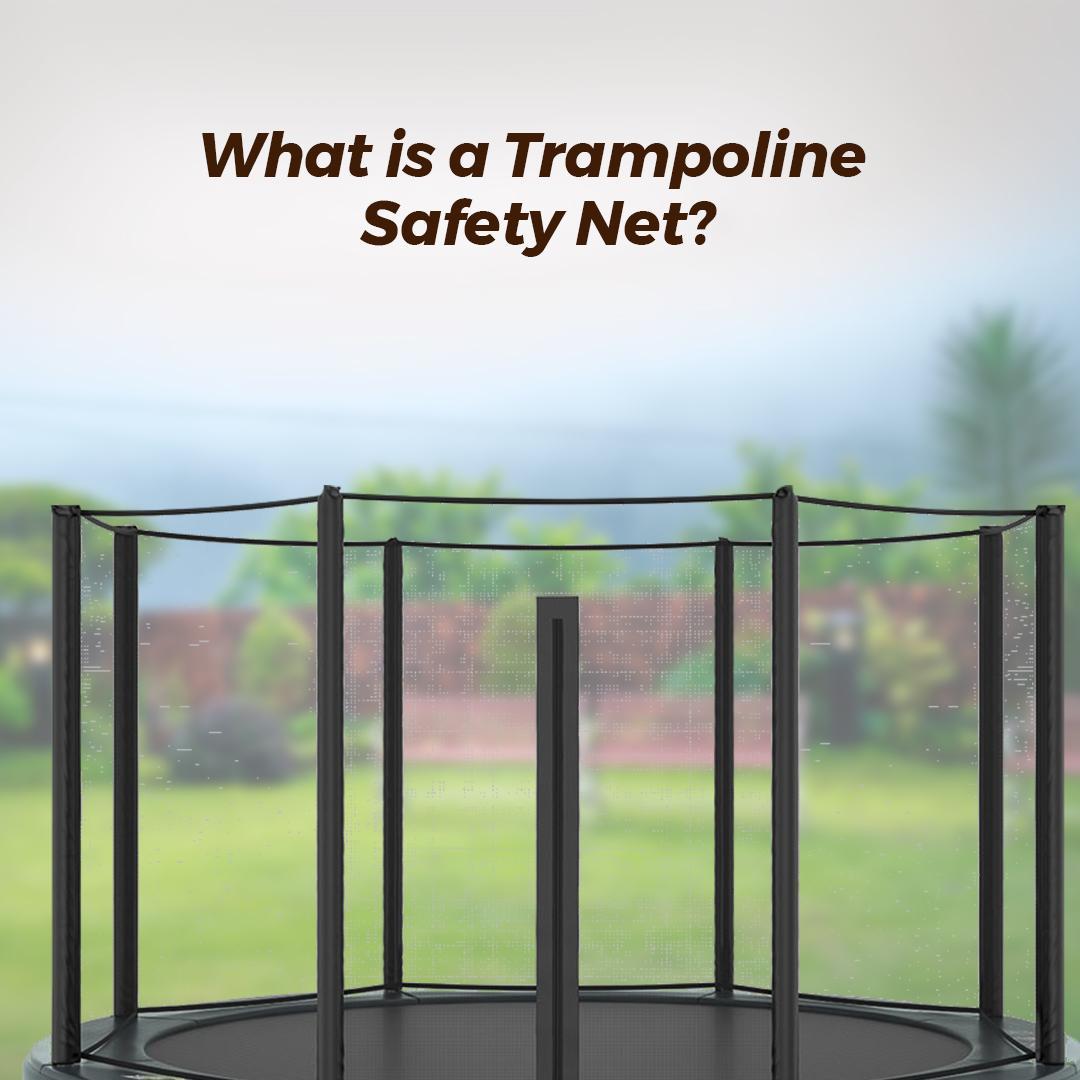
A trampoline safety net is a protective enclosure designed to prevent jumpers from falling off the trampoline. Made from durable, weather-resistant mesh, it surrounds the jumping area and is securely attached to poles for stability.
A trampoline safety net is an essential feature that enhances safety and prolongs the lifespan of your trampoline. But why is it so important? Below are the strong reasons why trampoline safety nets are important.
Importance of Trampoline Safety Net
An above ground trampoline safety net is not just a protective barrier, it’s an essential element for safeguarding your child’s well-being.
- Prevent Falling Off: First and foremost, the trampoline safety net acts as a shield, preventing accidental falls and reducing the risk of serious injuries. Without it, children can easily tumble off and hurt themselves.
- Protect Against Harmful UV Rays: The net also protects both the jumper and the trampoline from harmful UV rays. This helps keep your child safe from sunburn while extending the lifespan of your trampoline, which can be damaged by prolonged sun exposure.
- Prolong Trampoline Life: By shielding the trampoline from environmental elements like wind and rain, the safety net helps prevent wear and tear, ensuring your trampoline stays in top condition for longer.
- Encourage Safe Exploration: With the added security of a trampoline safety net, children feel more confident to explore new tricks and jumps on the rectangular trampoline, knowing they’re safe from falling. This sense of safety encourages them to develop their skills without the fear of injury.
While the net provides essential protection, always remember that adult supervision is vital for maintaining a safe environment.
Now that we’ve covered the key benefits of a trampoline safety net, let’s dive into how to properly install one.
Spares Required for Installation
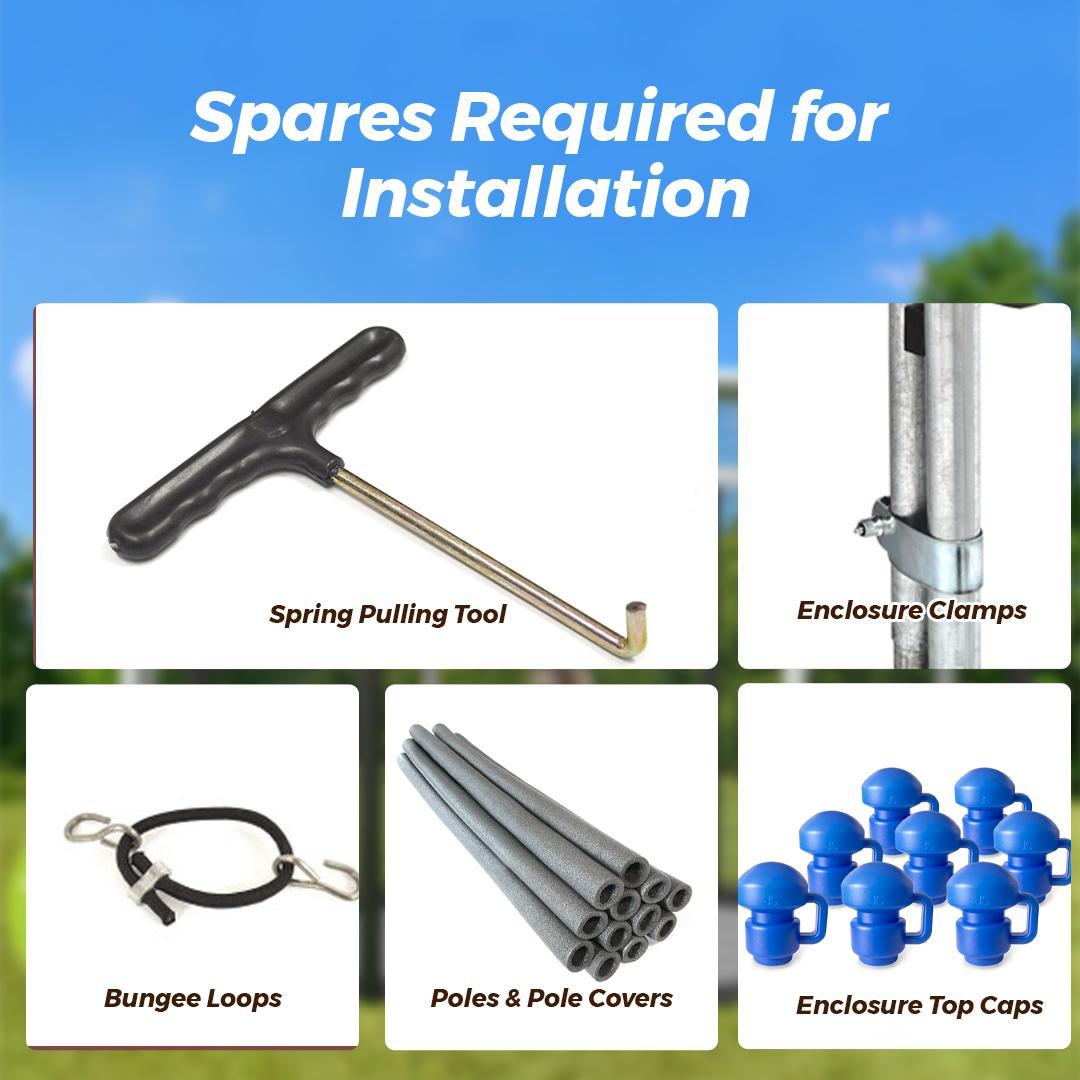
To install a trampoline safety net properly, you’ll need a few essential spares to ensure the process goes smoothly and securely.
Trampoline Safety Enclosure
The safety enclosure is the netting system itself, which is vital for protecting your jumper. Choosing the right one, in terms of size and durability, ensures a secure fit and long-lasting protection.
- Most durable and long lasting trampoline safety net for you: The Fun Bouncer 12ft Safety Enclosure
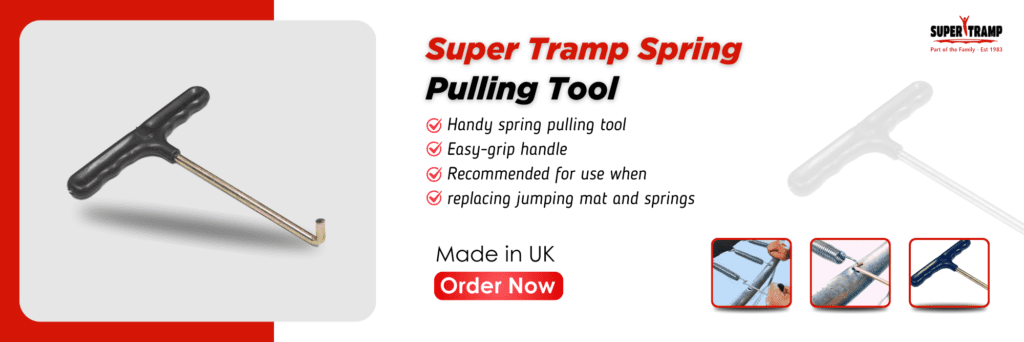
Spring Pulling Tool
This tool is crucial for stretching and attaching the safety net without causing damage to the trampoline’s springs. It helps install the net securely, preventing any risk of injury.
Enclosure Clamps
These clamps hold the safety net firmly to the poles, ensuring the net remains taut and in place throughout use, preventing it from slipping or sagging.
- Highly recommended: ‘Cam Tite’ Super Tramp Deluxe Enclosure Clamps – 2 Pack
Bungee Loops
Bungee loops with Q-hooks securely attach the net to both the poles and the trampoline bed, providing added stability and safety during jumps.
Poles & Pole Covers
The poles give structure to the net, while pole covers add protection by cushioning the net and preventing any sharp edges from causing harm.
Enclosure Top Caps
These caps provide a finished, secure look and act as an extra safeguard by keeping the net in place and protecting the poles.
With all these spares ready, let’s move on to the step-by-step installation guide to get your trampoline set up safely.
A Step-by-Step Guide to Installing a Trampoline Safety Net
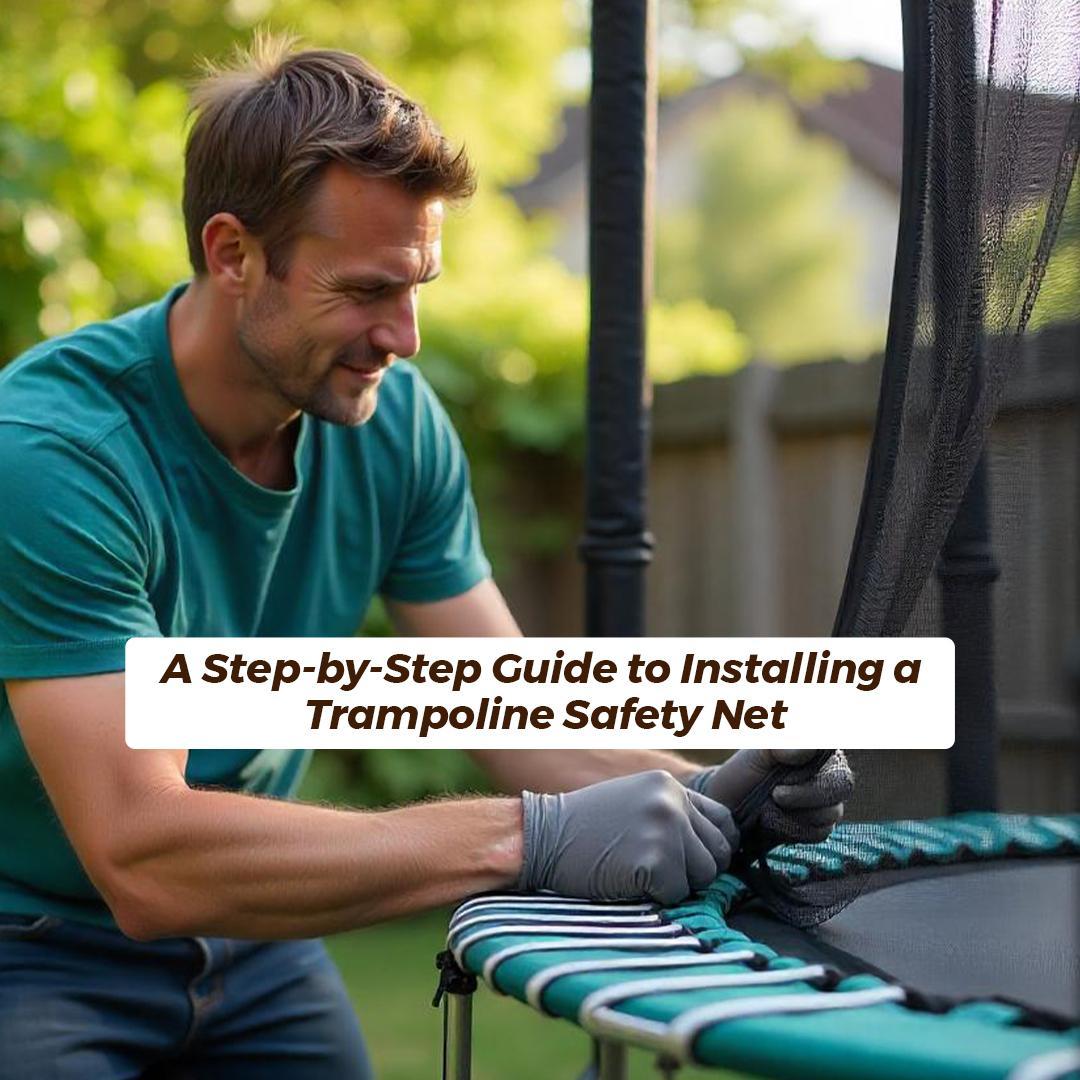
Installing a trampoline safety net is easier than it sounds, and with the right steps, you’ll have it up in no time. This guide will walk you through the entire process, step-by-step, to ensure a secure and safe trampoline for your children.
Join the Poles and Cover Them with Pole Covers
- Begin by assembling the poles for your trampoline’s safety net.
- Once the poles are connected, cover them with protective pole covers to prevent any sharp edges.
- This will ensure both safety and durability and will make the net installation process smoother.
Remove the Frame Pad
- Before proceeding, remove the frame pad from the trampoline.
- This allows you access to the frame where the safety net will be attached, creating a clear space to work in.
Lay the Net Out and Attach Bungee Loops
- Unfold the net and place it evenly across the trampoline bed.
- Find the middle seam and start attaching bungee loops with Q-hooks to the clips on the net.
- Attach the other ends of the bungee loops to the middle eyebolts on the enclosure poles.
- Make sure the net is aligned and not twisted during this process.
Stand the Pole Up and Secure It to the Trampoline Frame
- With the help of enclosure clamps, secure each pole to the legs of the trampoline.
- Make sure the poles are aligned and stable.
- The net should now be hanging from the middle of the poles, ready for further attachment.
Slot the Net Over the Triangular Anchor
- At the bottom hem of the net, you’ll notice small slots that correspond to the steel triangles on the trampoline bed.
- Carefully remove the springs from these slots using the spring-pulling tool.
- Slot the net over each anchor, ensuring that the anchor and spring slot align properly.
- Reattach the springs securely to avoid any twisting.
Reattach the Springs and Re-fit Frame Pads
- As you work your way around the trampoline, carefully reattach the springs.
- Once the net is secure, re-fit the frame pads, making sure the net lies evenly on top of the trampoline bed.
Attach the Bungee Loops and Complete the Setup
- Using the remaining bungee loops, secure the net to the enclosure poles.
- Begin by attaching them at the midpoint of each pole, and then finish at the top of the poles after entering the trampoline.
- Once all 16 bungees are in place, your safety net will be fully assembled.
Place the Ladder and Complete the Installation
- Finally, place the trampoline ladder in position, making sure everything is tight and secure.
- Now your trampoline is fully set up and ready for safe, worry-free fun!
With the trampoline now properly secured, let’s move on to the next section about safety tips for using your newly installed net.