Setting up a garden trampoline properly is crucial for safety and fun. If parts are attached incorrectly, jumps can become hazardous and frames unstable.
Those instruction manuals are as thrilling to read as a phonebook, and some of those parts look trickier than advanced origami. Well, don’t worry, we’ve got your back. We’ll walk you through every step from sorting those metal rods to attaching the bed. With a few handy tools, patience, and our tips, you’ll be jumping for joy on your new trampoline in a few hours.
In this blog, you will learn the best way to assemble your garden trampoline, just like a pro.
Pre-Assembly Preparation
The most important step is finding a suitable location for your trampoline. You’ll want at least 6 metres of clear space around the trampoline, away from trees, fences or any other obstructions. The ground should be level to prevent the frame from twisting, and grass or dirt is softer than concrete if anyone falls off!
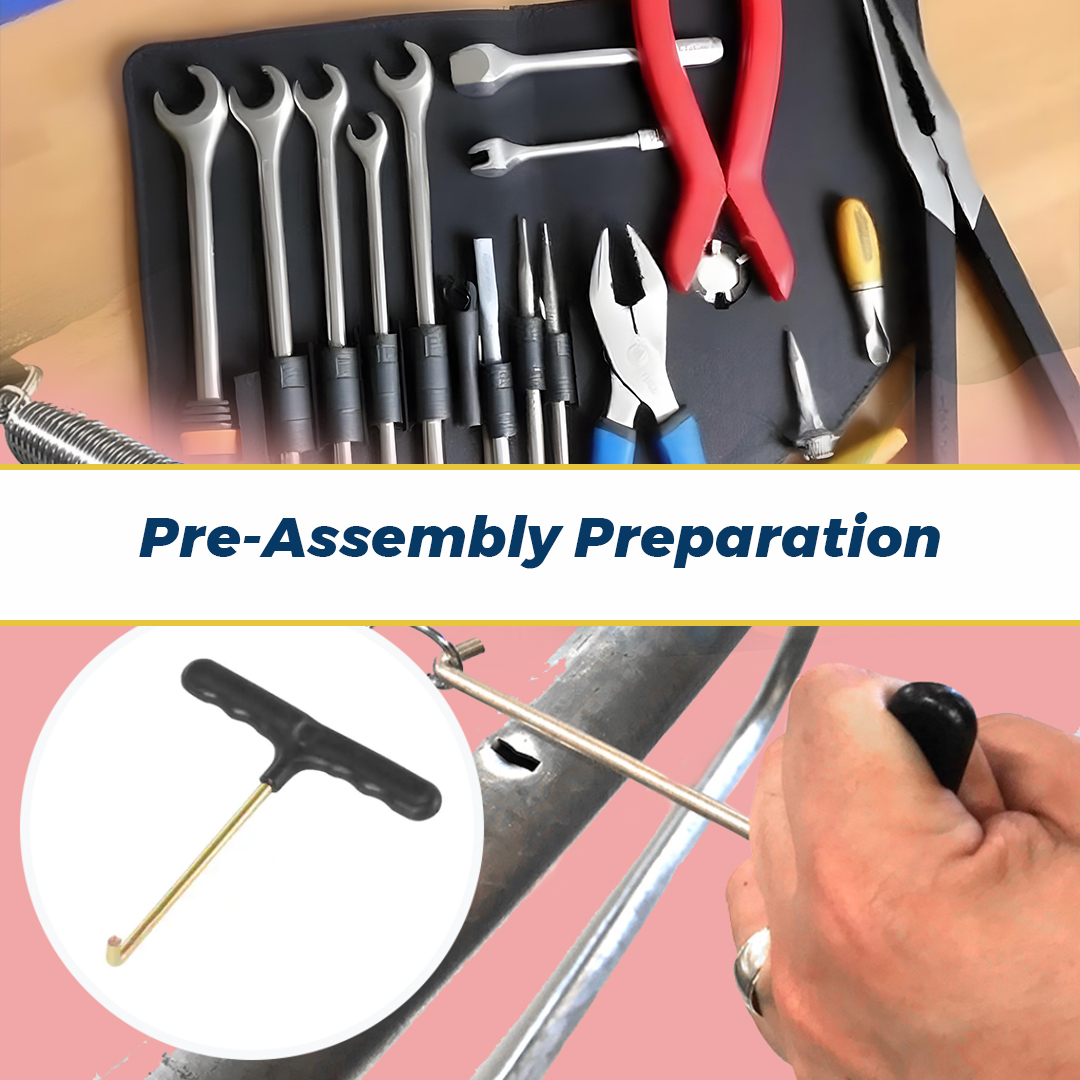
Gather the Necessary Tools
Make sure you have all the right tools on hand before you start putting the pieces together. At a minimum, you’ll want a ratchet set, Allen wrenches, pliers, a rubber mallet and a utility knife. Don’t forget work gloves to protect your hands.
Read the Instructions Carefully
While assembling any large equipment, it’s critical to thoroughly read the manufacturer’s instructions before diving in. Familiarise yourself with all the parts and proper installation. The assembly process can take several hours for a full-sized 14ft trampoline, so understanding the correct steps will make the work go much more smoothly and prevent potential mistakes. If anything is unclear, don’t hesitate to contact the company’s support for clarification.
Organising Parts

Check that you have all the parts listed in the instructions before getting started. If anything is missing or damaged, contact the manufacturer right away for replacements.
Inspect each part
Carefully inspect each part for any defects, dents or tears before assembly. Look for any sharp edges or points that could cause injury. It’s best to do this with a friend so you have an extra set of eyes. If anything looks off, don’t use that part.
Organise by section
Next, organise the parts into the sections of the garden trampoline – safety pad, net, springs, bed, frame, etc. This will make each section of assembly easier to complete without having to search for the correct parts. Keep the parts for one section together in one area.
Tools at the ready
Have all the necessary tools laid out and ready to go before starting assembly. Usually, all you’ll need is a ratchet set or spanner to attach the springs and a rubber mallet to secure the frame sections.
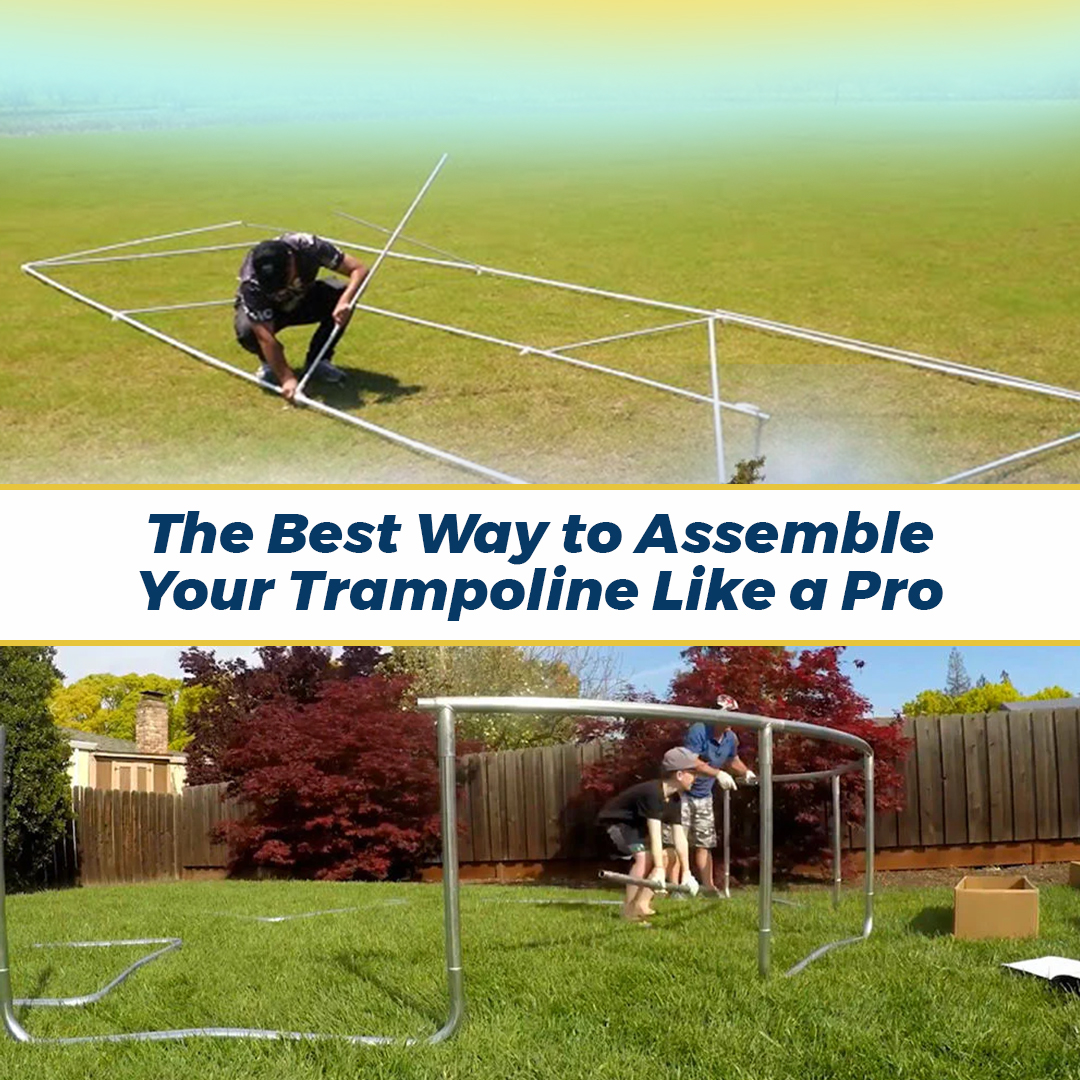
Step-by-Step Assembly Guide
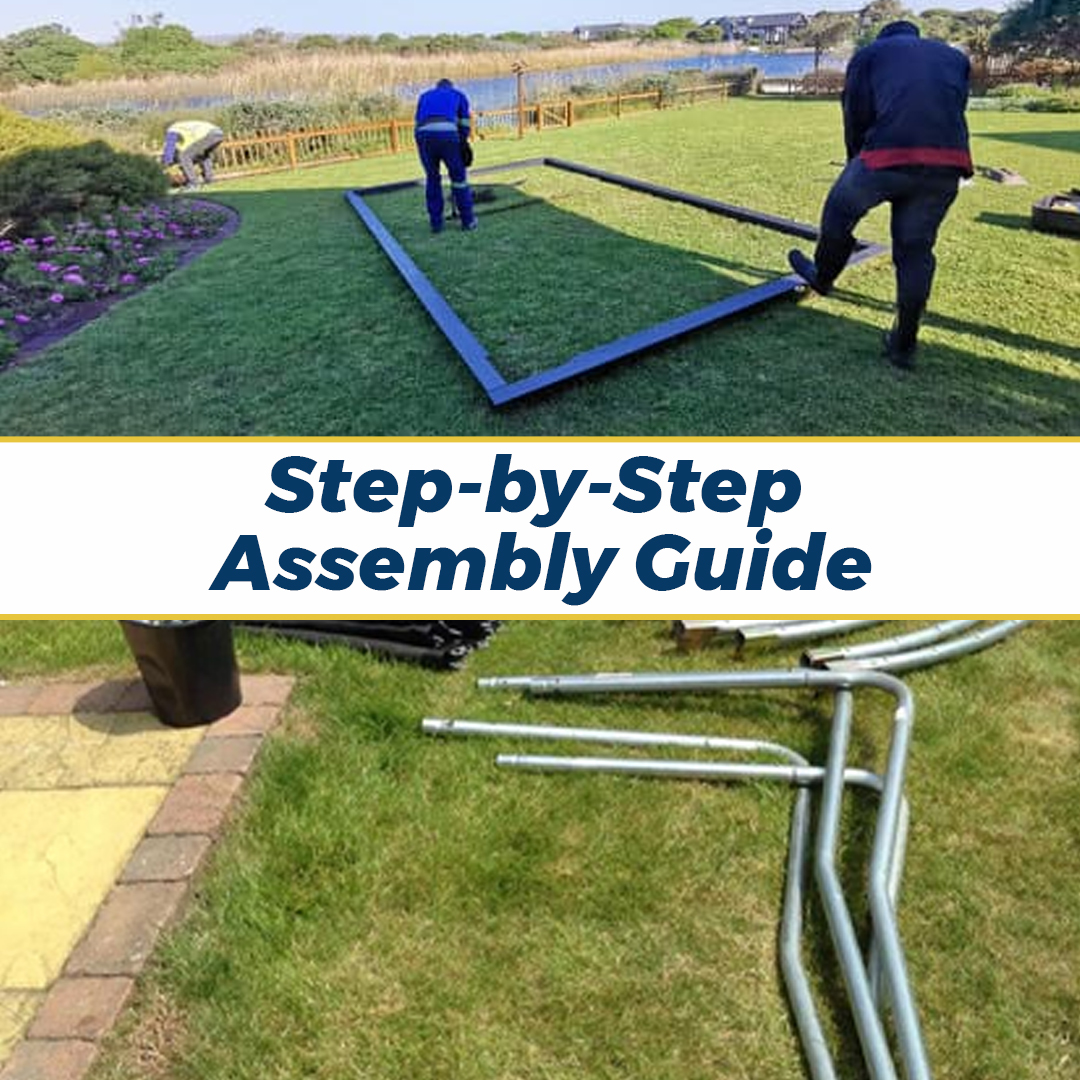
The frame provides the structure and support for your trampoline. Start by laying out the frame sections, legs, and hardware so you have everything in front of you. Connect the frame pieces by sliding the ends together and securing in place with the provided bolts and T-joints. Make sure the frame is level as you work. Once connected, the frame should form a perfect circle.
Attaching the Legs
With the help of an assistant, lift one end of the frame to attach the legs. Thread the legs into the leg sockets on the underside of the frame, then secure in place by tightening the nuts at the top of each leg. Work your way around the frame until all legs have been attached. The legs provide stability and elevation for the trampoline.
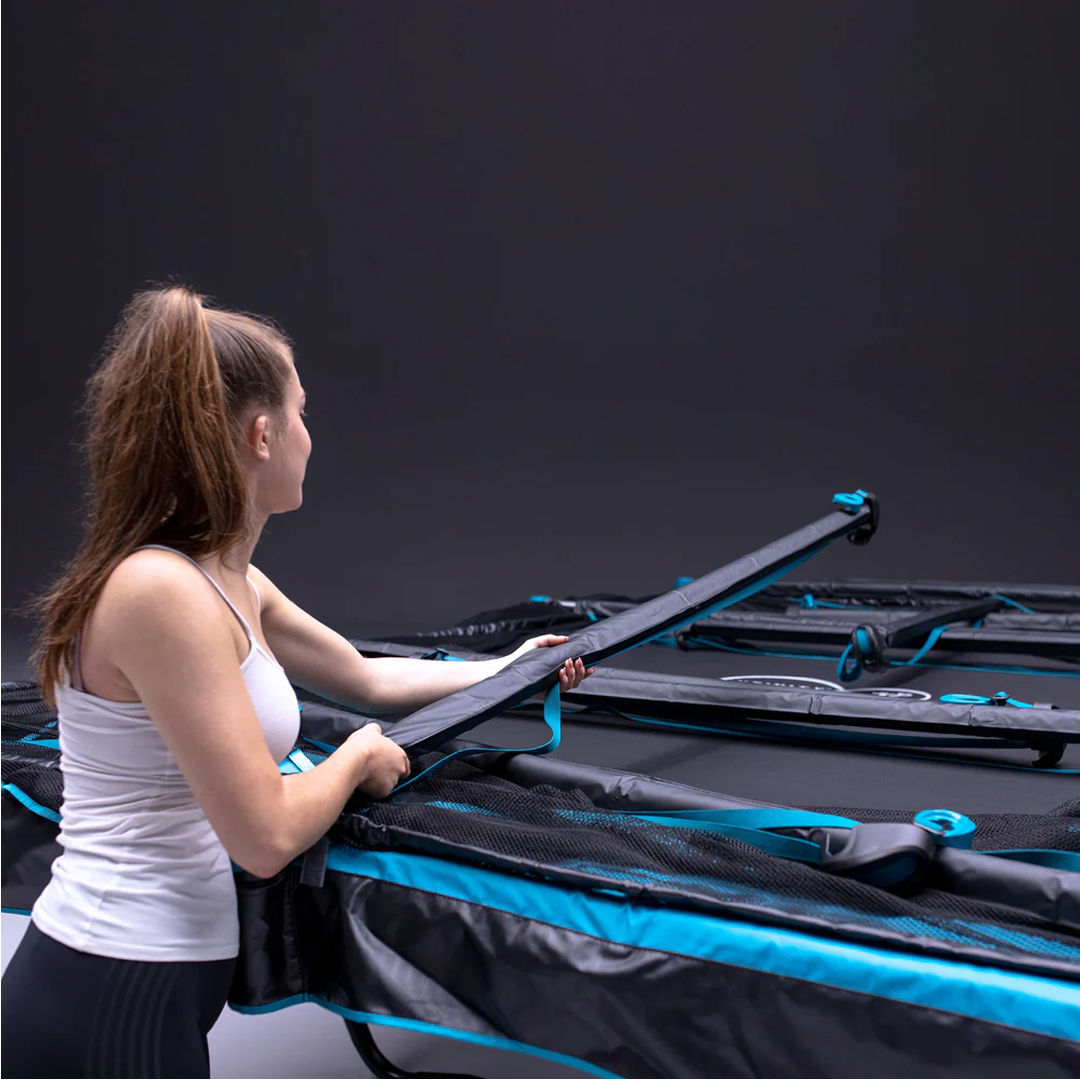
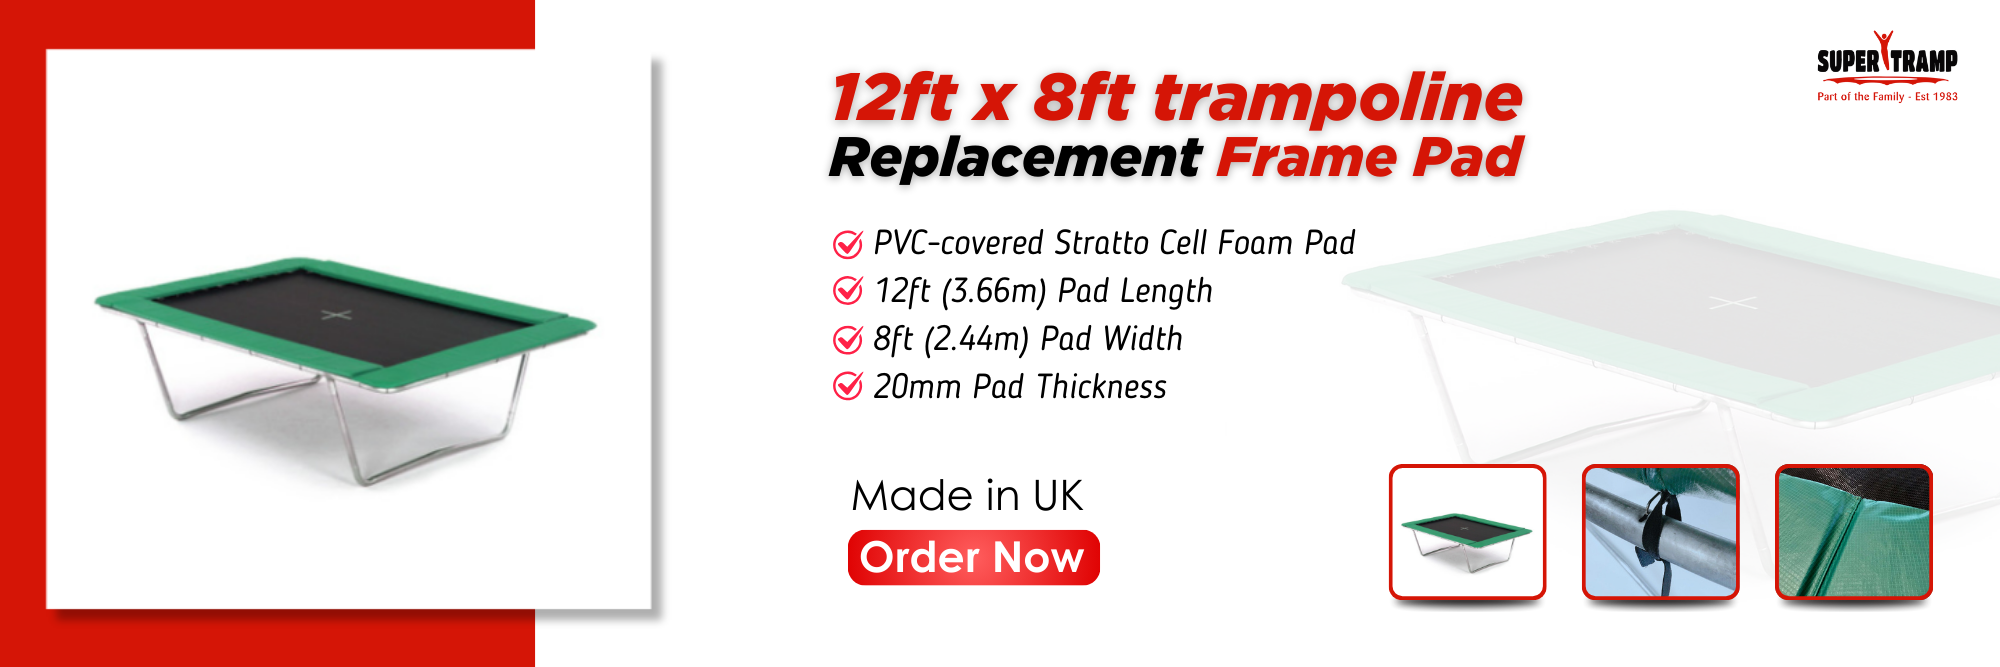
Add Safety Padding
Start by laying the padding sections around the outside of the frame, covering the springs and frame. Secure the safety padding to the frame using the provided straps and buckles, tightening as you go to ensure full coverage with no gaps. The padding should be securely fastened around the entire trampoline.
Attach the Safety Net
The final step is attaching the safety net, which encloses the entire garden trampoline and prevents falls from the edge. Thread the netting around the padding, pulling it taut as you secure it in place with the provided straps. Ensure the straps are tightened uniformly and securely around the entire trampoline. The net should be pulled tight with no sagging. Secure any remaining straps or Velcro and you’re ready to start bouncing!
Now let’s learn about this in detail:
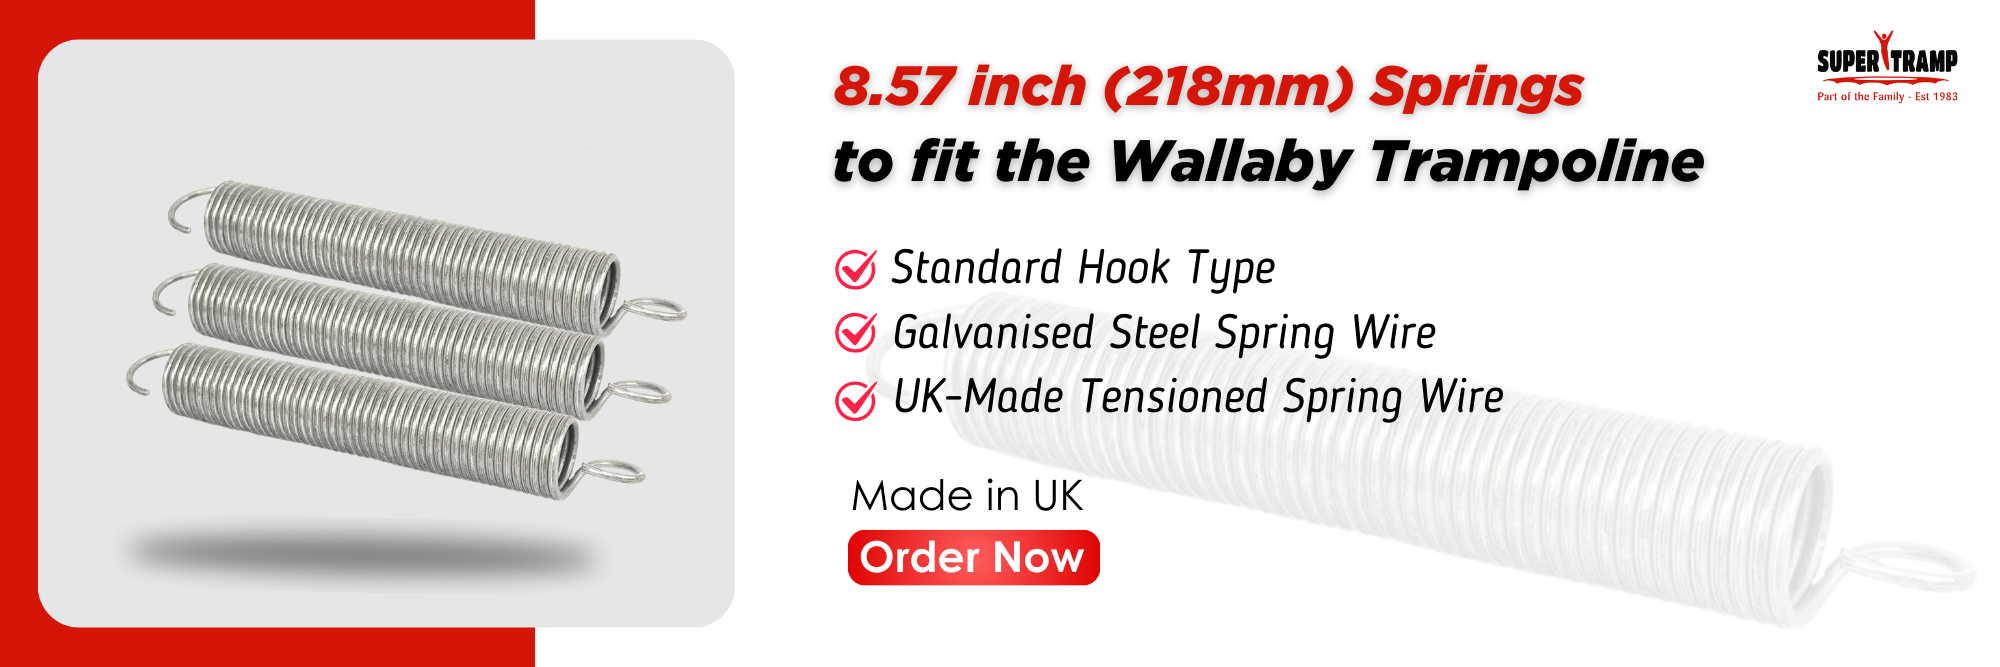
Spring Installation
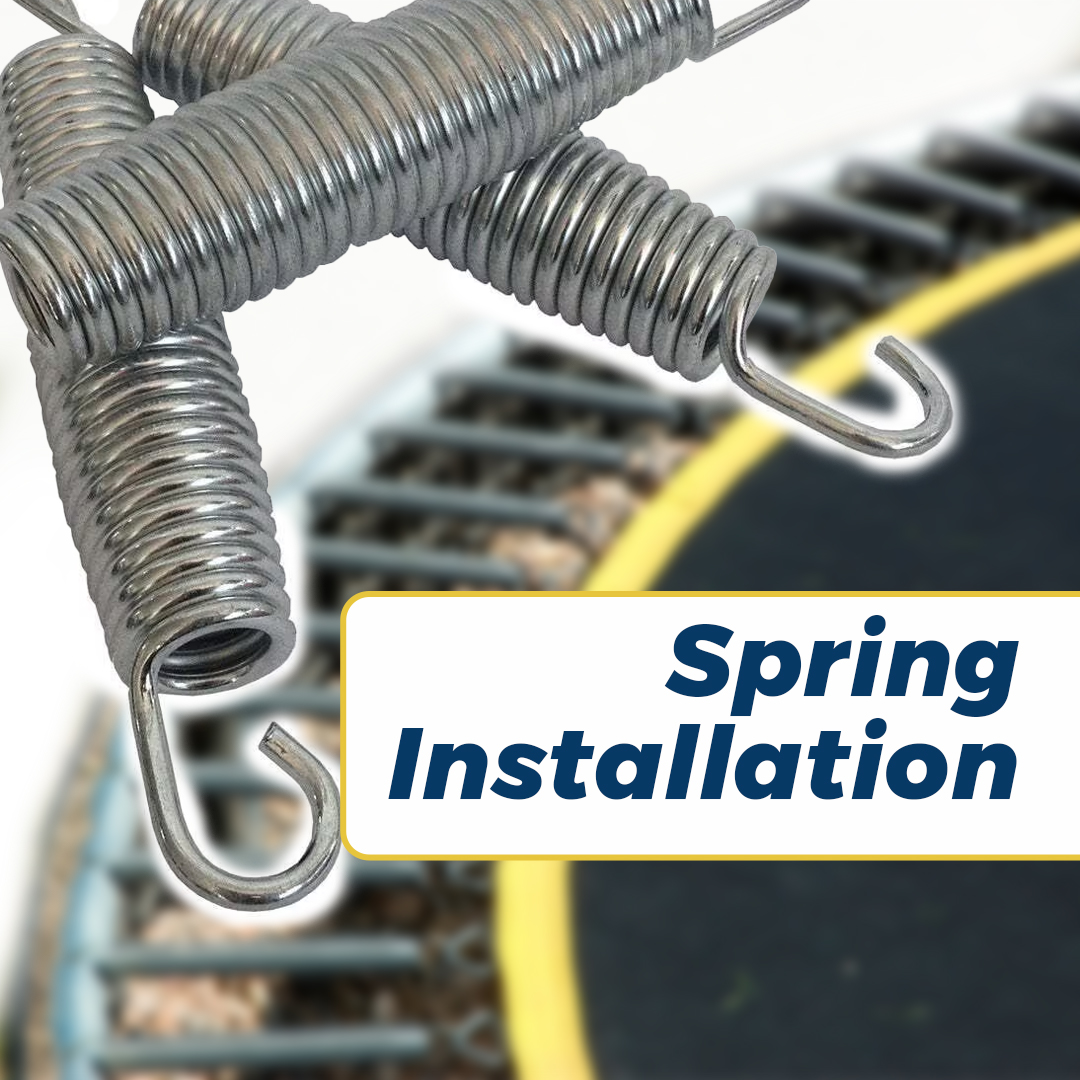
The first step is to check what type of garden trampoline model you have – round, oval or rectangular. Each shape will have a different number of trampoline springs attachment points and spring pattern layout. Your trampoline instructions will specify exactly where each spring should be attached for maximum bounce and safety.
Attach Springs Evenly
As you attach the springs, do so in an even, symmetrical pattern around the frame. For example, attach a spring at 12 o’clock, then one at 3 o’clock, then 6 o’clock and so on. This helps distribute the tension evenly as you go, preventing the bed from becoming lopsided, which can affect the bounce quality and safety.
Use Proper Techniques
When attaching the springs, hold onto the spring tightly near the end that attaches to the bed. Hook the other end onto the frame bolt or hole and pull it over and down so it’s securely in place. Be very careful, as the springs are under high tension and the ends can cause injury if they snap into place. Wear protective gear like safety glasses, gloves and long sleeves. Do not overstretch the springs, attaching them to points beyond their intended reach.
Bed Attachment
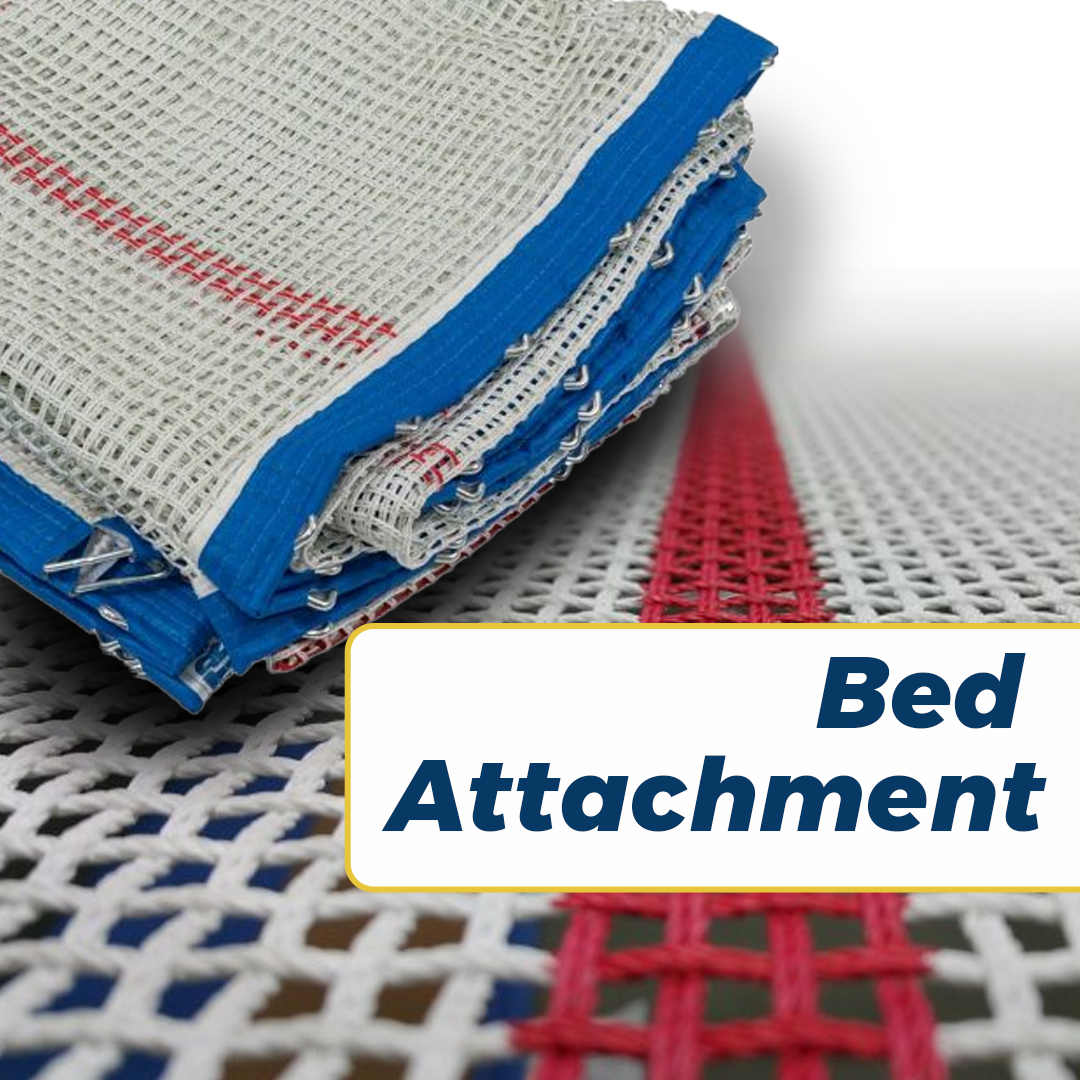
Now it’s time to unroll your trampoline bed onto the frame. Find a large, flat area like your garden or driveway and lay the bed down. Make sure there are no sharp objects underneath that could damage the bed.
Securing the bed
With the bed in position, you’re ready to secure it to the frame using the springs provided. Start by attaching one spring to an eyelet on the edge of the bed and the corresponding eyelet on the frame. Move around the trampoline, attaching springs to evenly spaced eyelets. As you go, check that the bed remains centred and wrinkle-free.
Attach all the springs before tightening them. Once attached, tighten the springs one by one using your spring tool or channel locks pliers. Tighten each spring the same number of rotations to keep tension even. Work around the trampoline tightening and re-tightening until the bed feels taut and evenly stretched over the entire frame with no sagging areas.
Safety Enclosure Setup
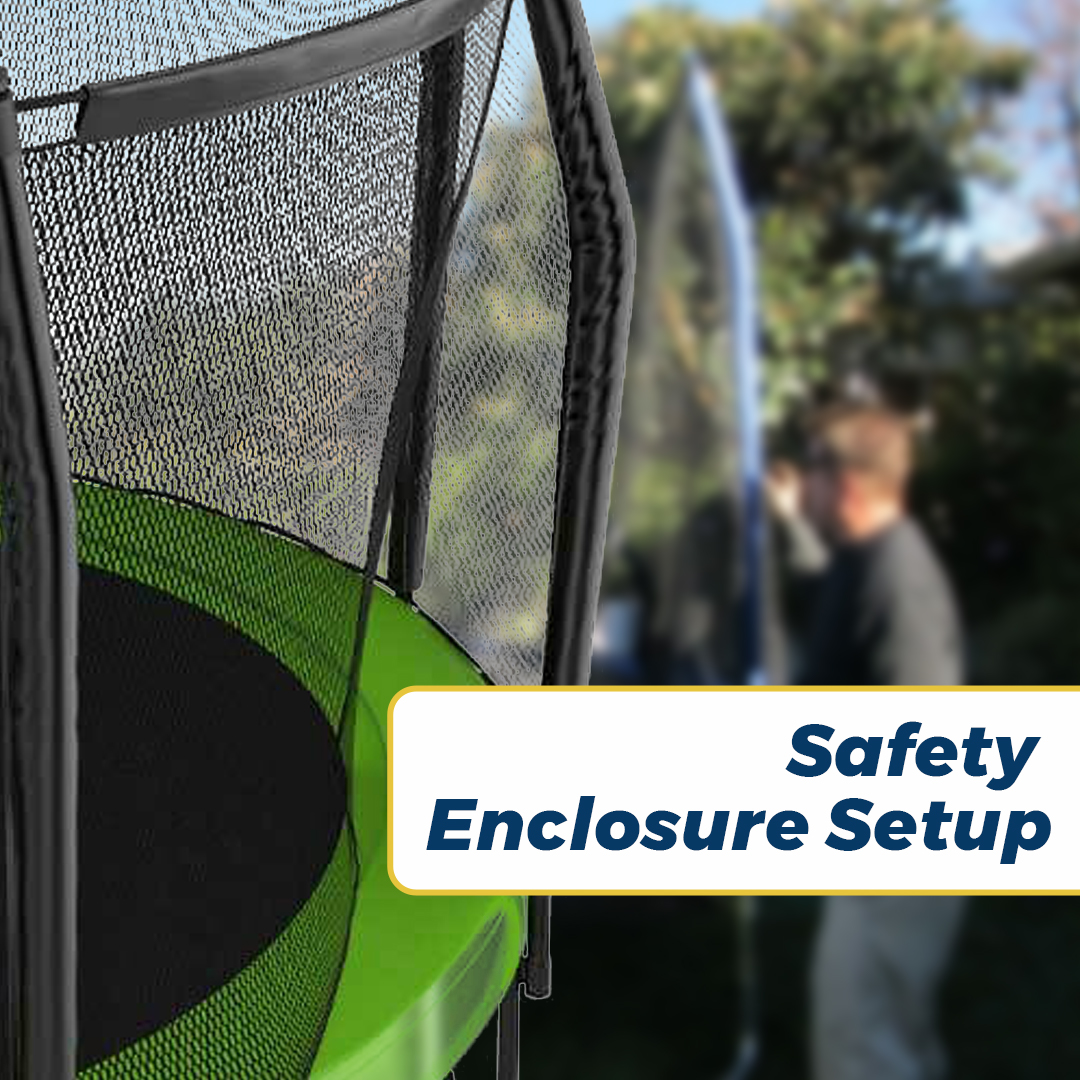
The safety net poles provide the structure to keep the net upright and securely in place around the trampoline. Install the poles according to the instructions, spacing them evenly around the edge of the trampoline frame. It’s best to have someone help you hold the poles in place as you attach them to the frame to ensure they are properly aligned before securing them.
Attach and Secure the Safety Net
With the help of another person, unfold the safety enclosure net and drape it over the top of the poles. The net should have ties, straps or buckles to securely fasten it to the trampoline frame and poles. Work your way around the trampoline, attaching the net at each pole and any points where it meets the frame. Pull the net taut as you go to ensure even tension.
Ensure Proper Tension and Alignment
Give the safety net a firm push around the entire edge of the trampoline to check that it’s securely fastened at each point of contact. There should be no sagging, drooping or loose spots in the net. All portions of the net should be evenly tensioned for the best protection.
Post-Assembly Maintenance
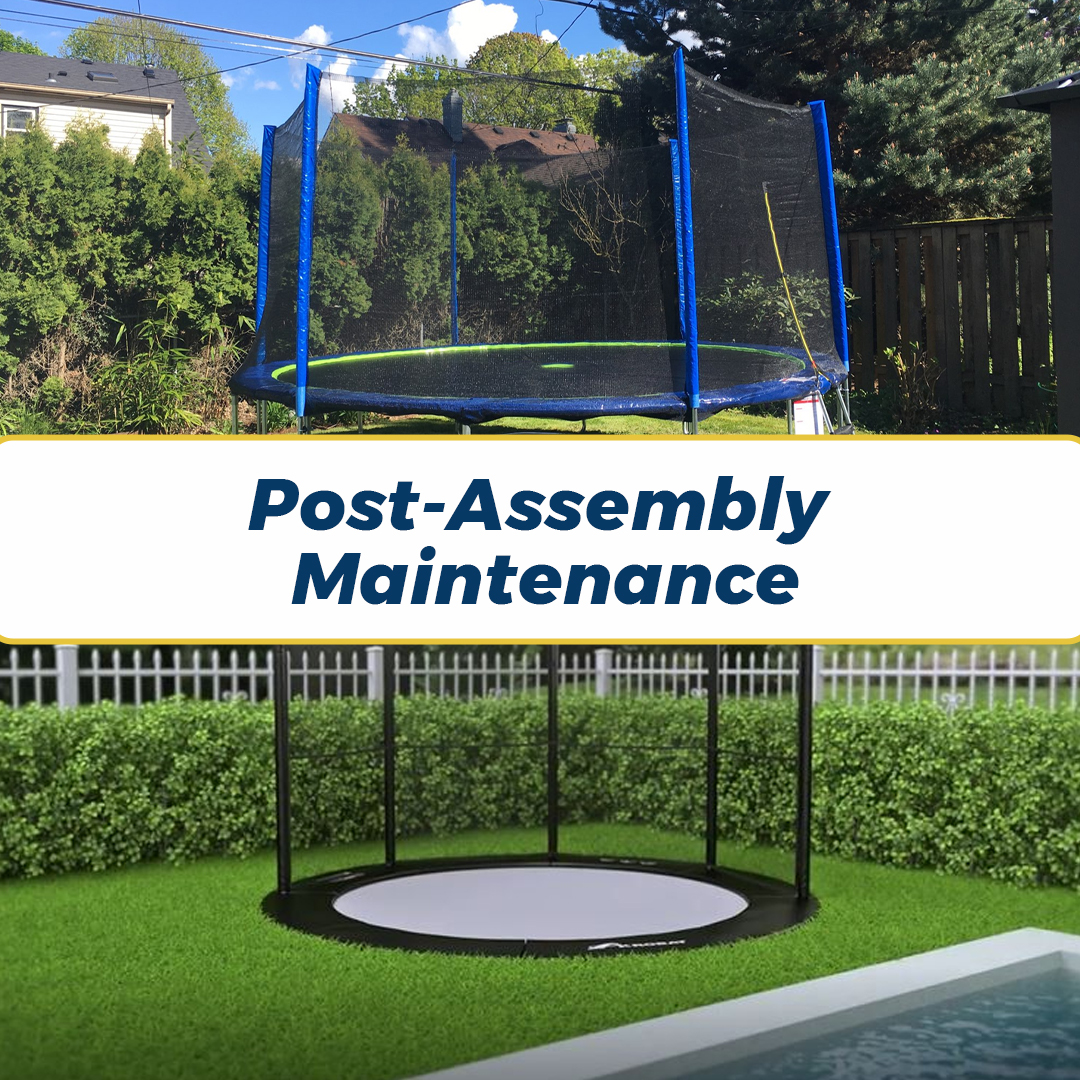
Now that your trampoline is assembled, it’s important to perform regular maintenance to keep it safe and functioning properly for years to come. First, check that all nuts and bolts are securely tightened before letting the children on the trampoline. It’s a good idea to re-tighten everything after the first hour of use.
You’ll want to inspect the safety padding, netting, springs and bed regularly for any signs of wear or damage. Check that the safety padding covers all springs and frame parts, and replace any torn netting or padding immediately. Lubricate the springs with oil periodically to prevent squeaking and ensure maximum bounce.
The jumping bed, or bounce surface, will need replacement every few years depending on frequency of use. If you notice the bed becoming worn, sagging or developing holes, it’s best to replace it. The bed is the most important safety feature, so don’t delay replacing a worn or damaged one.
To keep the trampoline frame in good shape, wipe it down with a damp cloth to remove any dirt or debris. Scrub off any rust spots and paint touch up the area to prevent further damage. It’s also a good idea to move the trampoline occasionally to prevent dead spots from developing in the lawn underneath. Performing regular checks and maintenance is the key to safety and longevity.
Conclusion
Assembling your own trampoline might seem daunting, but take it from me, it’s totally doable if you follow these steps. Just make sure you’ve got all the parts, take your time, and don’t be afraid to get help lifting and stabilising. Before you know it, you’ll be bouncing away to your heart’s content! Just be sure to check all the fixings are tight for safety. Now you can impress your friends with your pro trampoline building skills. Who knows, it could even spark a new hobby. Whatever you decide to do on your brilliant new trampoline, have fun and stay safe!
